
How to add rust to your latex LARP gear
In this guide, our guest writer and fellow LARPer Glenn Lieberkind walks you through painting latex LARP gear to look rusty. Glenn turned his Epic Armoury Raider Shield into an orc-style shield using a few simple tools. These techniques and colors can be used for any latex weapons and props.

Materials & tools Needed
- A shield. If your shield is new, wipe it down thoroughly to remove any silicone. If it’s an older shield, give it a light clean and make sure it is completely dry.
- Paint primer. This helps prepare the surface. Remember to apply primer only to the areas where you want to add rust.
- Paint. I used acrylic paints made for miniatures, such as Warhammer models, because I find them easier to work with.
- A container of water for rinsing your brushes.
- A tea towel or something similar for wiping your brushes.
- A small container for adding clean water to your paint.
- Brushes. I used dry-brushing brushes because they work well for me, but any brushes will do the job.
- A palette for mixing paint.
Colors used for this project
- Sunburst Ochre
- Rust
- Fresh Rust
- Grim Rust
- Green Rust
Shield used in this tutorial
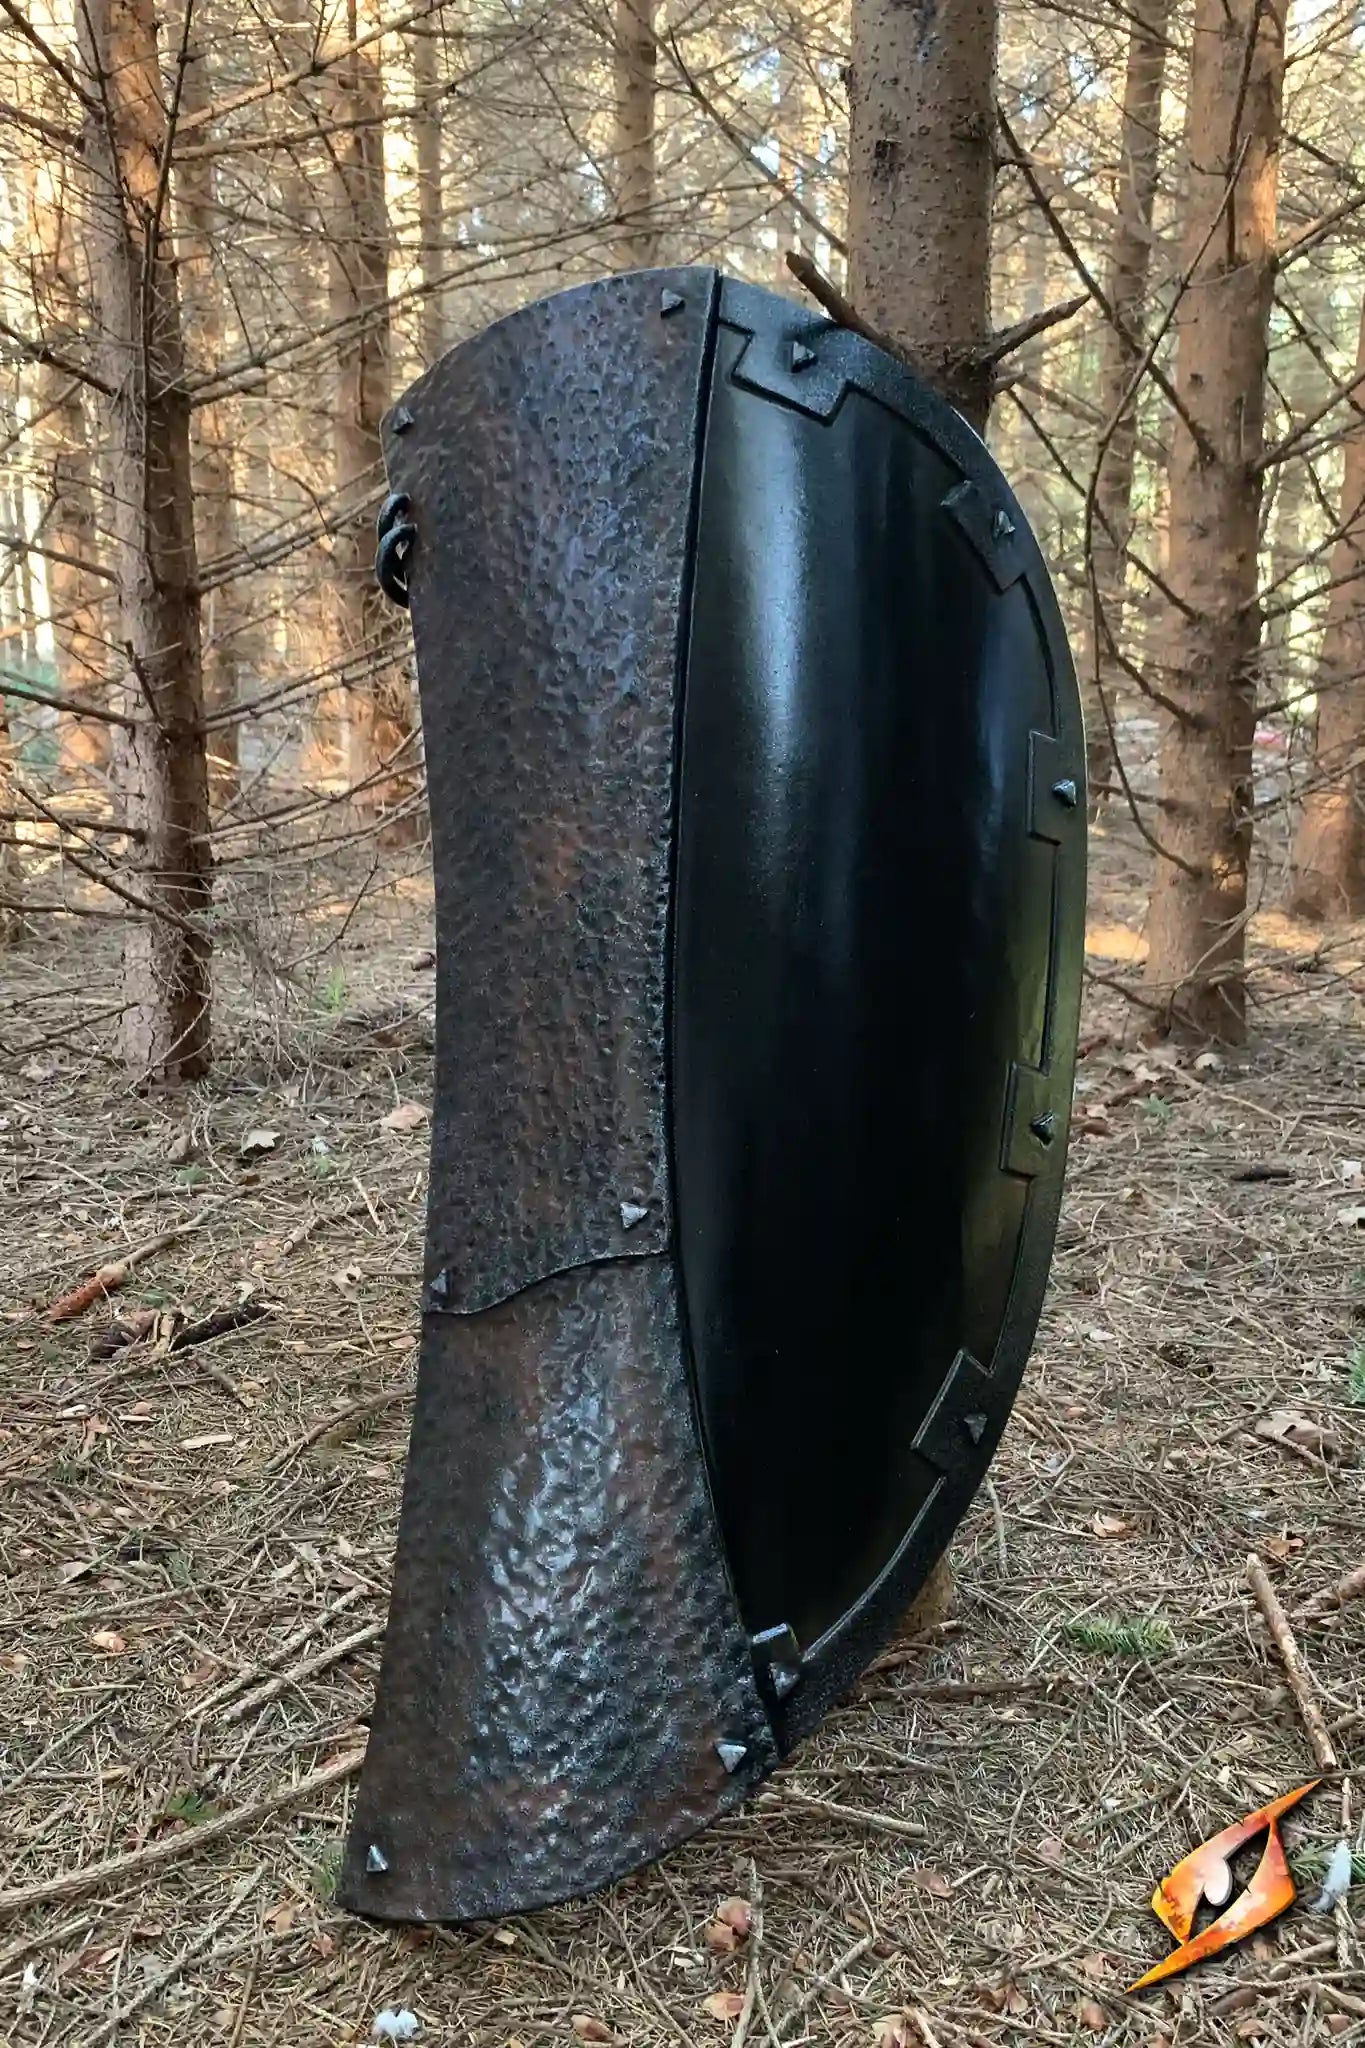
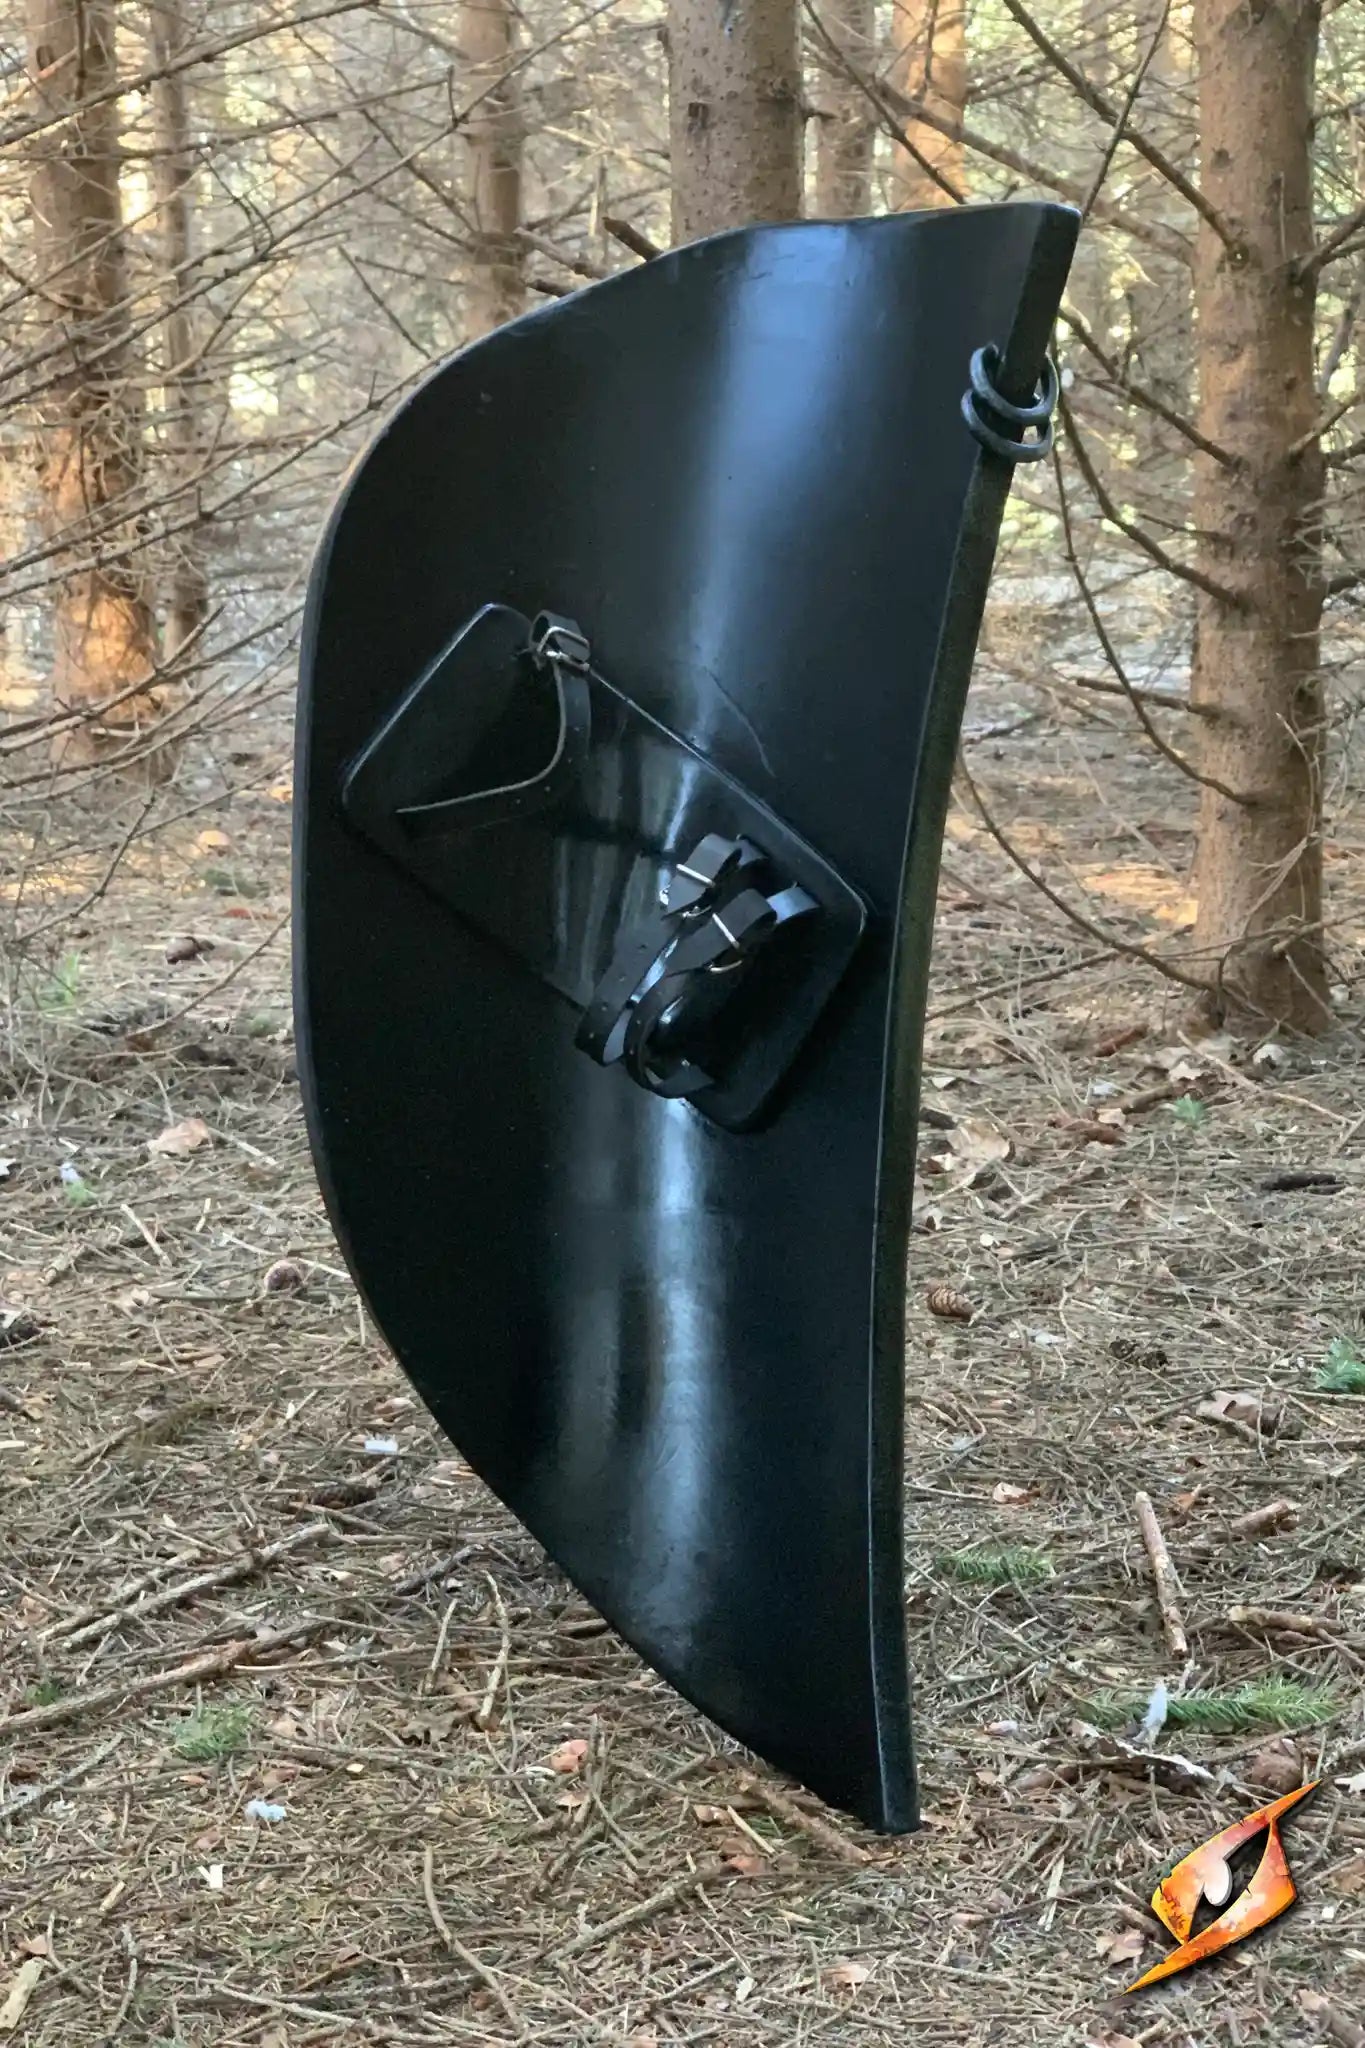
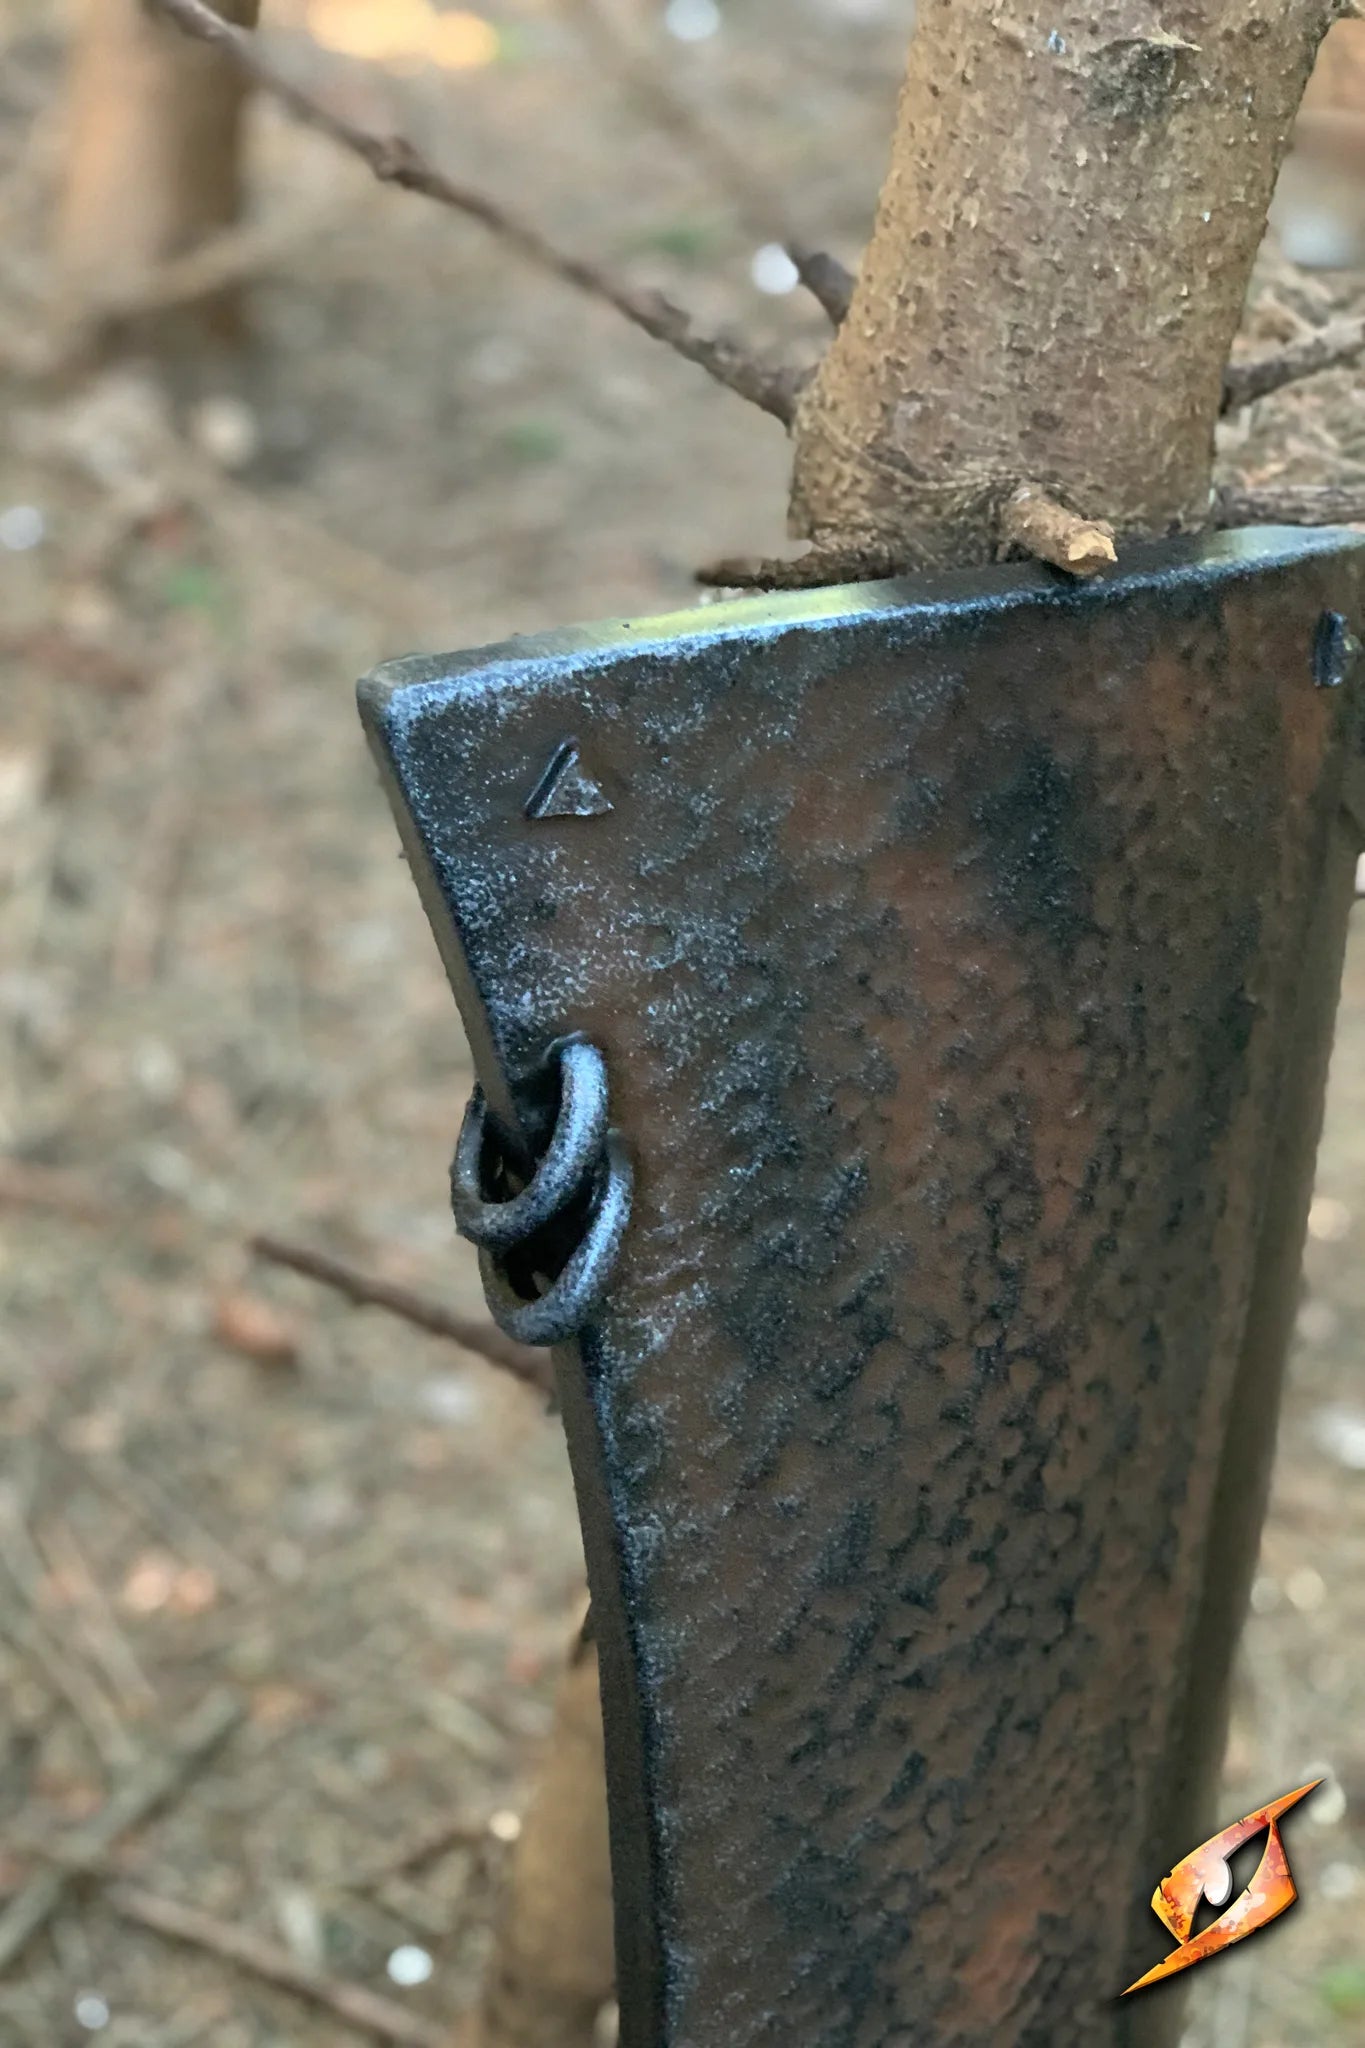
The first layers of paint
- Prepare three batches of Sunburst Ochre. Add water to each batch to adjust the consistency. I recommend making one thick, one thin, and one medium mixture, as this will give you different shades and effects of rust.
2. Load your brush with paint and dab it onto the shield. Try to avoid creating a clean, straight line. On my Raider shield, I started on the smooth section.
3. Use a dry brush to gently dab over the paint again. This helps spread it out and prevents the paint from pooling in one spot.
4. Once you’re happy with the result, let it dry. You can also move straight on to the next step if you prefer.
5. Repeat the first step using the colour Rust. Use Rust to add details or create more pronounced areas of rust on the shield.
6. Repeat this process wherever you want rust to appear on the shield. Remember that less is more, and keep in mind that the colour will change as the paint dries.
The color of the shield changes as the paint dries
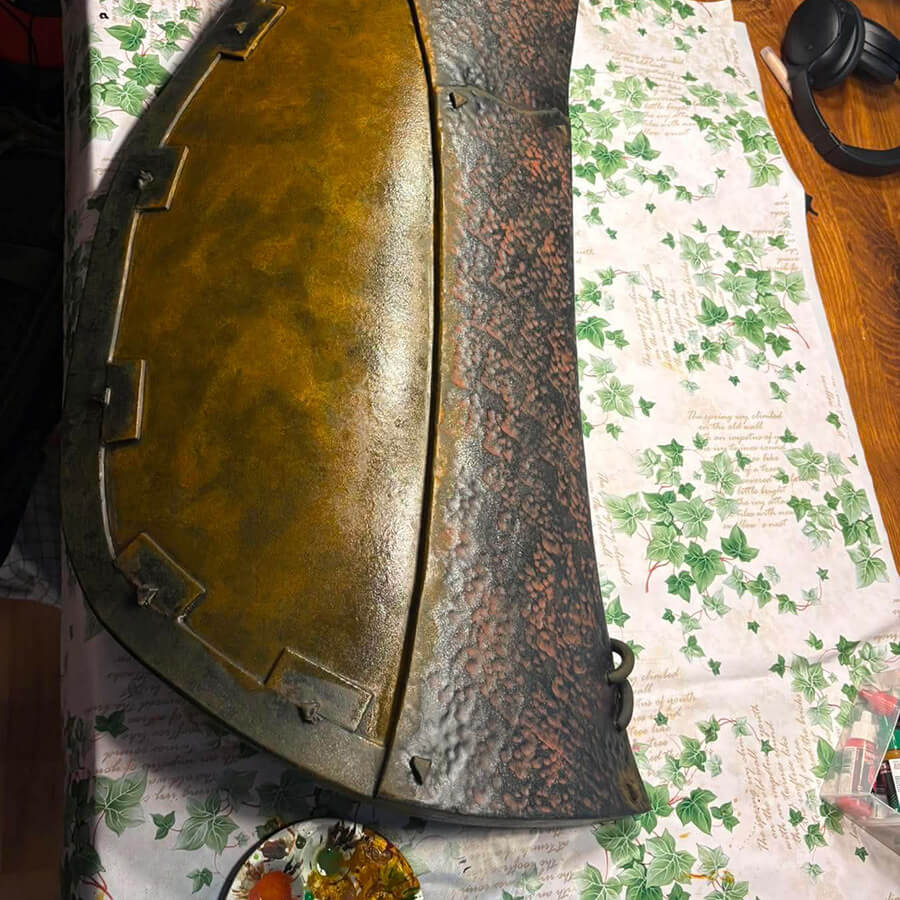
Wet paint right after application
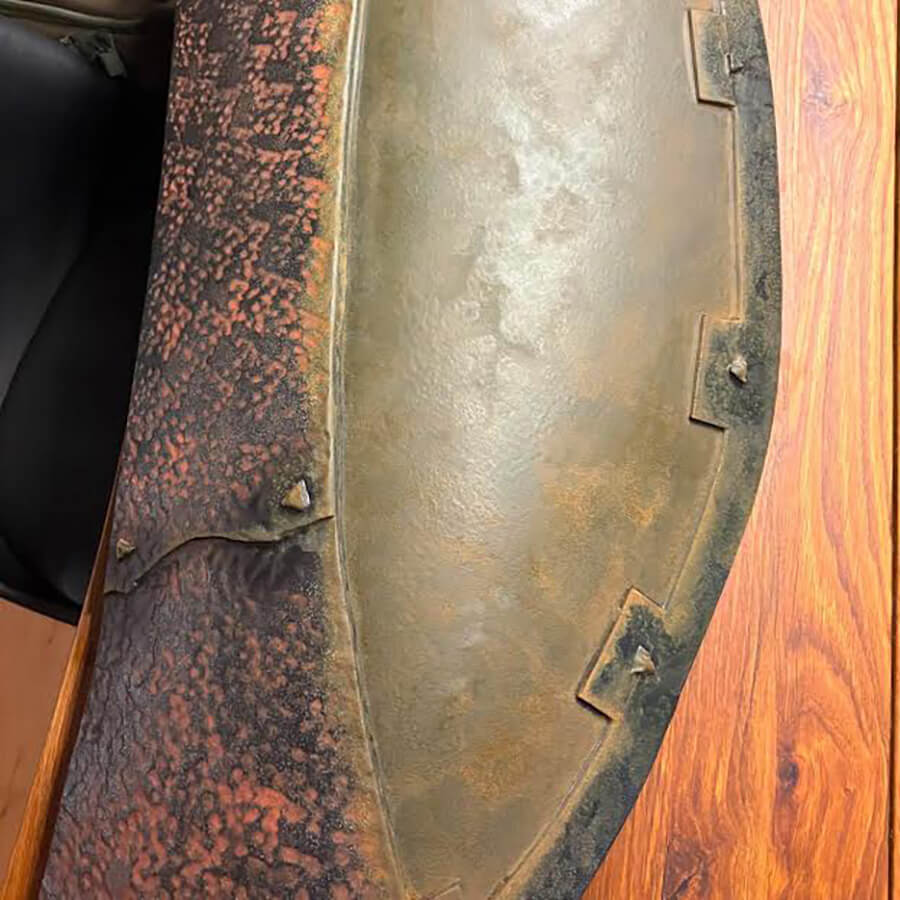
Dry paint after a few hours
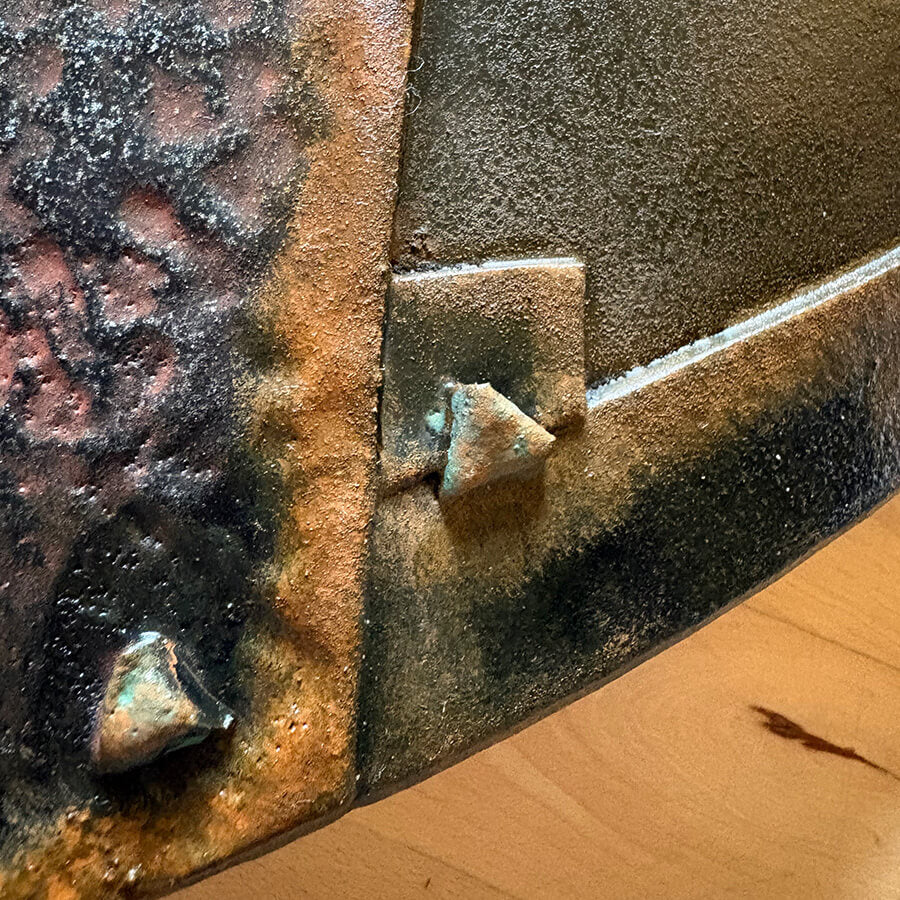
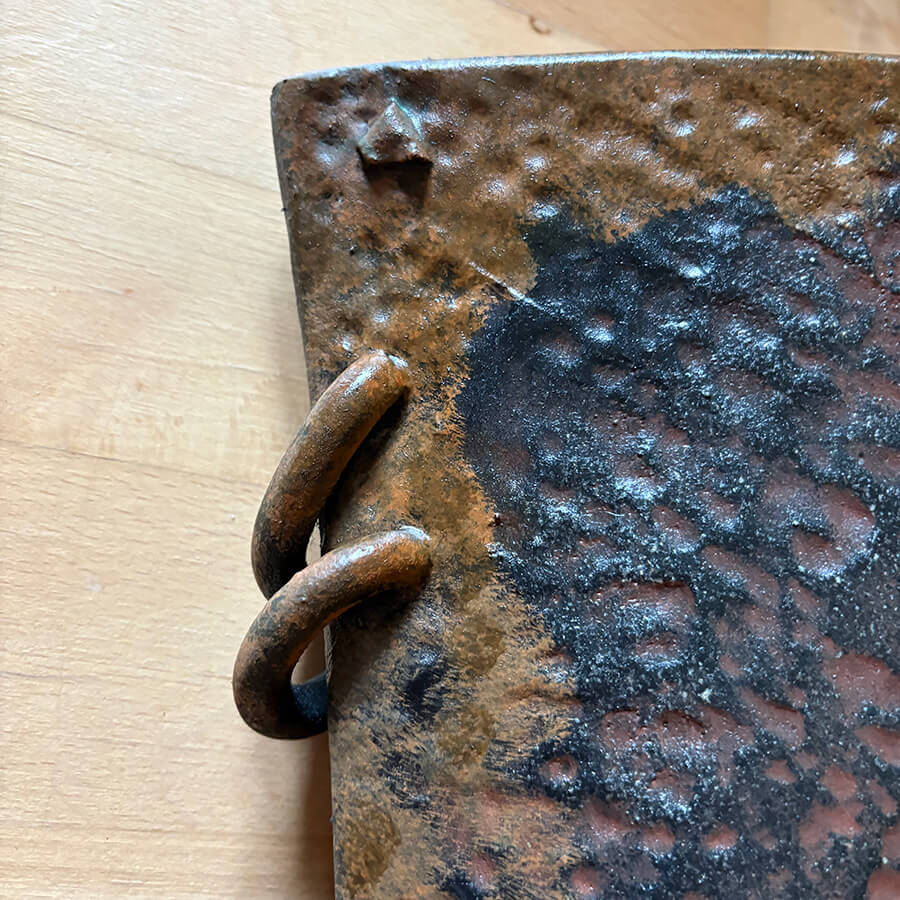
Adding the details
Now that the first two layers are in place, it’s time to add the small details that make all the difference.
At this stage, it’s important to thin your paint.
I focused on the areas where the shield might be hit during a fight and where rust would naturally spread. Pay particular attention to corners and edges.
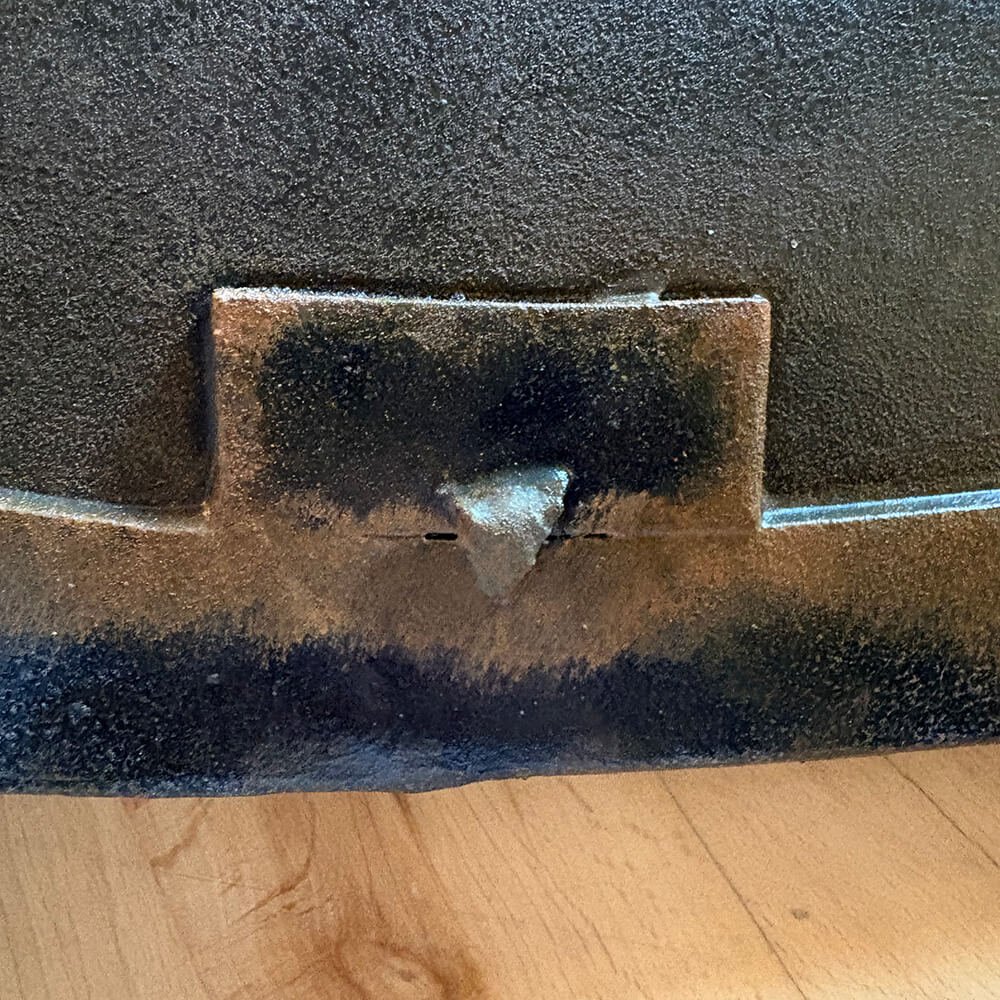
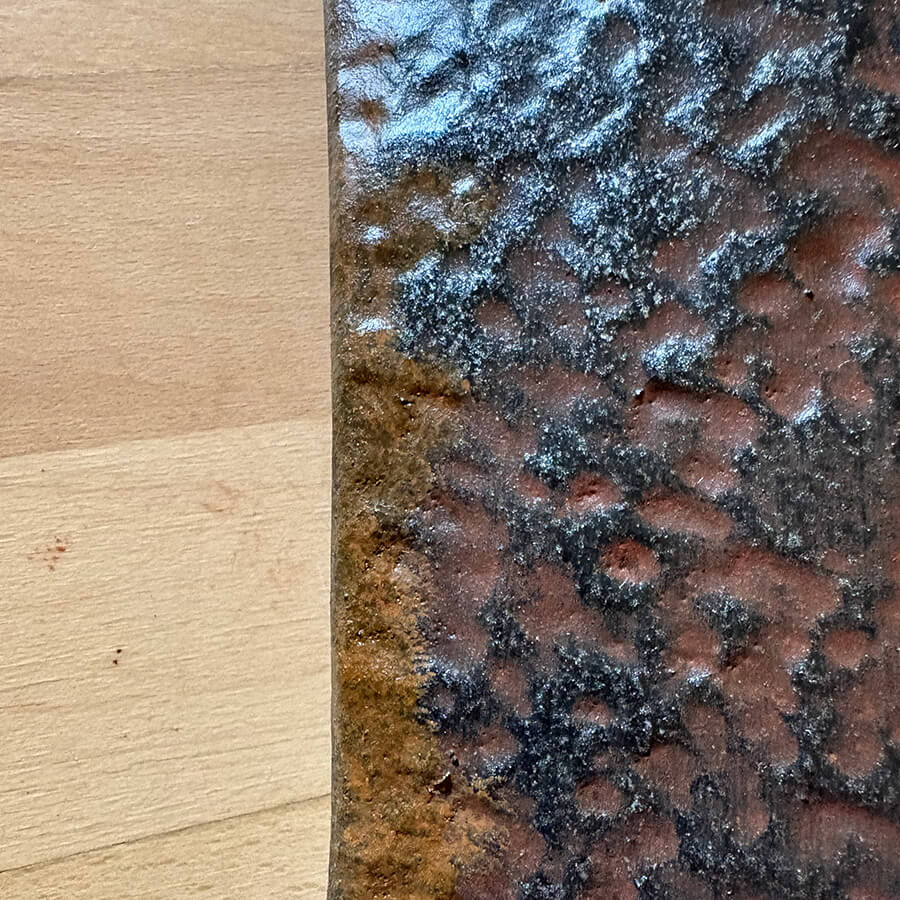
Here’s what I did after applying the first two layers:
- I used Rust to bring out the rust along the edges and corners.
- I used Fresh Rust to highlight details along the edges.
- I used Grim Rust to create the look of older rust, especially around the shield’s rivets.
- I used Green Rust to add a small detail to the rivets.
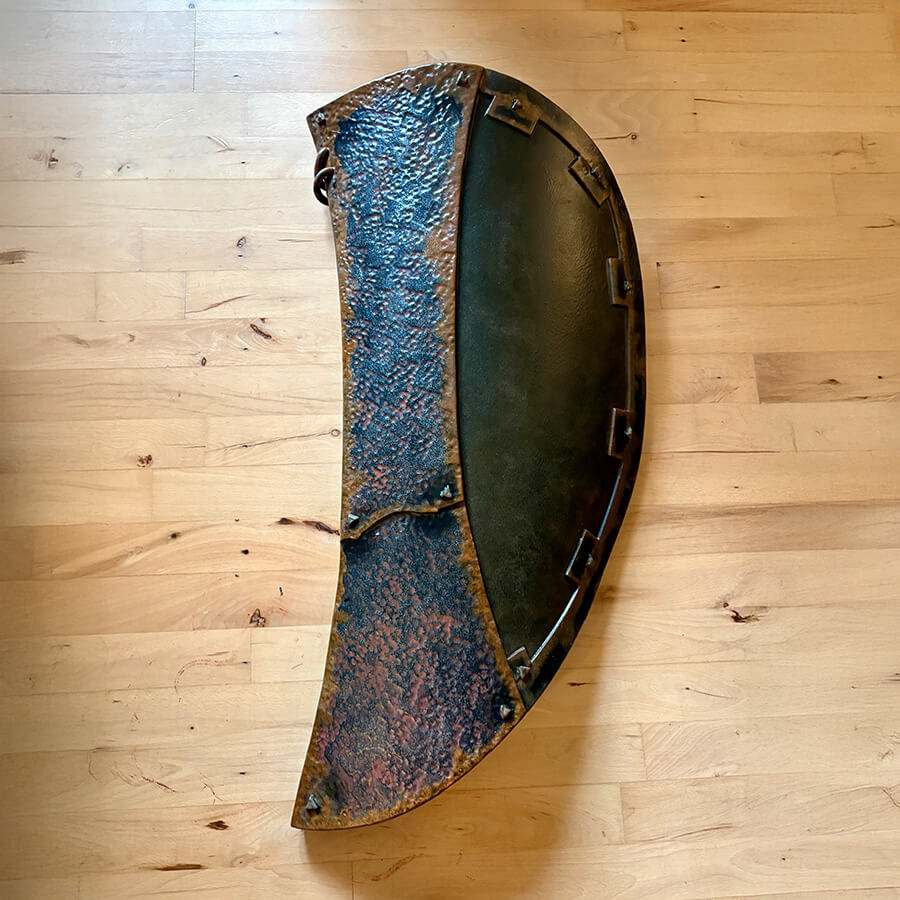
Final steps
Finally, let the shield dry completely before applying silicone again. The silicone really makes the colours pop.
As the paint wears off over time, you can simply touch it up with another layer.
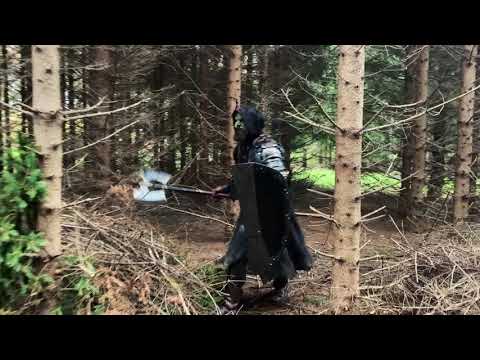
Below is the finished result. The shield is now worthy of an orc!

Conclusion
If you're new to customization and painting of latex shields and weapons, it might be hard to find information, figure out where to start and what tools you might need. But, using this simple and beginner-friendly guide, you can easily add rust or similar battle-worn effects to your latex LARP gear with confidence!
We encourage you to experiment and make the LARP gear your own.
Read more

A shield is one of the oldest pieces of battlefield technology humans invented. Across thousands of years of combat, shield design changed and improved many times, as armies changed their tactics, ...
Read more
Will a Canvas Tent Keep You Dry in Heavy Rain?
Canvas is water-resistant rather than waterproof, and it seals itself by swelling shut. This blog will explore what that means for weathering a new tent, pitching in rain, guy lines and reproofing.
Read more