
How to Paint Heraldry
on a Gambeson, Banner or Tabard
Give your LARP gambeson, banner or tabard a coat of arms.
A step-by-step guide to painting heraldry on fabric with simple tools and paint you may already own.
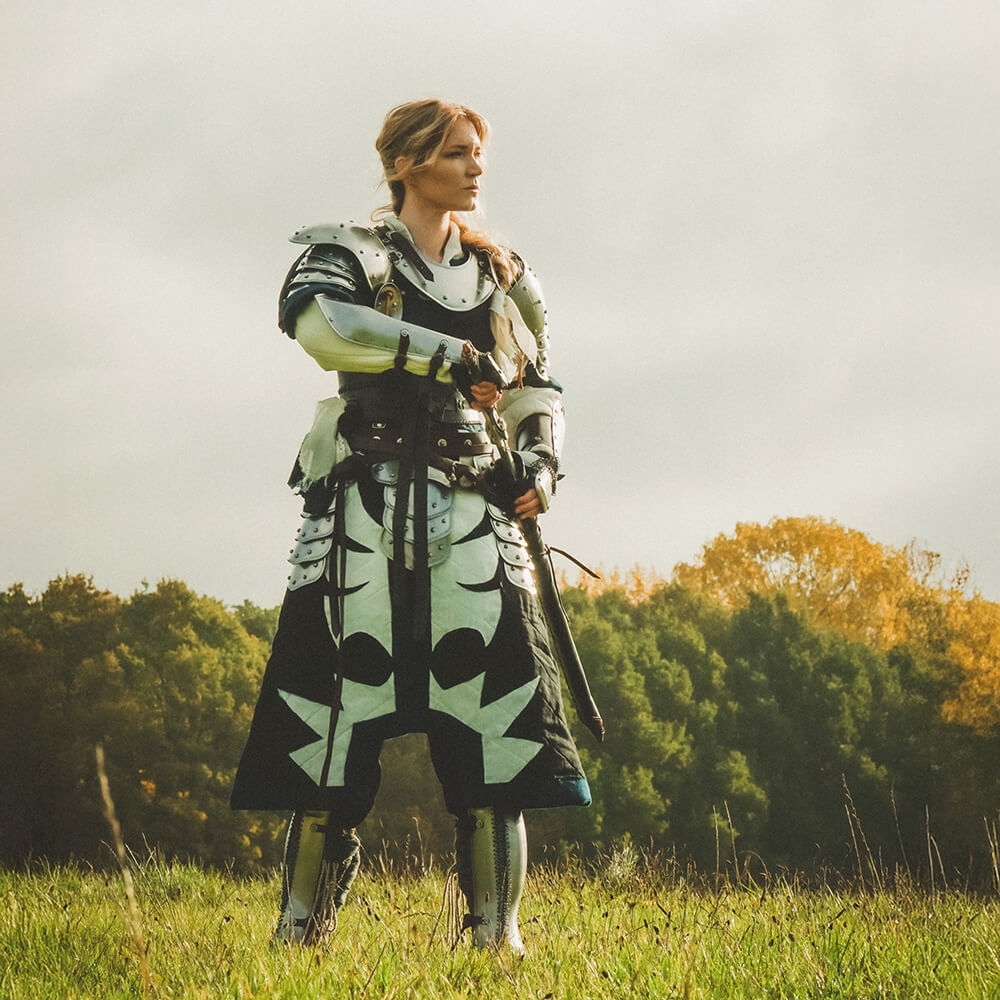
Fly your colours
Why paint heraldry on your LARP gear?
A plain gambeson tells the world you are a soldier. A gambeson bearing a coat of arms tells them whose soldier you are, which house you swore to and which banner you will die beneath.
Heraldry is one of the fastest ways to give your character a story people can read from across the field. And you do not need a sewing machine or embroidery skills to add it. In this guide, we will show you how to paint heraldry onto a gambeson, banner, tabard or almost any other textile using basic paint, two brushes and a hairdryer.
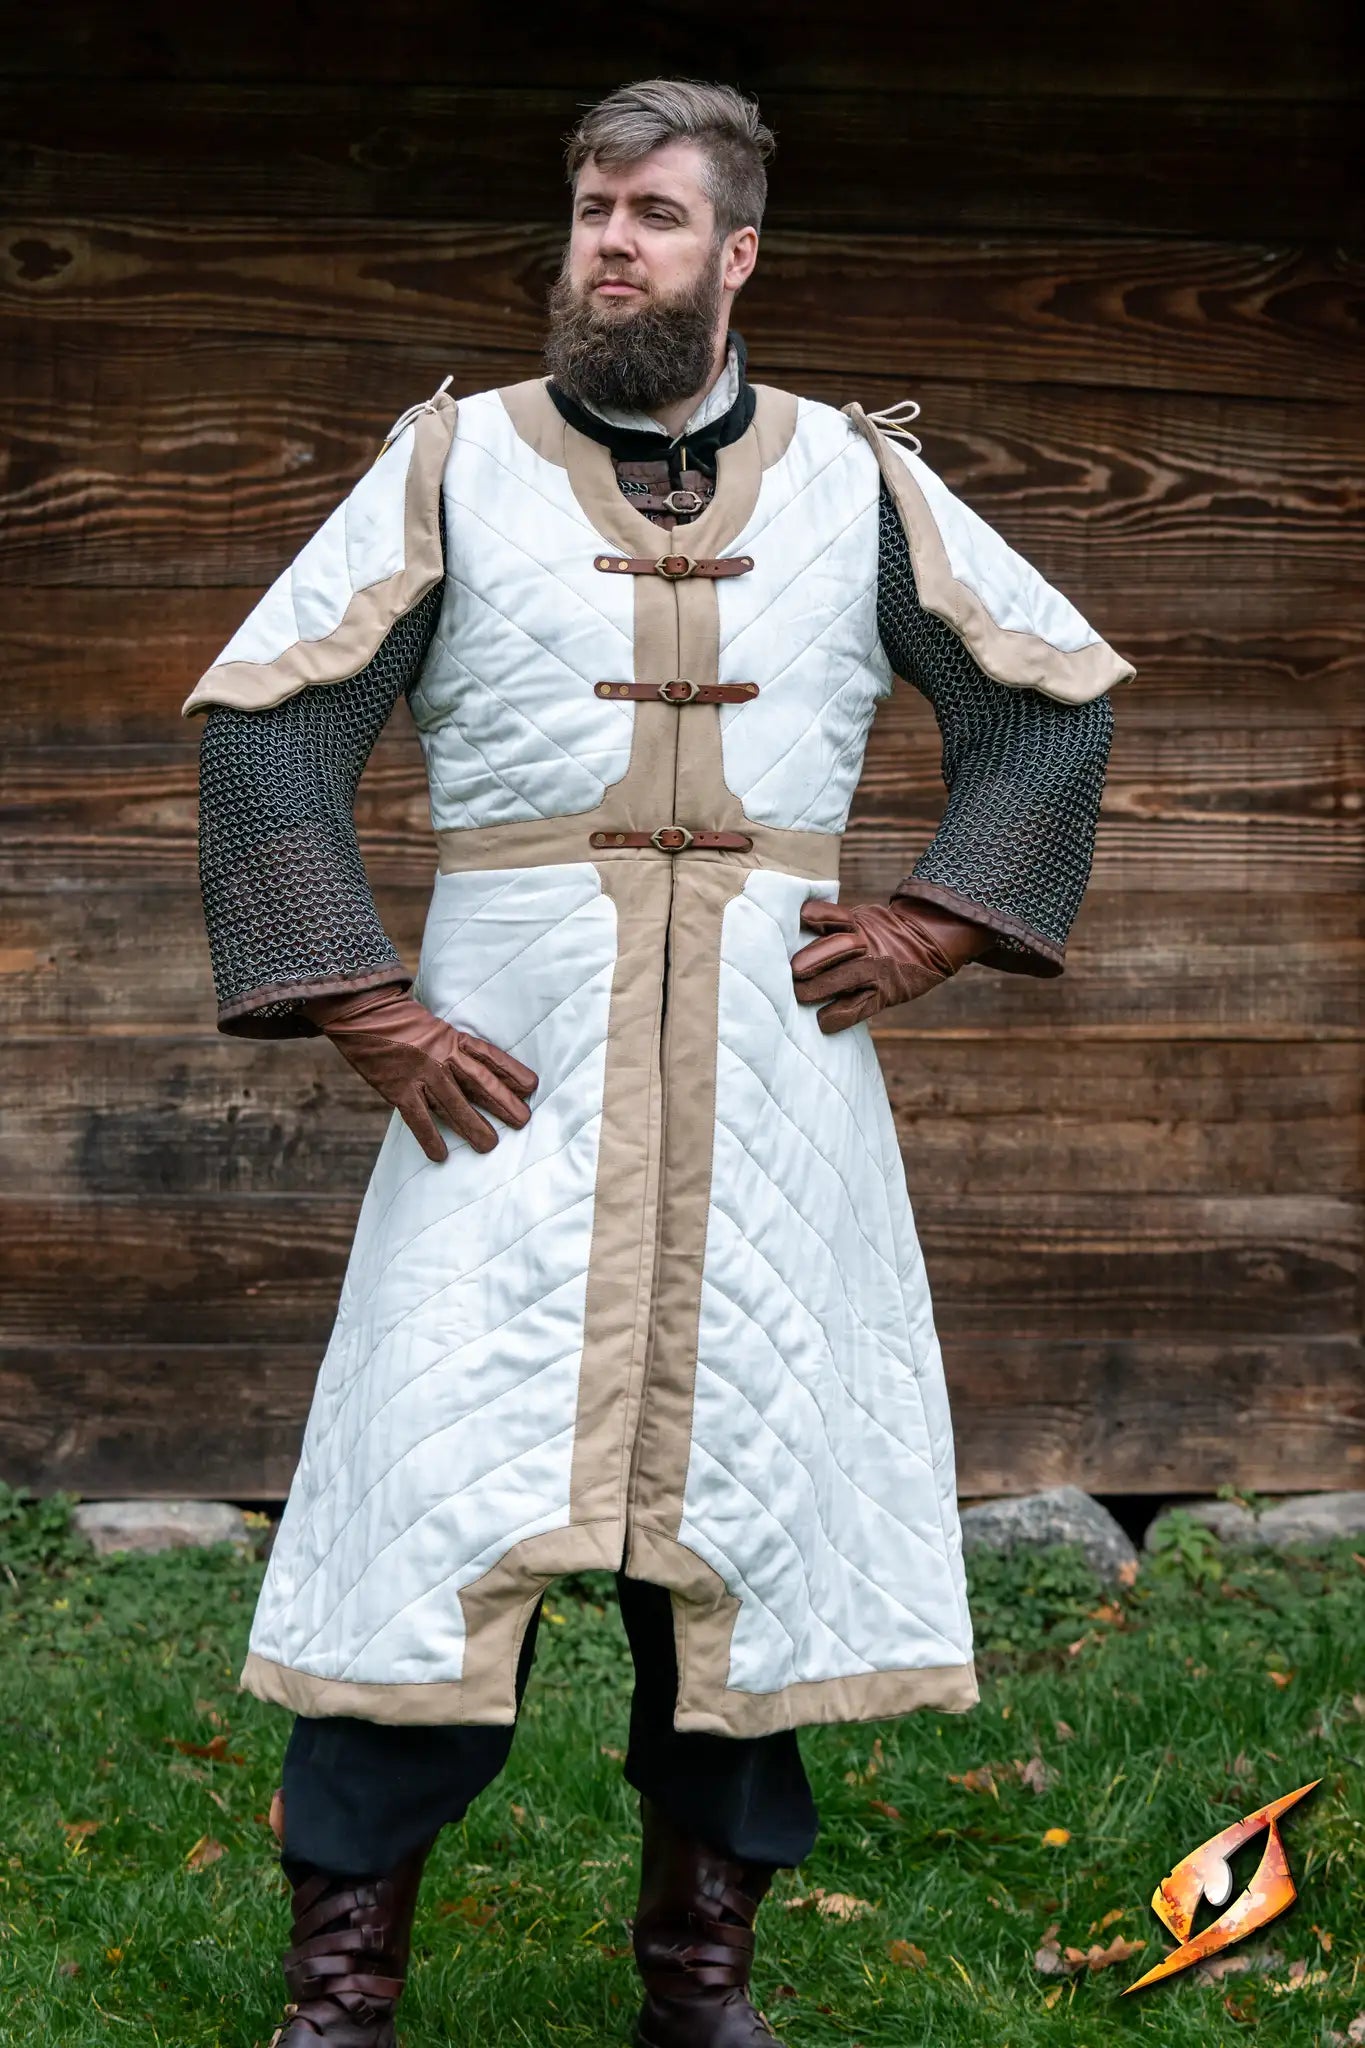
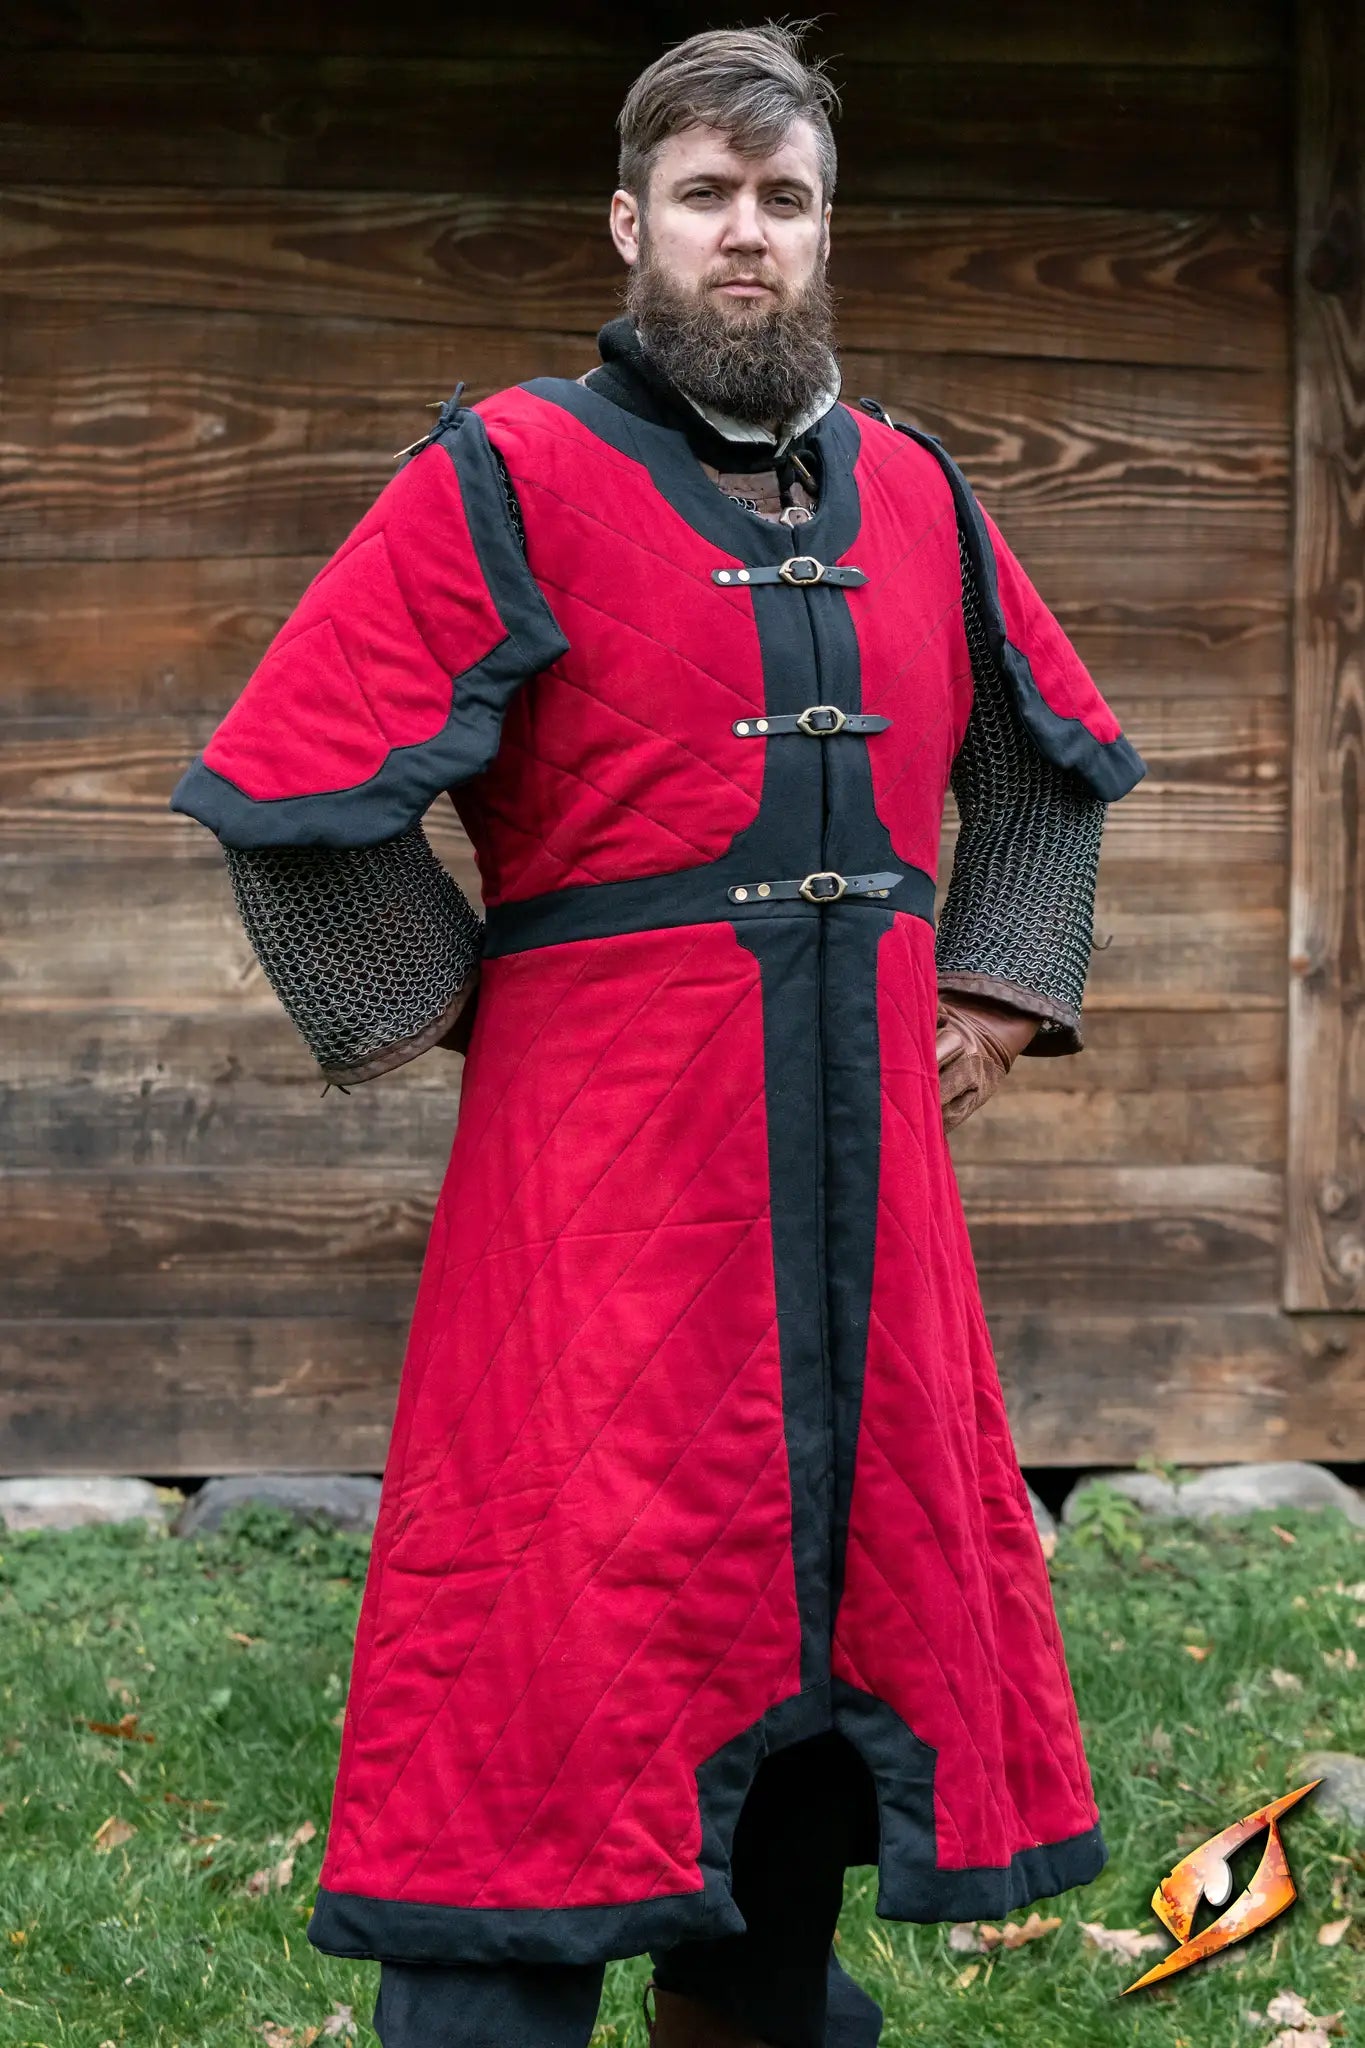
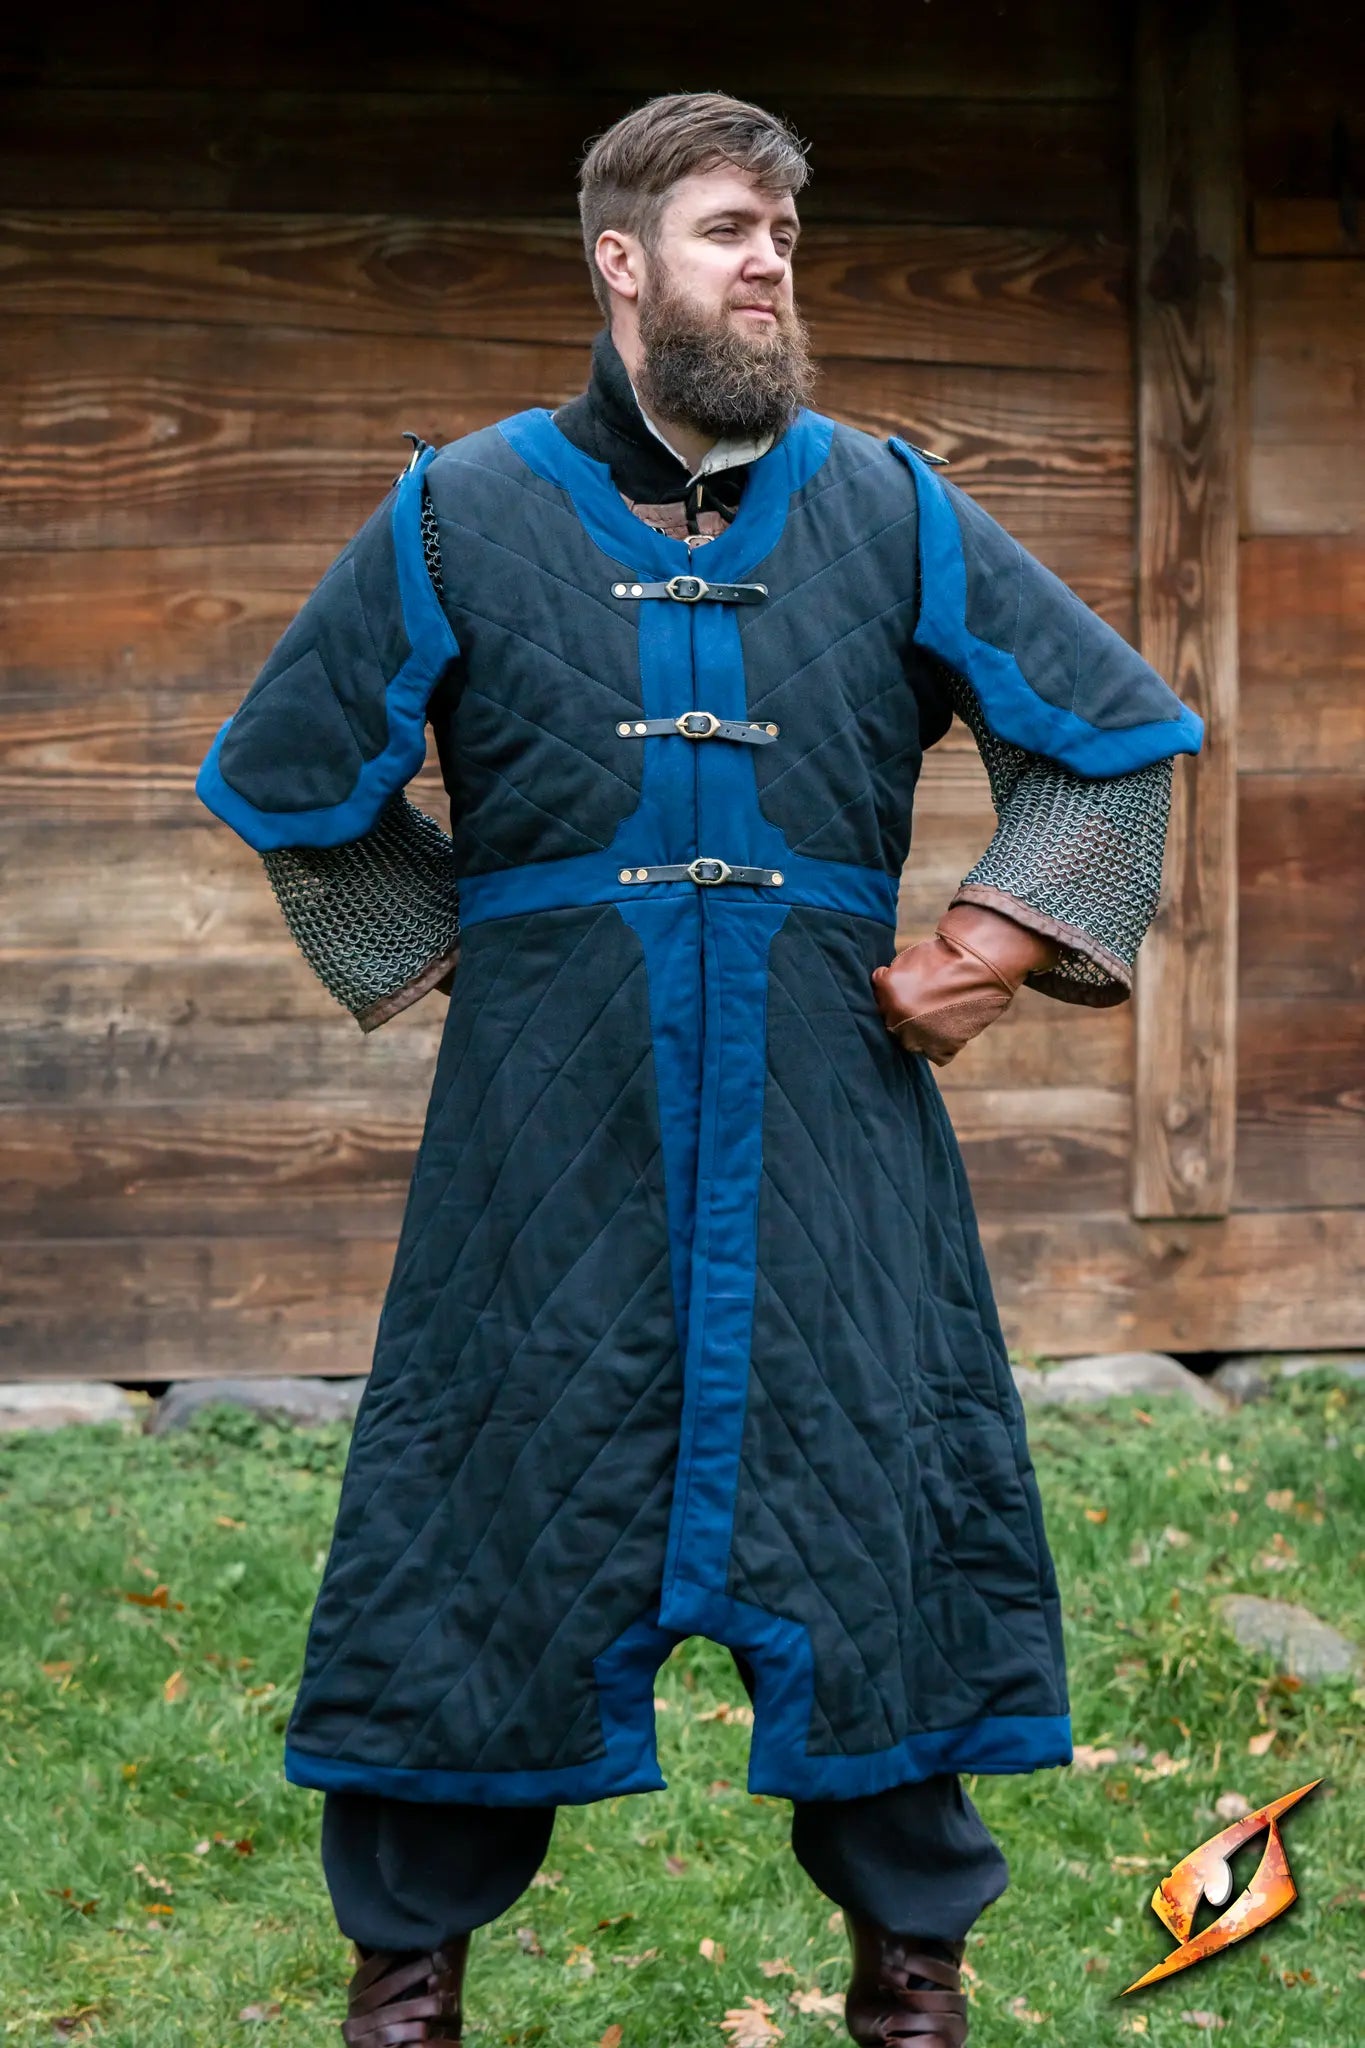
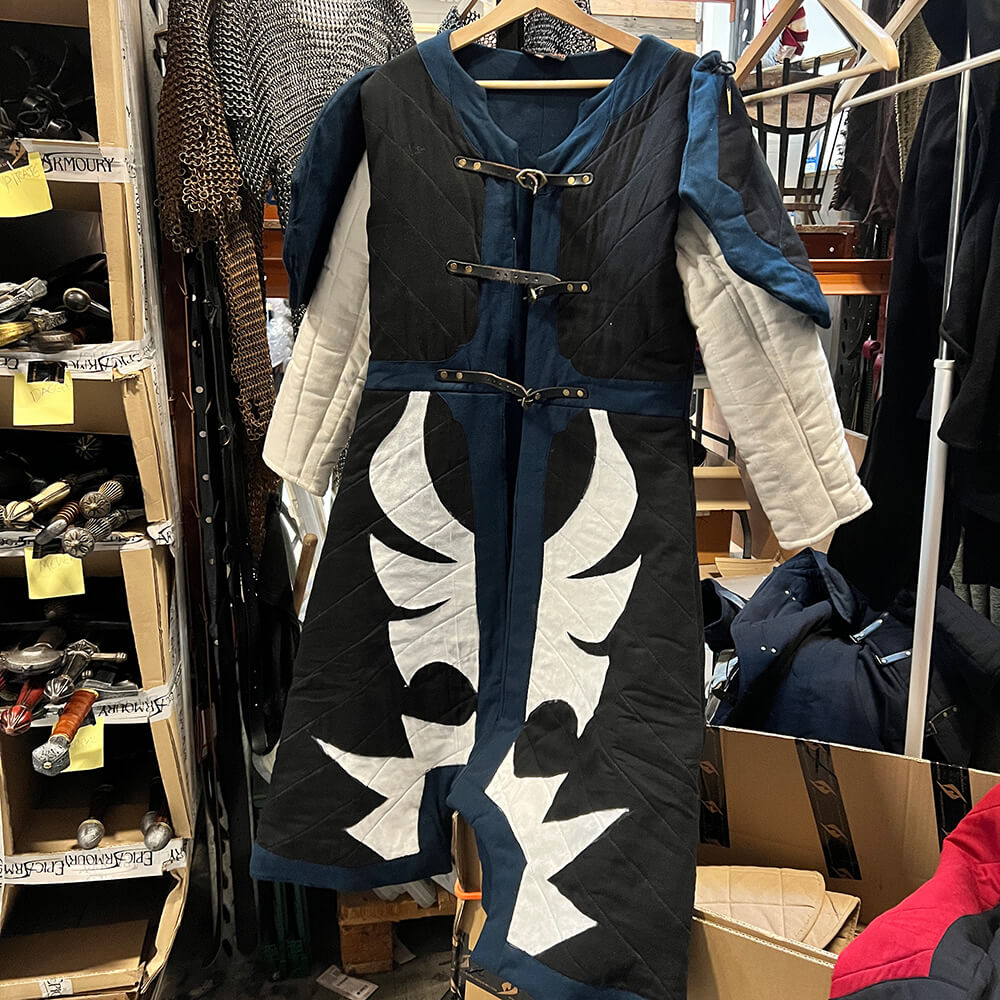
Gambeson used in this tutorial


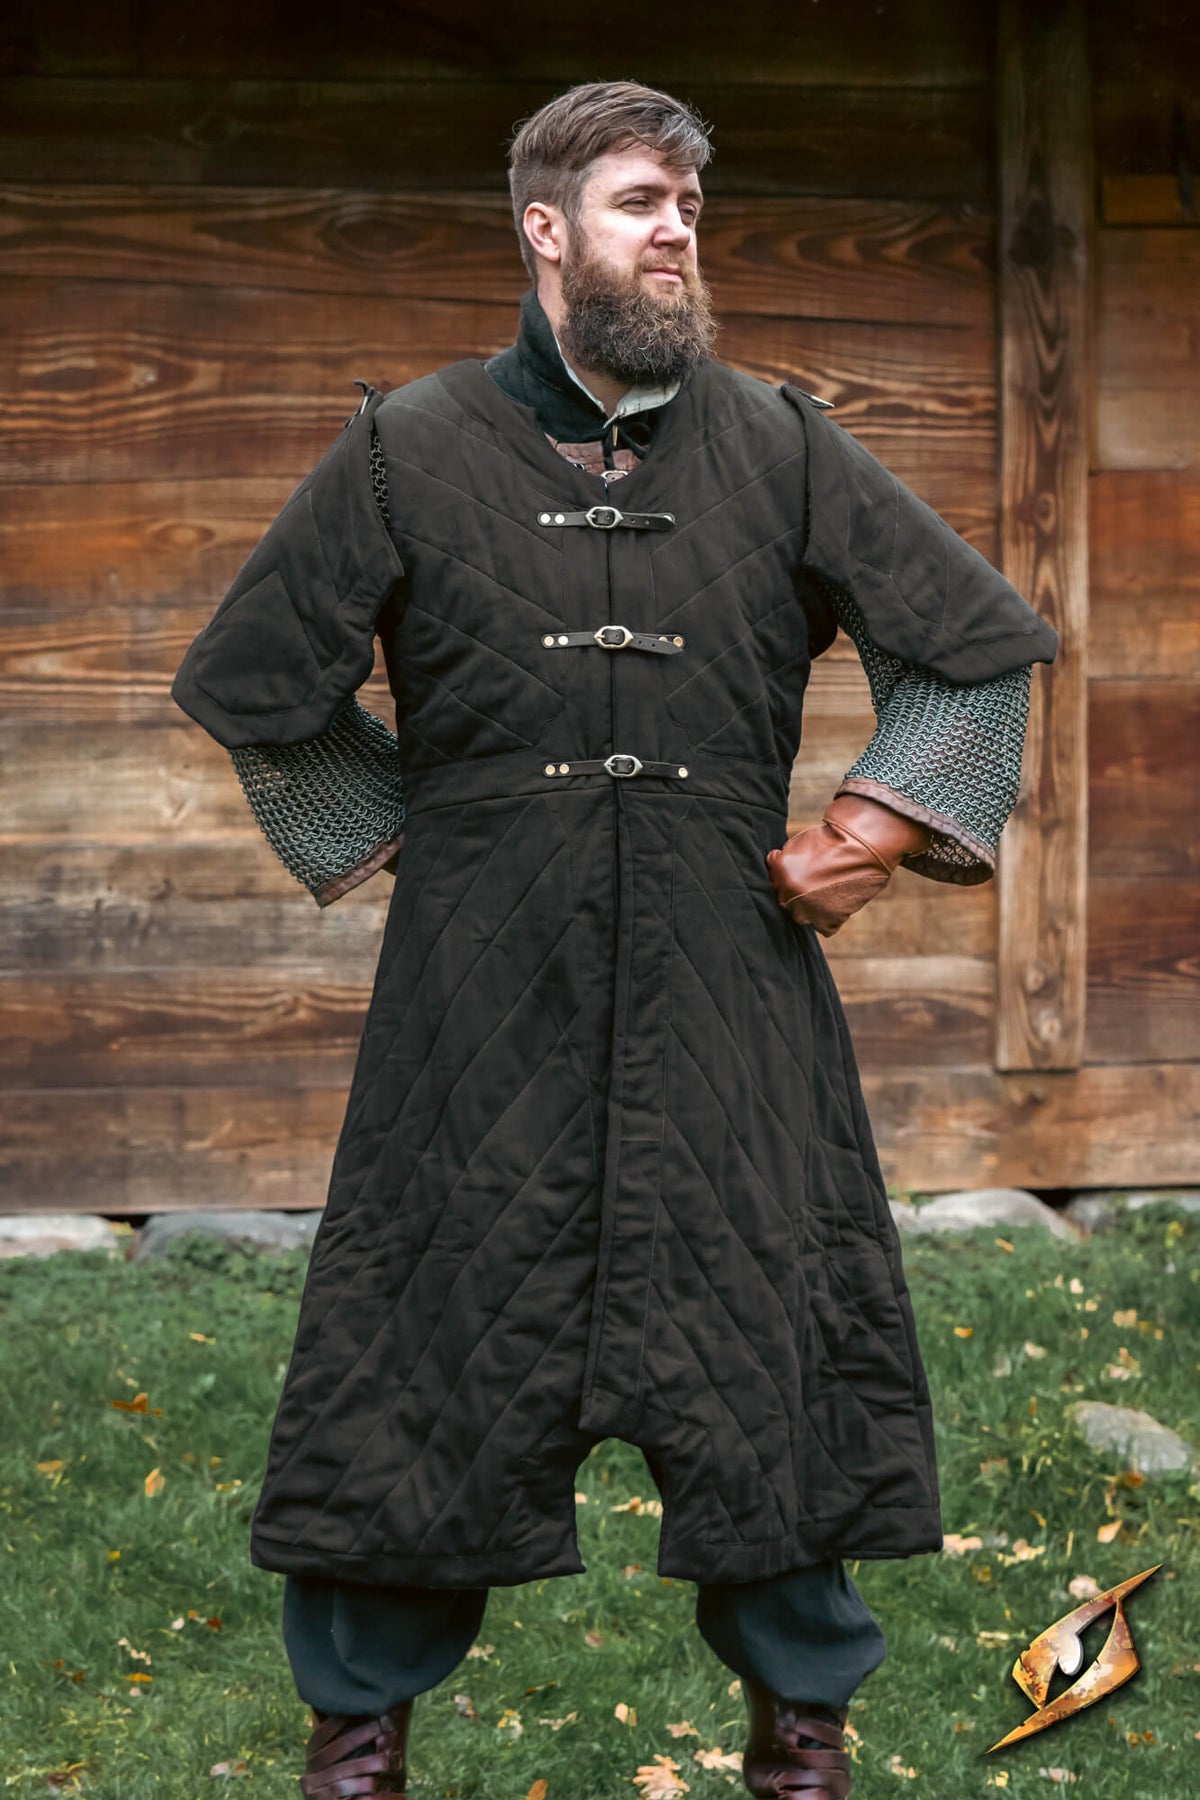
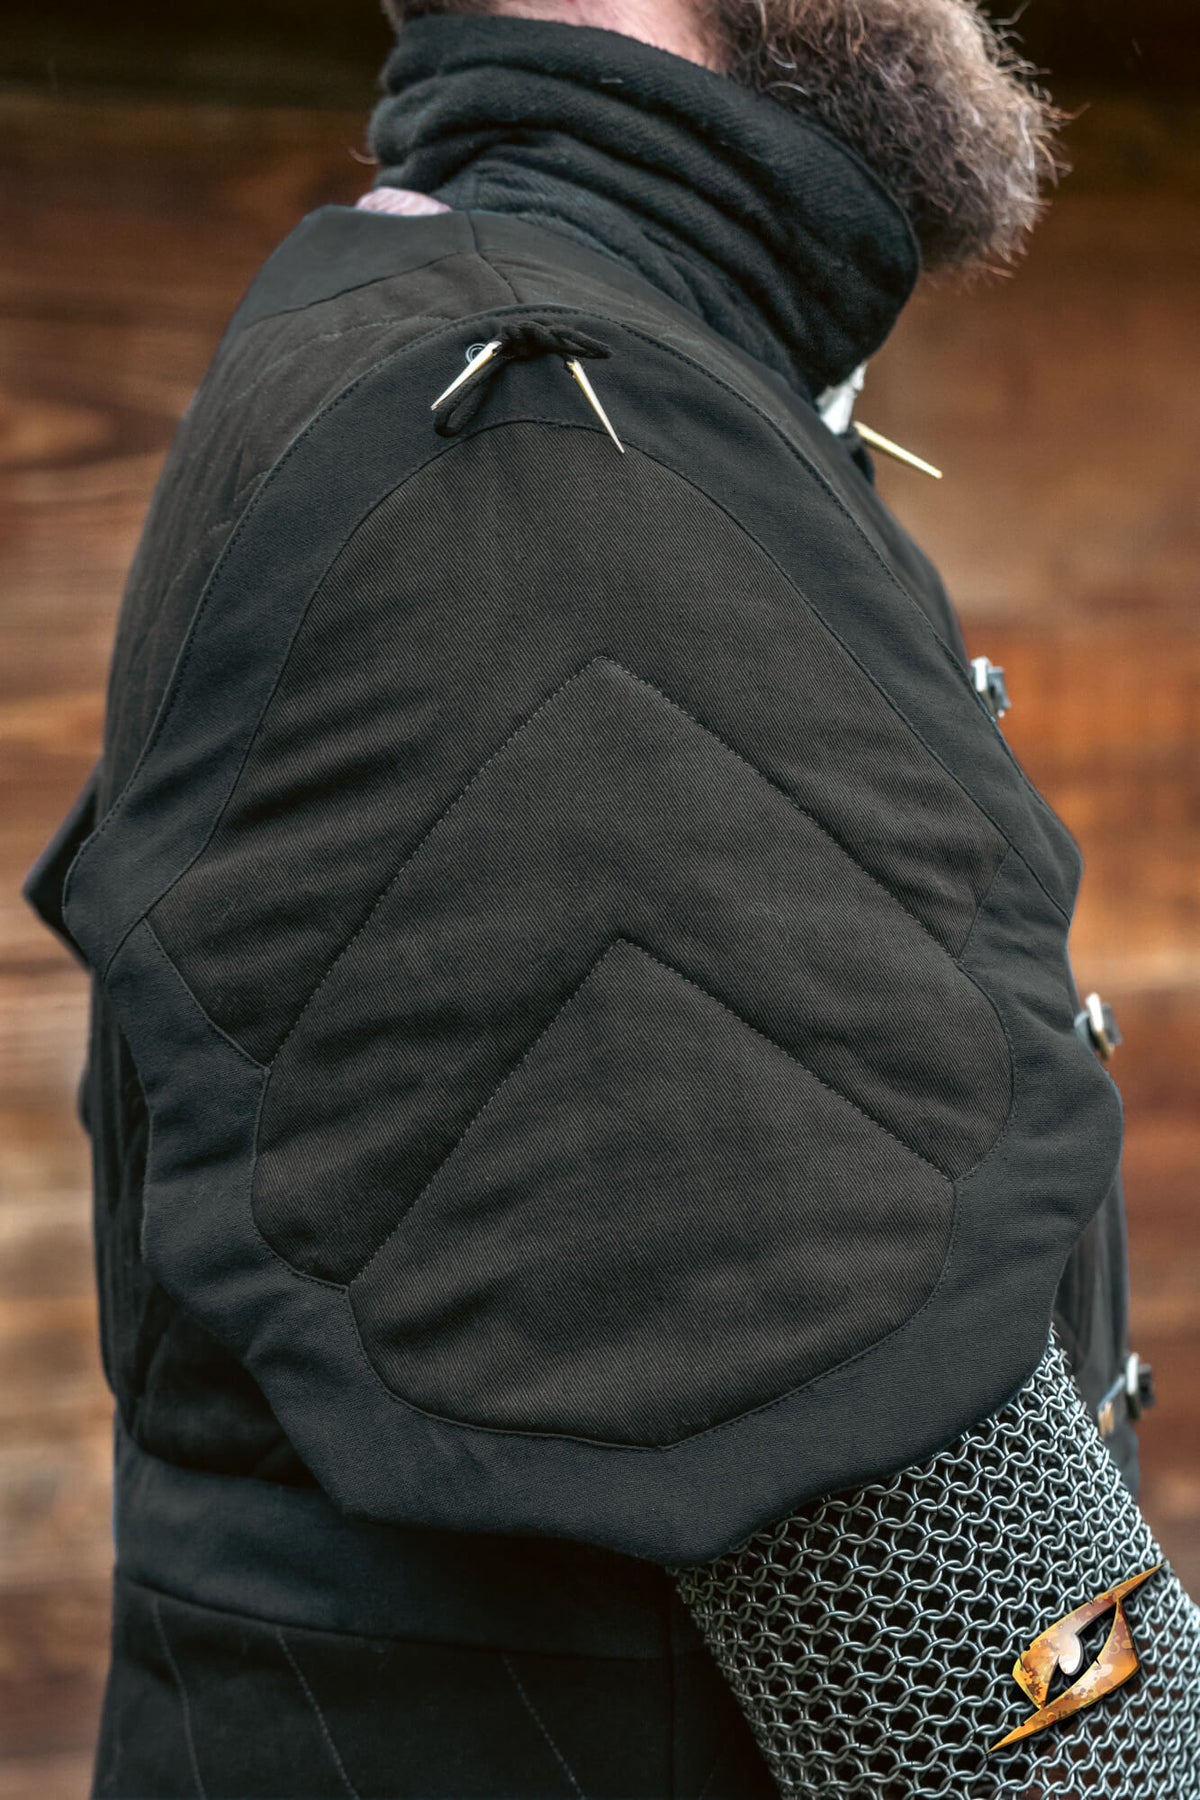
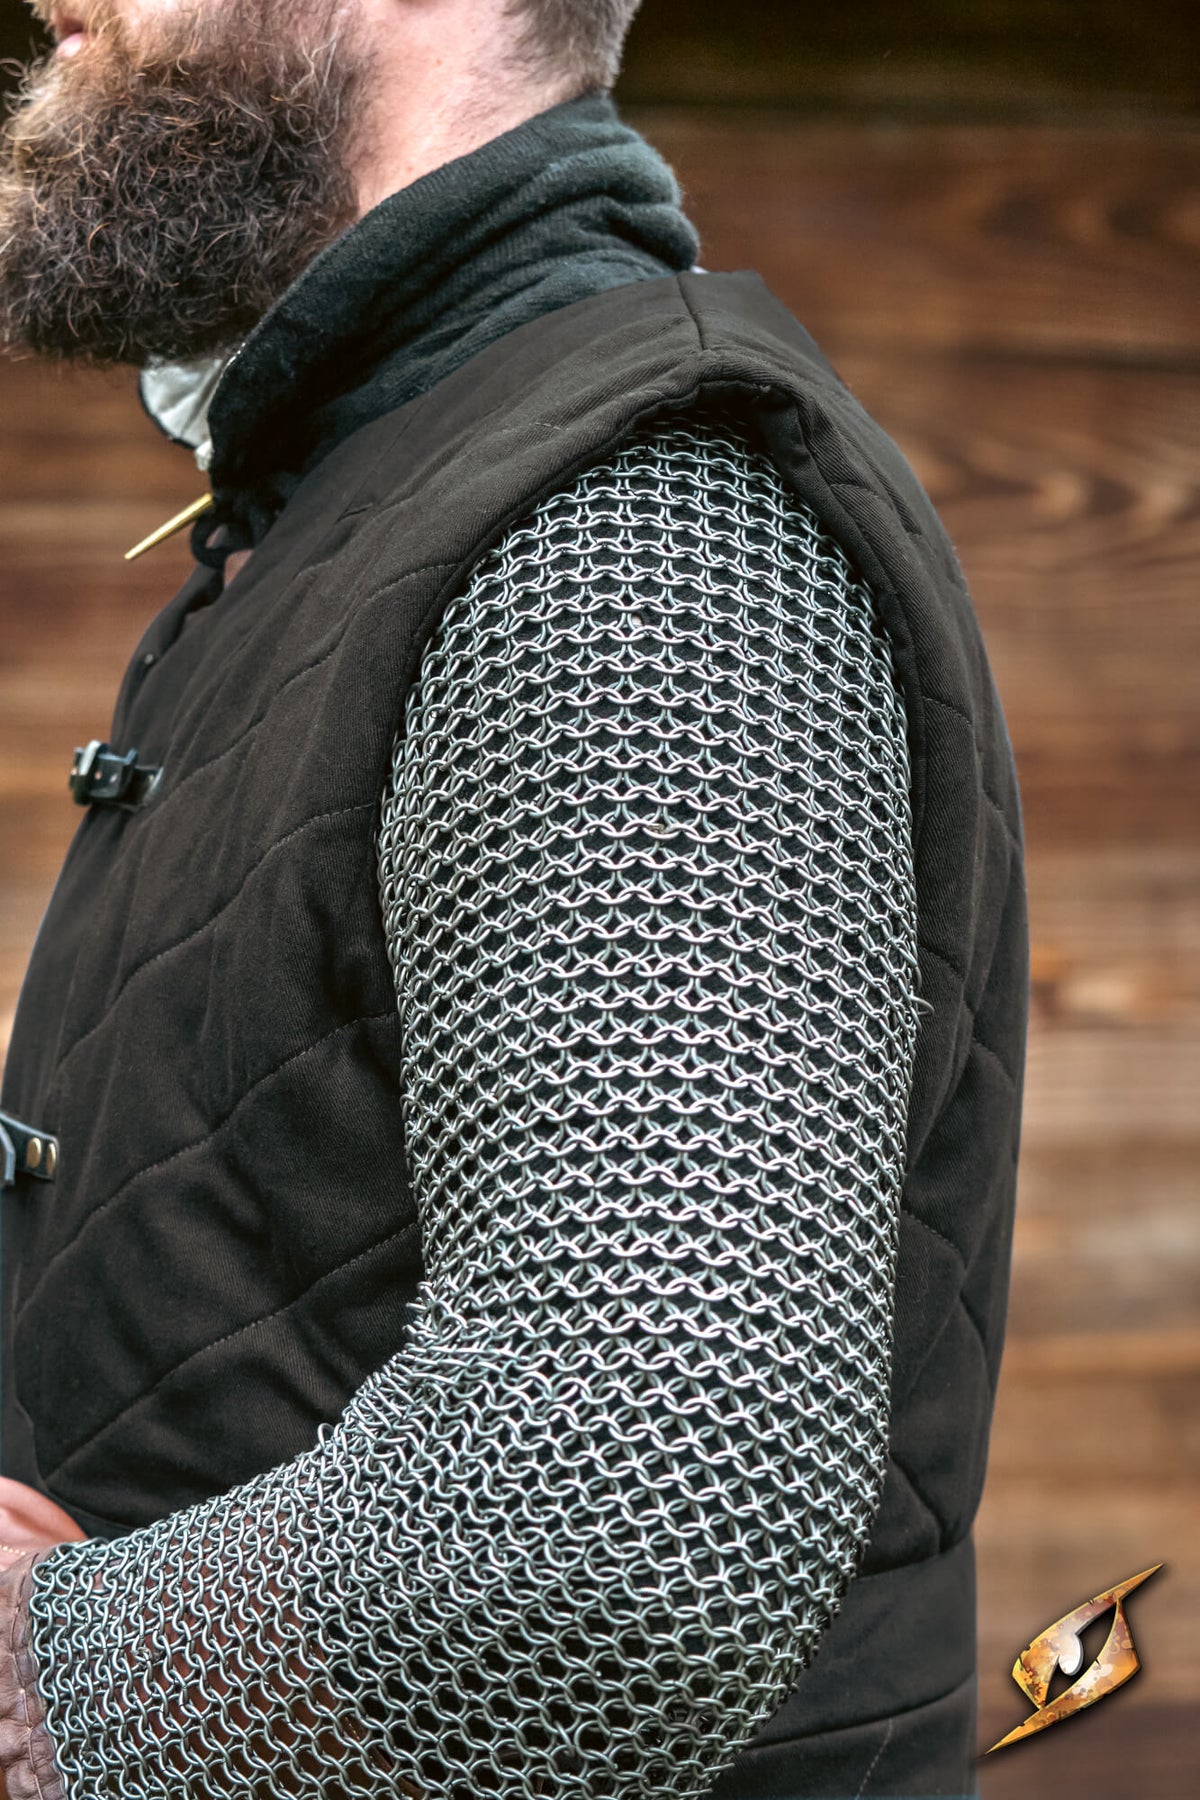
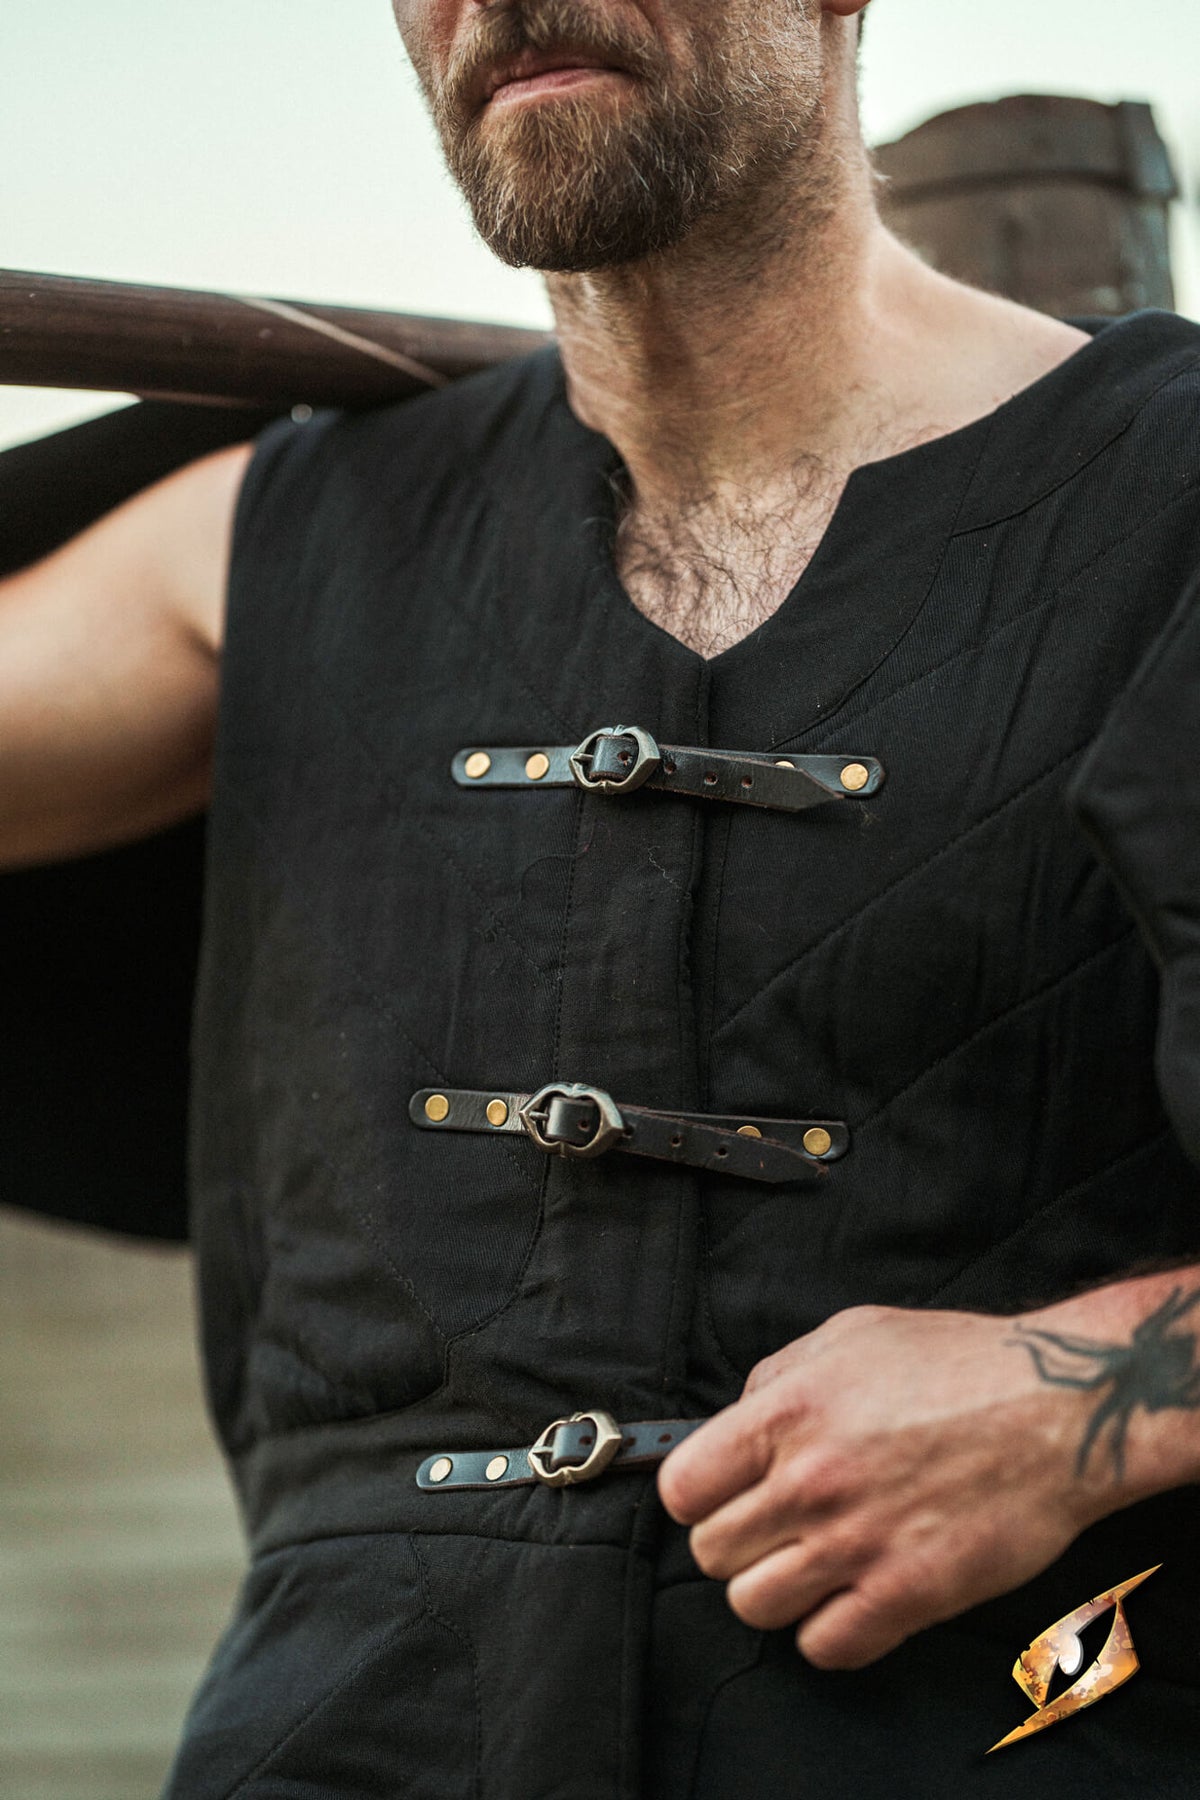
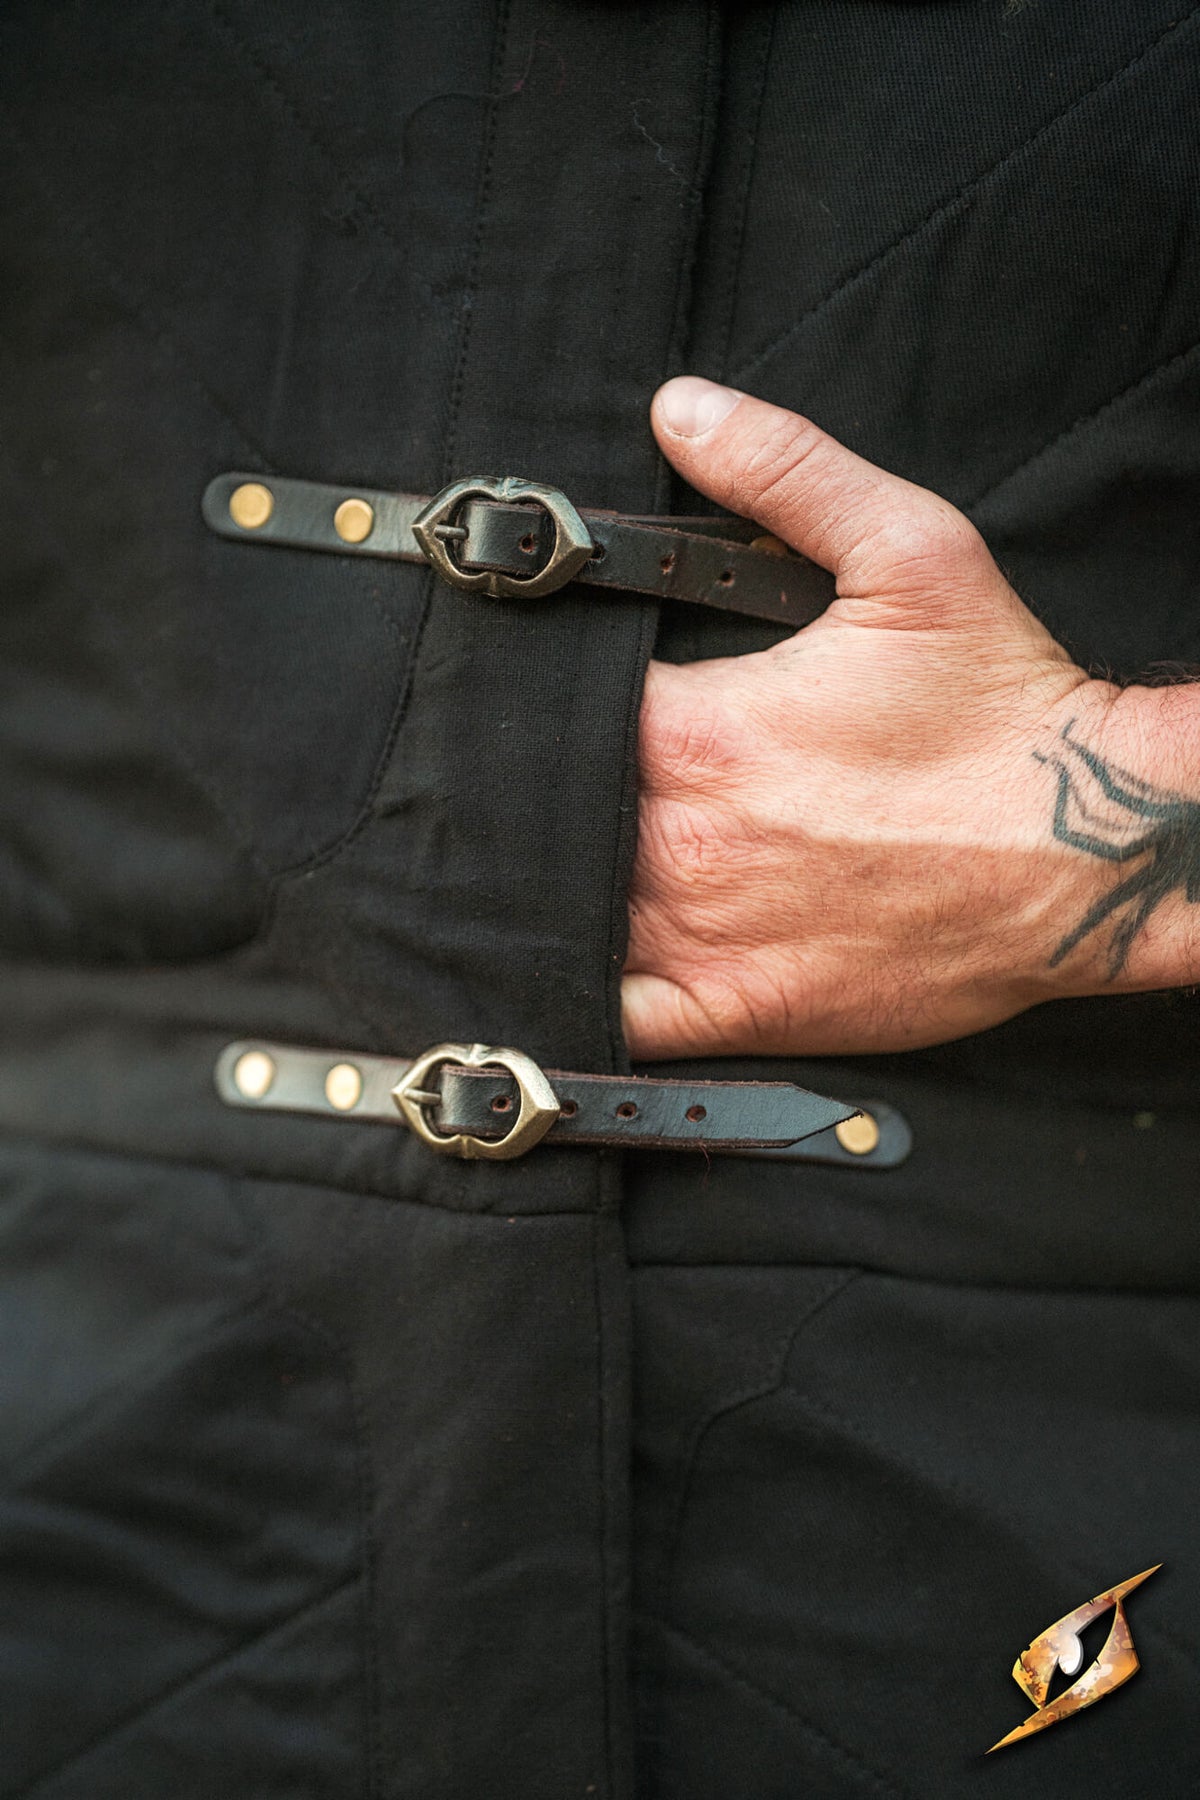




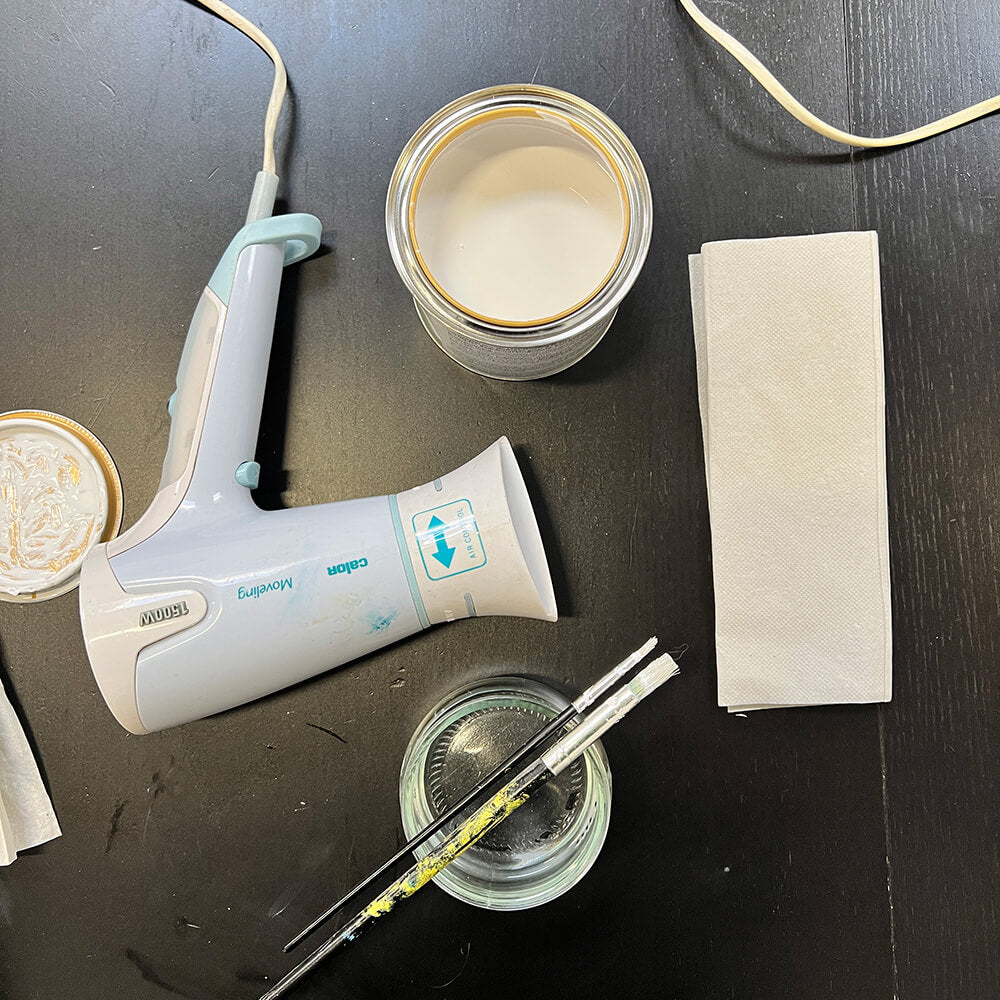
Tools & materials needed
- A TEXTILE ITEM: A gambeson, tabard, or banner. Fabrics with a tight, smooth weave are the easiest to paint on.
- PAINT: Basic wood/metal paint works well. Textile paint is an option too (more on that below).
- A SMALL BRUSH: for the outlines and fine details.
- A LARGER BRUSH: for filling in big surfaces.
- A HAIRDRYER: to dry each layer of paint.
- PAPER TISSUES: for wiping brushes and correcting mistakes.
- PAPER AND A PENCIL: for designing your heraldry first.
- A CUP OF WATER: for rinsing brushes and diluting paint.
Which paint to use on fabric?
For this tutorial, we used ordinary water-based wood/metal paint, and it did the job nicely. You can also use textile paint, which is made to stay flexible on fabric and generally holds up better against water. It is a nice upgrade, but not a must.
Use your paint undiluted for full coverage. Fabric soaks up paint like a sponge, so thick, undiluted paint gives you the strongest, most solid colour. Diluted paint is useful for sketching and for special effects.
Pro tip: do not wash your item after painting it. Regular paint is not made to survive the washing machine, and even textile paint usually needs to be set (often with an iron) before it can be washed. Check the label on your paint if you are unsure.
How to paint heraldry on fabric
step by step
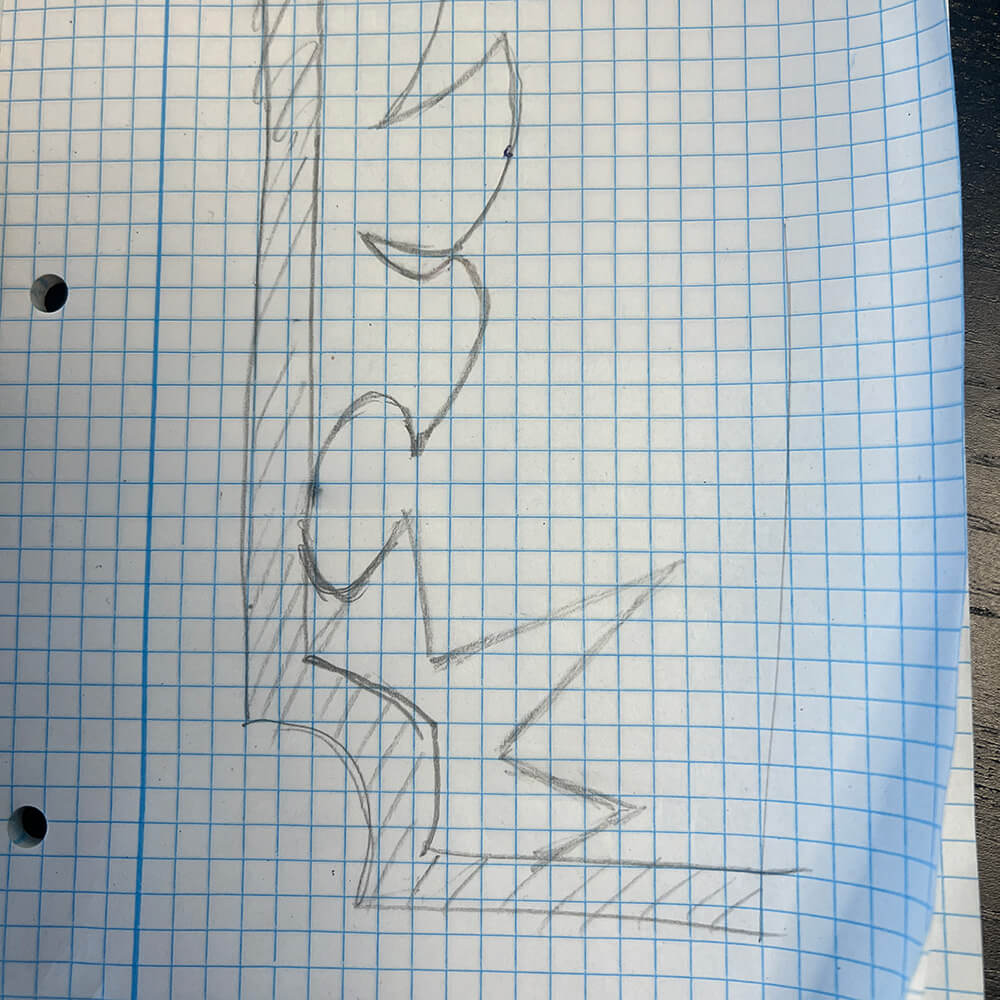
1. Design your coat of arms on paper
Start by drawing your design on a piece of paper with a pencil. This gives you a reference to work from, and it lets you make sure you actually like the design before a single drop of paint touches the fabric.
Think about what your heraldry says about your character. A lion for courage, a tower for a loyal garrison, a raven for a house with a dark reputation. Simple, bold shapes read best from a distance and are much easier to paint.
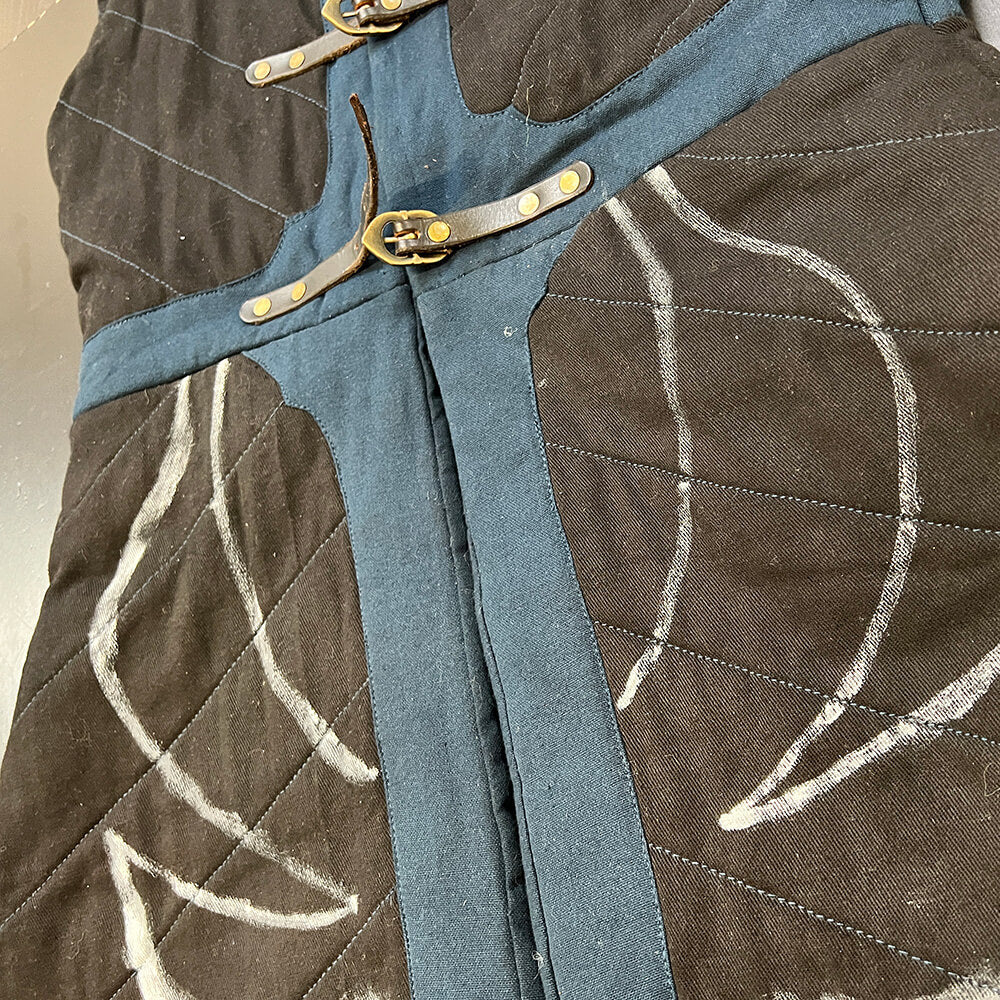
2. Sketch the design onto your item
When you are happy with your design, copy it onto your item, scaling it up or down to fit if needed. Use diluted paint and the small brush, and trace the design lightly onto the fabric.
This is a light sketch, not the final line. The diluted paint is faint and forgiving, so you can still adjust shapes before committing.
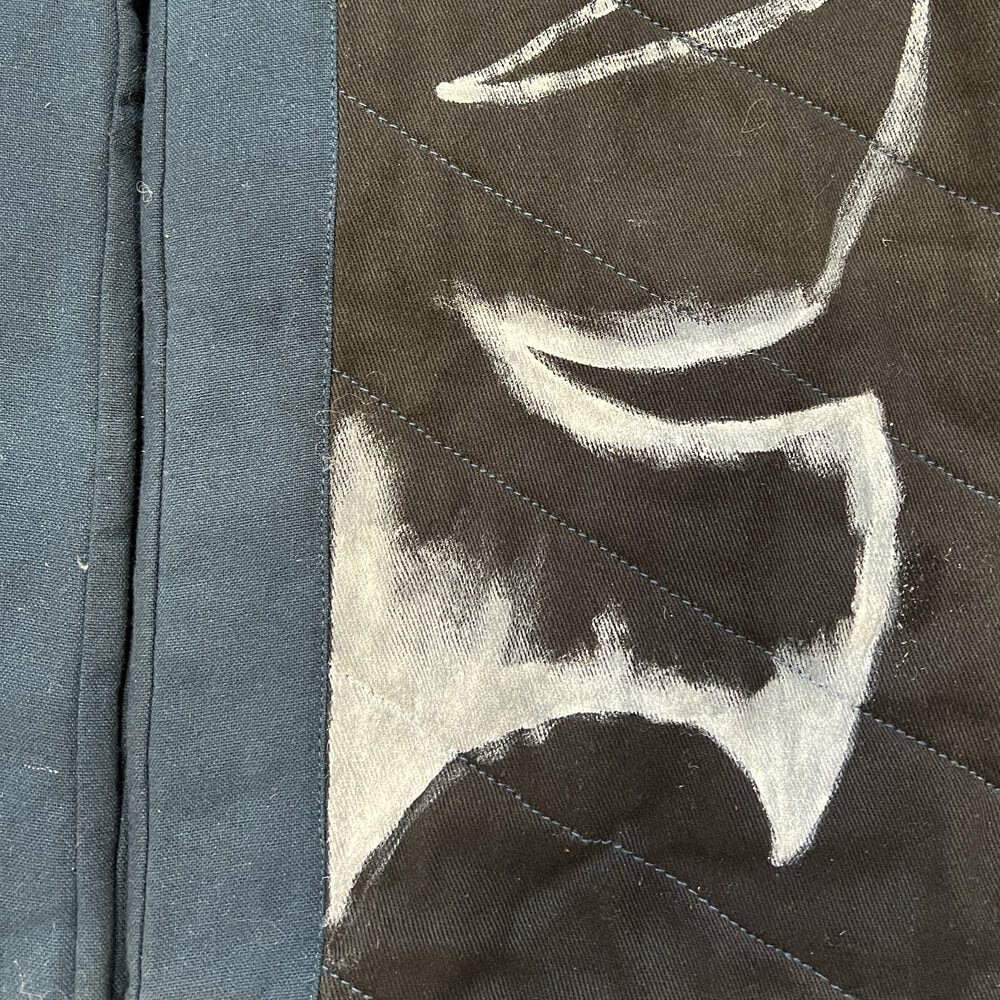
3. Outline with precision
Now take undiluted paint and the small brush, and go over the outline again. This time, work with precision and aim for lines that are as neat and smooth as possible. Clean outlines are what make heraldry look crisp and professional.
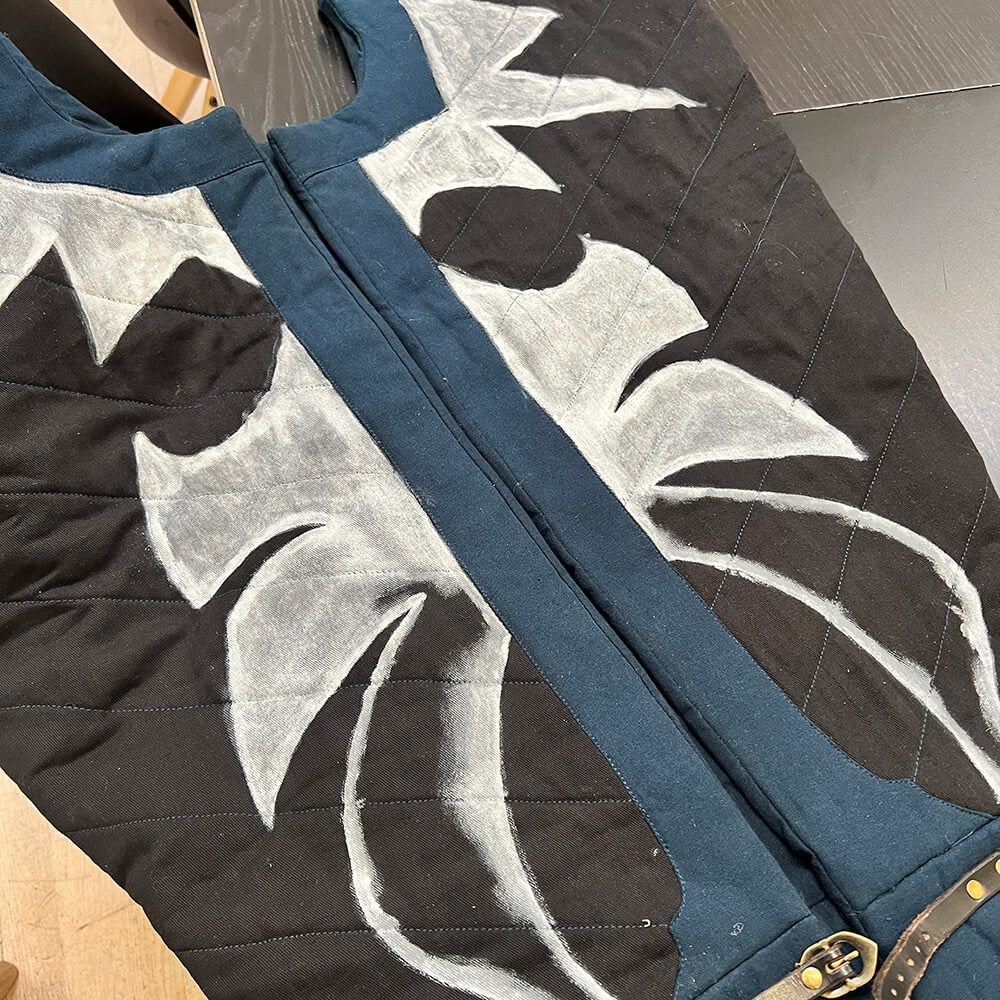
4. Fill in the colour
Switch to the large brush and start filling in the colours. Keep using undiluted paint. You will notice the fabric drinks it up, so do not worry if the first layer looks patchy.
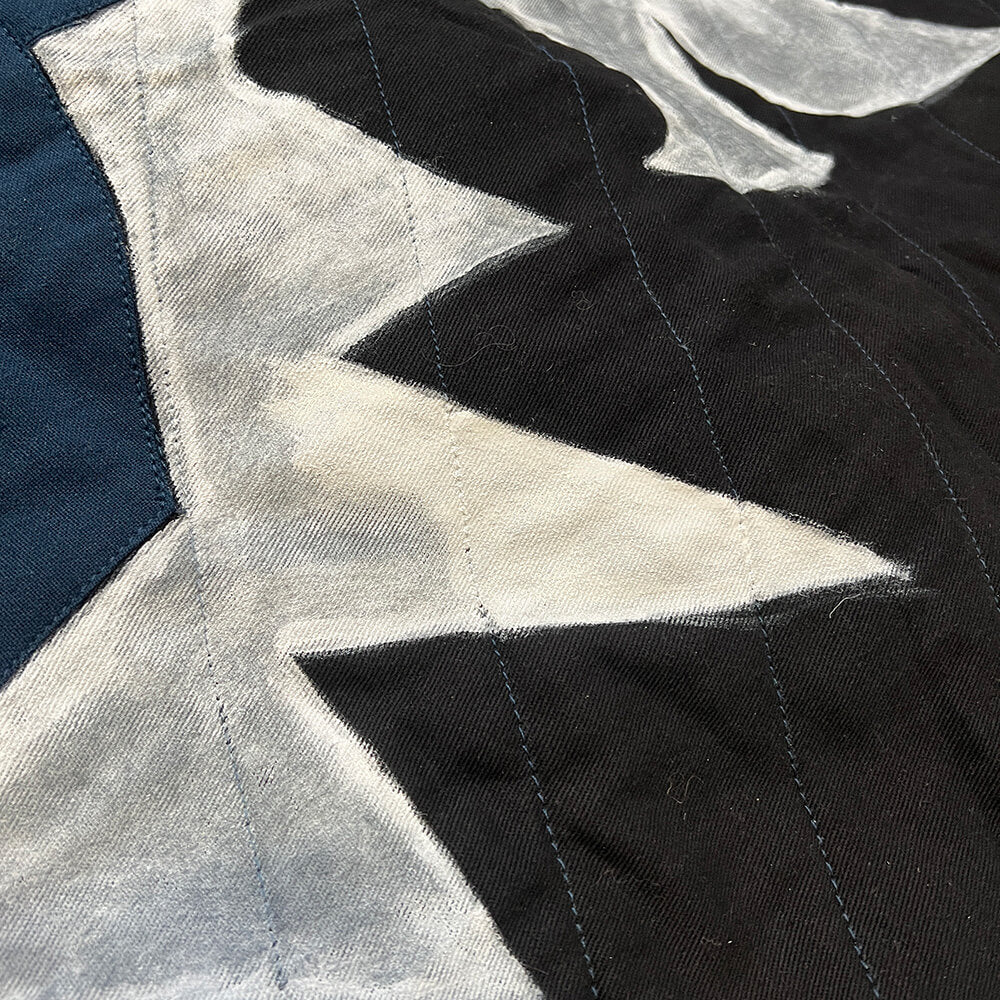
5. Dry with the hairdryer & add more layers
Once the first layer is done, dry it with the hairdryer. When it is dry, apply a second coat where needed, then dry again. Repeat as necessary.
Most designs need 2 to 3 layers, depending on your paint and the look you want. We used 2 layers for the item in this tutorial.
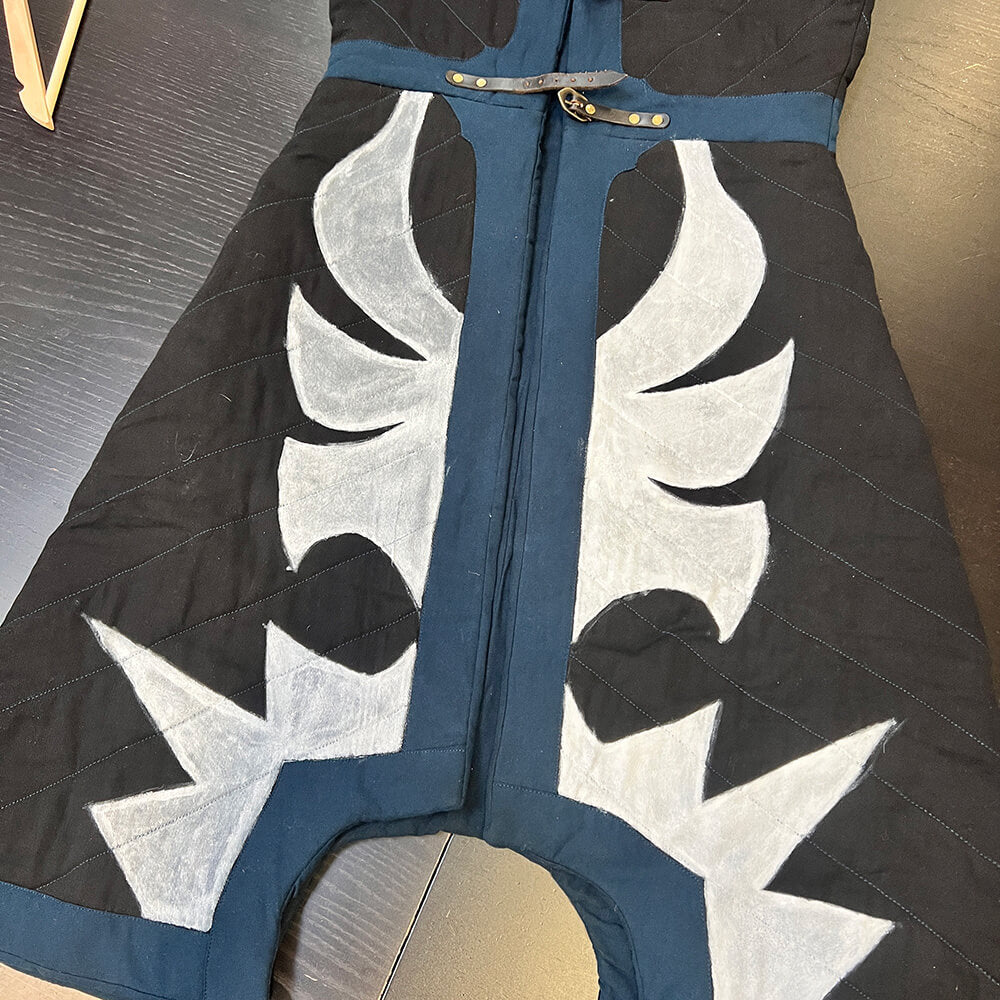
Tips & tricks
- Fix mistakes while the paint is wet. Water-based paint is fairly easy to remove with a damp paper towel or cloth, as long as it has not dried yet.
- Want a weathered, battle-worn look? Dilute your paint with water. The thinner paint soaks into the fabric unevenly, giving the faded look of a banner that has seen many campaigns.
- Keep it bold. Heraldry was made to be recognised at a distance. Strong contrasts and simple shapes will look better on the field than tiny details.
Final steps
Once the last layer is completely dry, you are all set to assemble your full costume!
Remember: customisation is how you stand out from the crowd and how you make your costume truly unique to your character. A painted coat of arms turns off-the-shelf gear into something only your character could wear.
Looking for a blank canvas for your heraldry? Browse our gambesons, tabards, Battle Standards and Ready to Dye collection, and do not miss our guide on how to add a battle-worn finish to a LARP weapon to match your blade to your banner.
Now raise your colours and march to battle!
FAQ
Can I use regular paint on fabric? Yes. Basic water-based wood/metal paint works for painting heraldry on fabric. Use it undiluted and build up 2 to 3 thin layers for the best coverage.
Do I need textile paint? No. Textile paint tends to hold up better against water, but regular paint gives great results as long as you do not wash the item.
Can I wash a painted gambeson? We recommend not washing your item after painting it, as the paint may fade or come off.
How many layers of paint do I need? Usually 2 to 3, depending on the paint and the effect you want. Dry each layer with a hairdryer before adding the next.
How do I get a faded or weathered look? Dilute the paint with water. It soaks into the fabric more unevenly and gives a worn, sun-bleached effect.
Want to sew your heraldry instead?
Check out the video below for detailed instructions on how to design, dye and sew your own heraldry onto our Battle Standard!

How to design, dye and sew your Battle Standard
Read more
14 Renaissance Faires and Medieval Markets Worth Adding to Your Calendar
Renaissance faires and medieval markets have been growing in scale and ambition for decades, and the internet is full of passionate communities documenting every event worth attending. We have not ...
Read more