
HOW TO ADD A BATTLE-WORN FINISH TO A LARP WEAPON
If you want your LARP weapon to tell your character's story and reflect their intense battle experience, this guide is for you.
In this blog, our guest writer Glenn Lieberkind will share tips and tricks on adding a battle-worn finish to a LARP weapon. With this guide, you will be able to turn any LARP weapon into an epic orc or barbarian weapon!
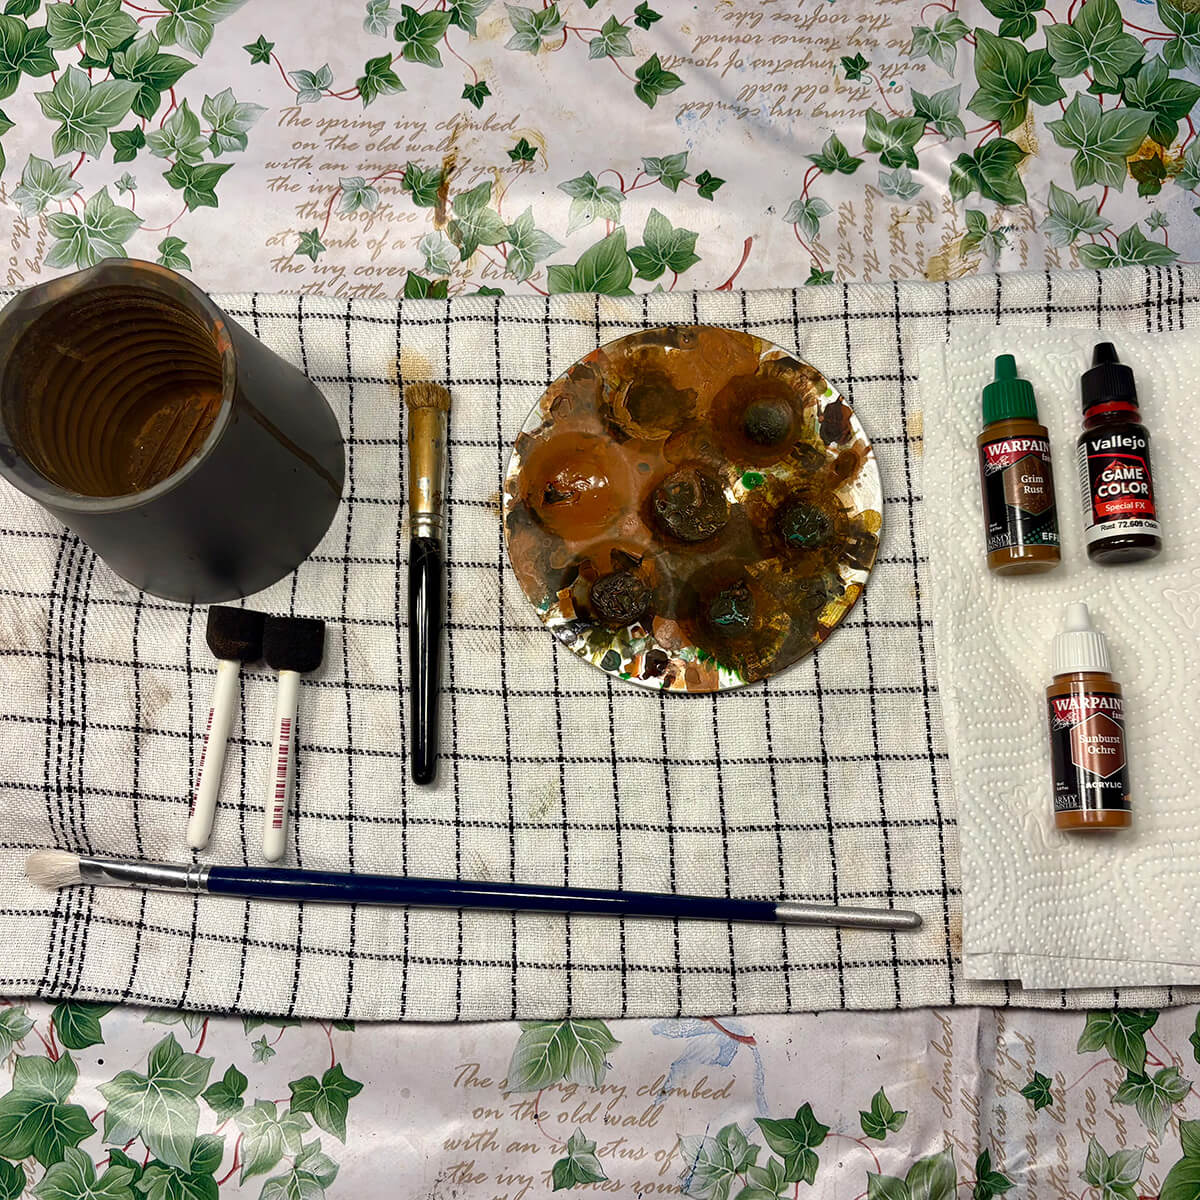
Tools & Materials needed
- A SWORD. If the sword is new, wipe it down thoroughly to remove any silicone residue. If it’s a used sword, give it a quick clean to remove any dirt or grime. Remember to let the sword dry completely before moving on to the next step.
- PAINT PRIMER. This prepares the surface for further work. Important: Only apply primer to the areas where you want to add rust. You can also skip this step entirely, but be aware that the paint will wear off more quickly.
- PAINT. I used acrylic paints designed for painting miniatures, such as Warhammer miniatures. I find these much easier to work with for this kind of project. I do not recommend using Speedpaints for this project. Colors used: Sunburst Ochre, Rust, and Grim Rust.
- A CONTAINER OF WATER for rinsing your brushes. This can be a proper water pot or just an ordinary cup.
- A CLOTH OR PAPER TOWEL. Use this to wipe your brushes when changing colours.
- BRUSHES. I used a drybrush and two miniature chipping brushes, but you can use pretty much any brushes you have available.
- A PALETTE. For mixing your paints.
Sword used in this tutorial
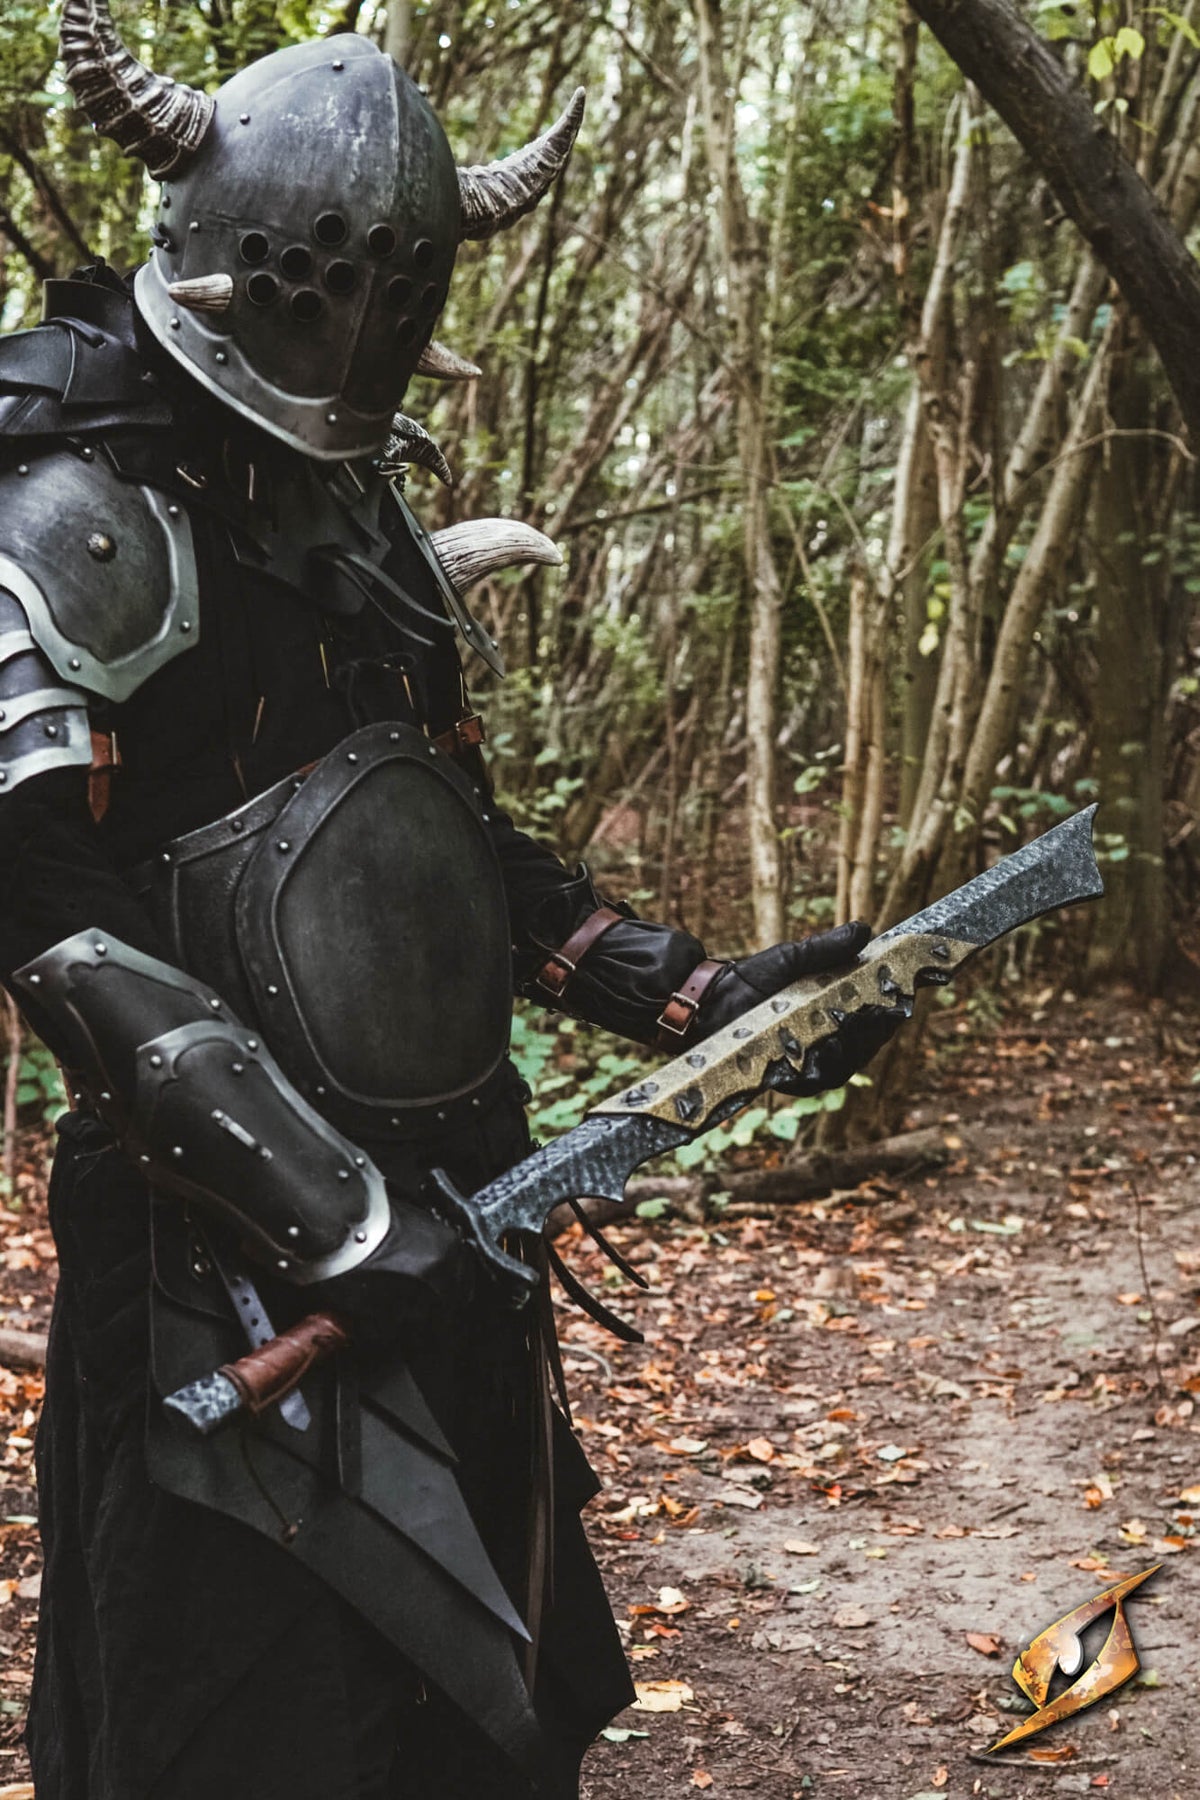
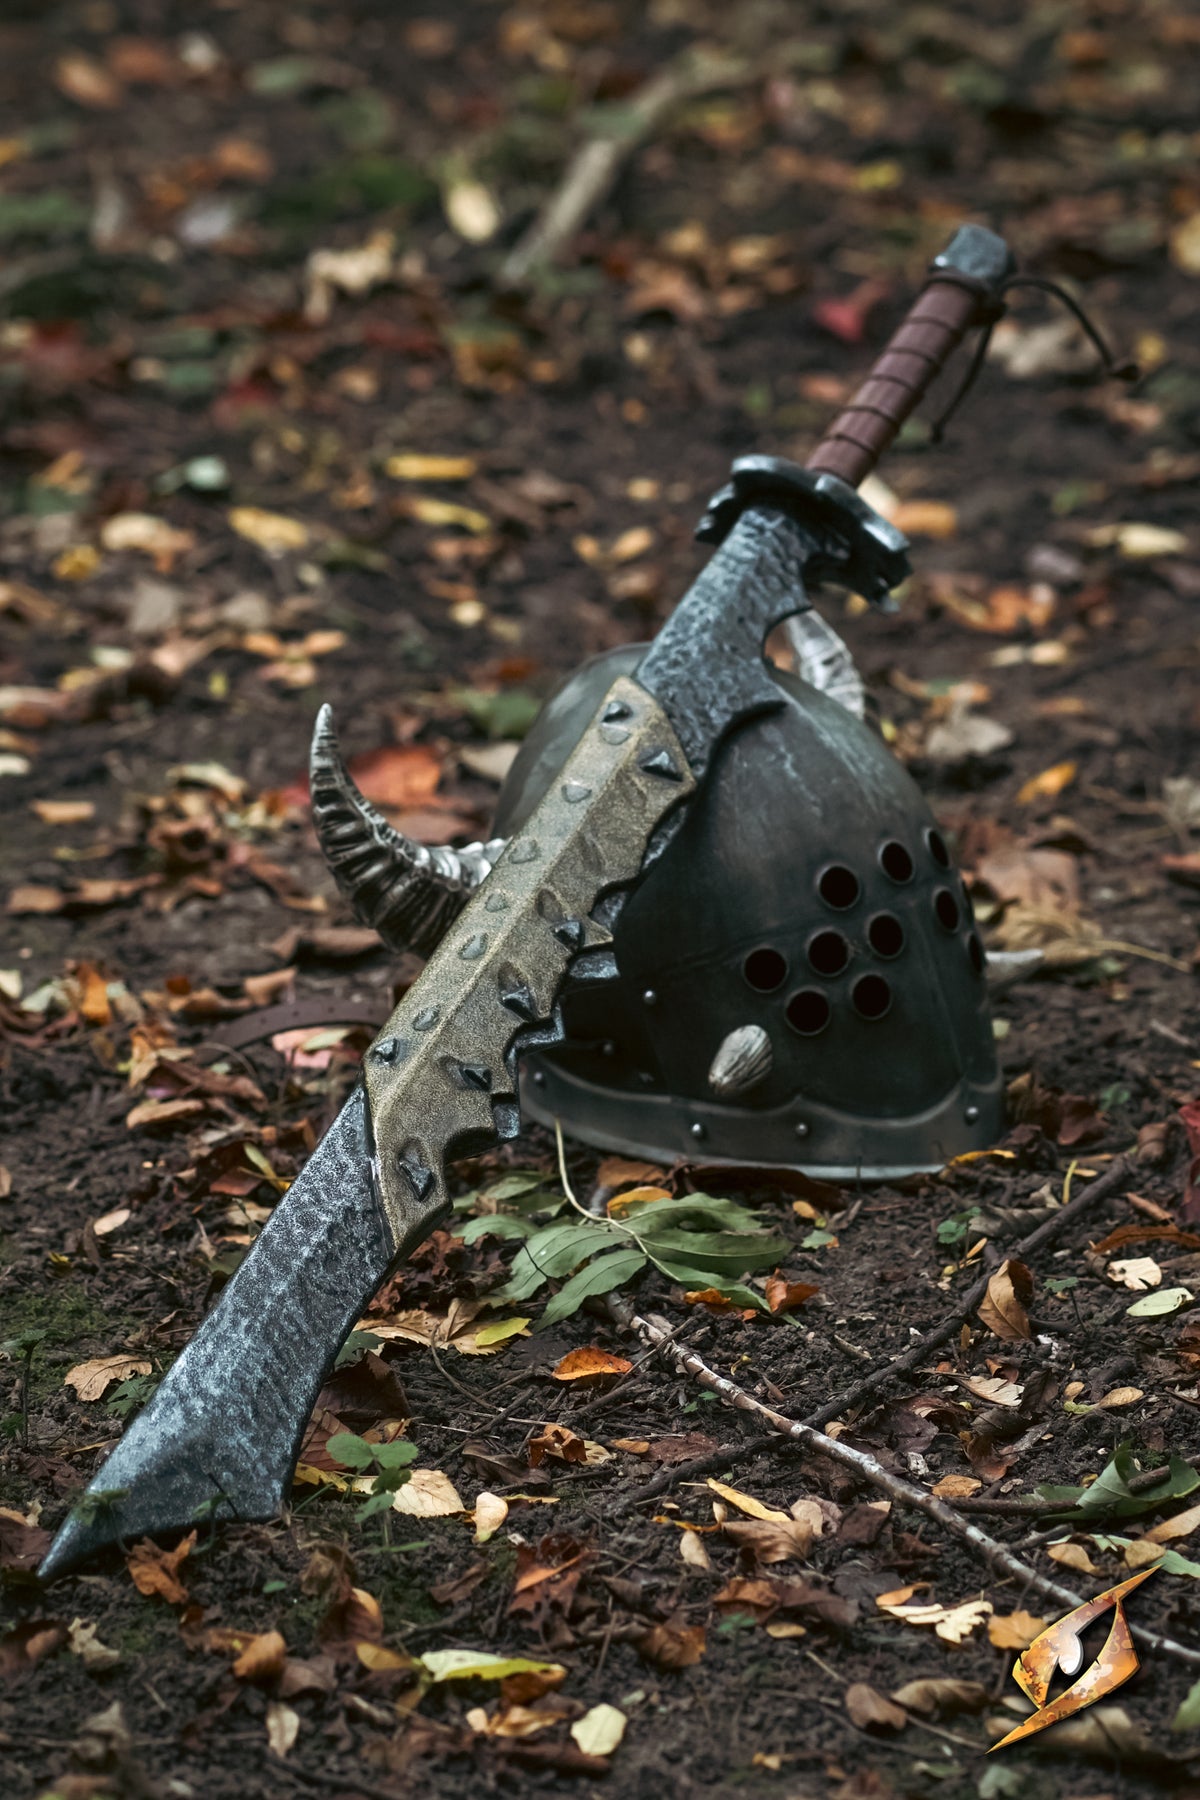
One of the great things about Epic Armoury's Orc Cleaver is that it already has rust-coloured areas painted onto it, which makes it easier to identify where additional rust would look natural.
I generally find Epic Armoury’s “Battleworn” swords easier to paint and add details to, because they have dents, recesses and nicks. Completely smooth swords are more difficult to work with, since creating a convincing rust effect takes more effort.
My main focus here was to build on the existing rust and expand it, giving both the blade and the handle some extra love.


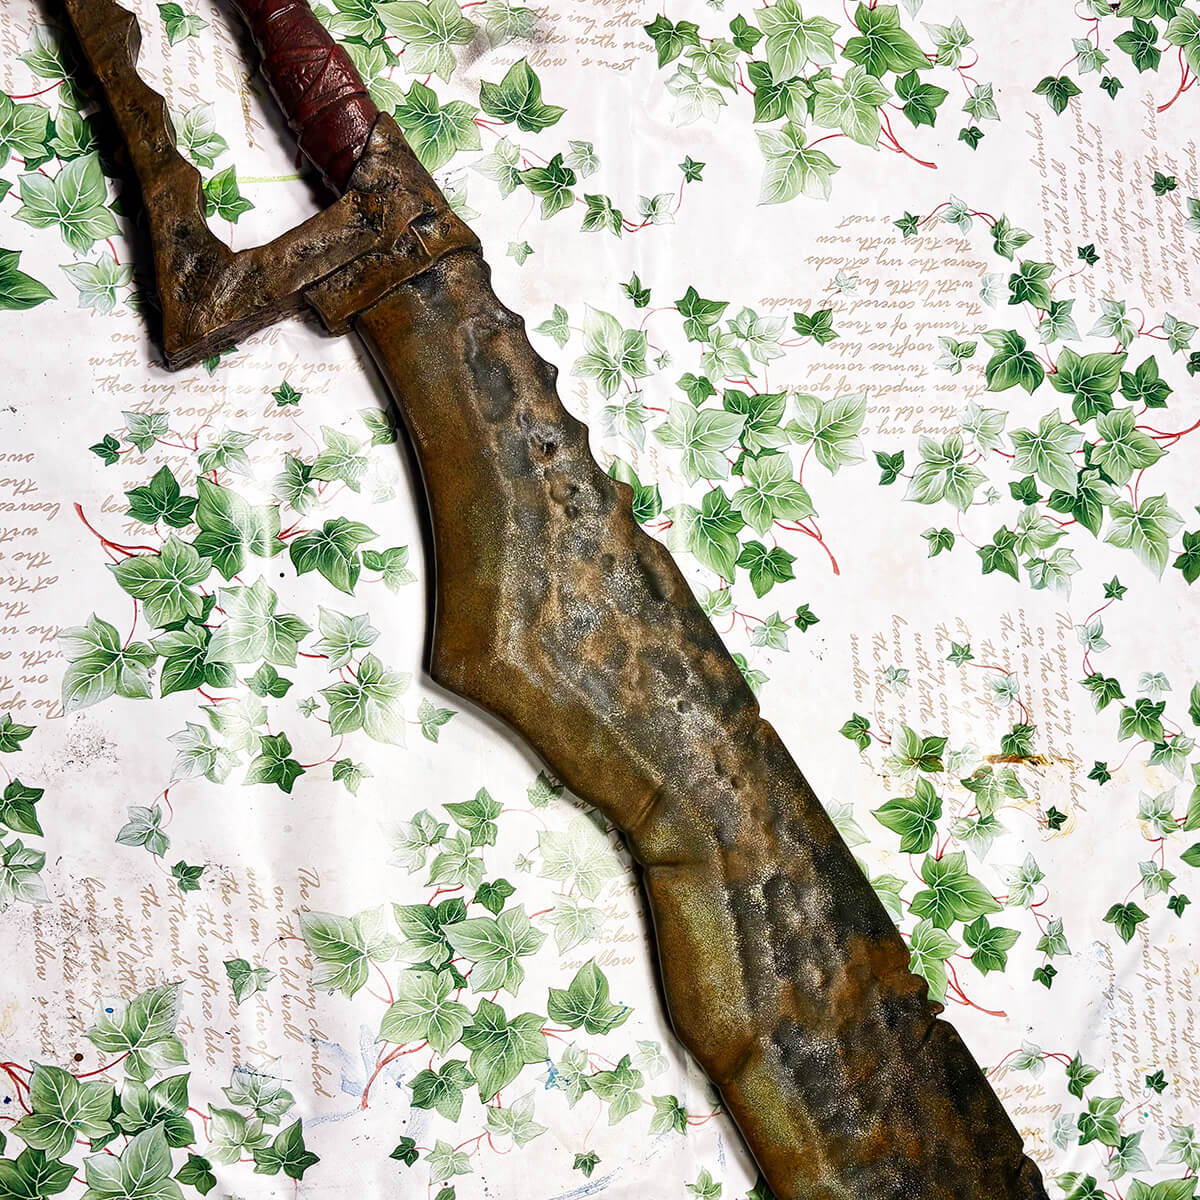
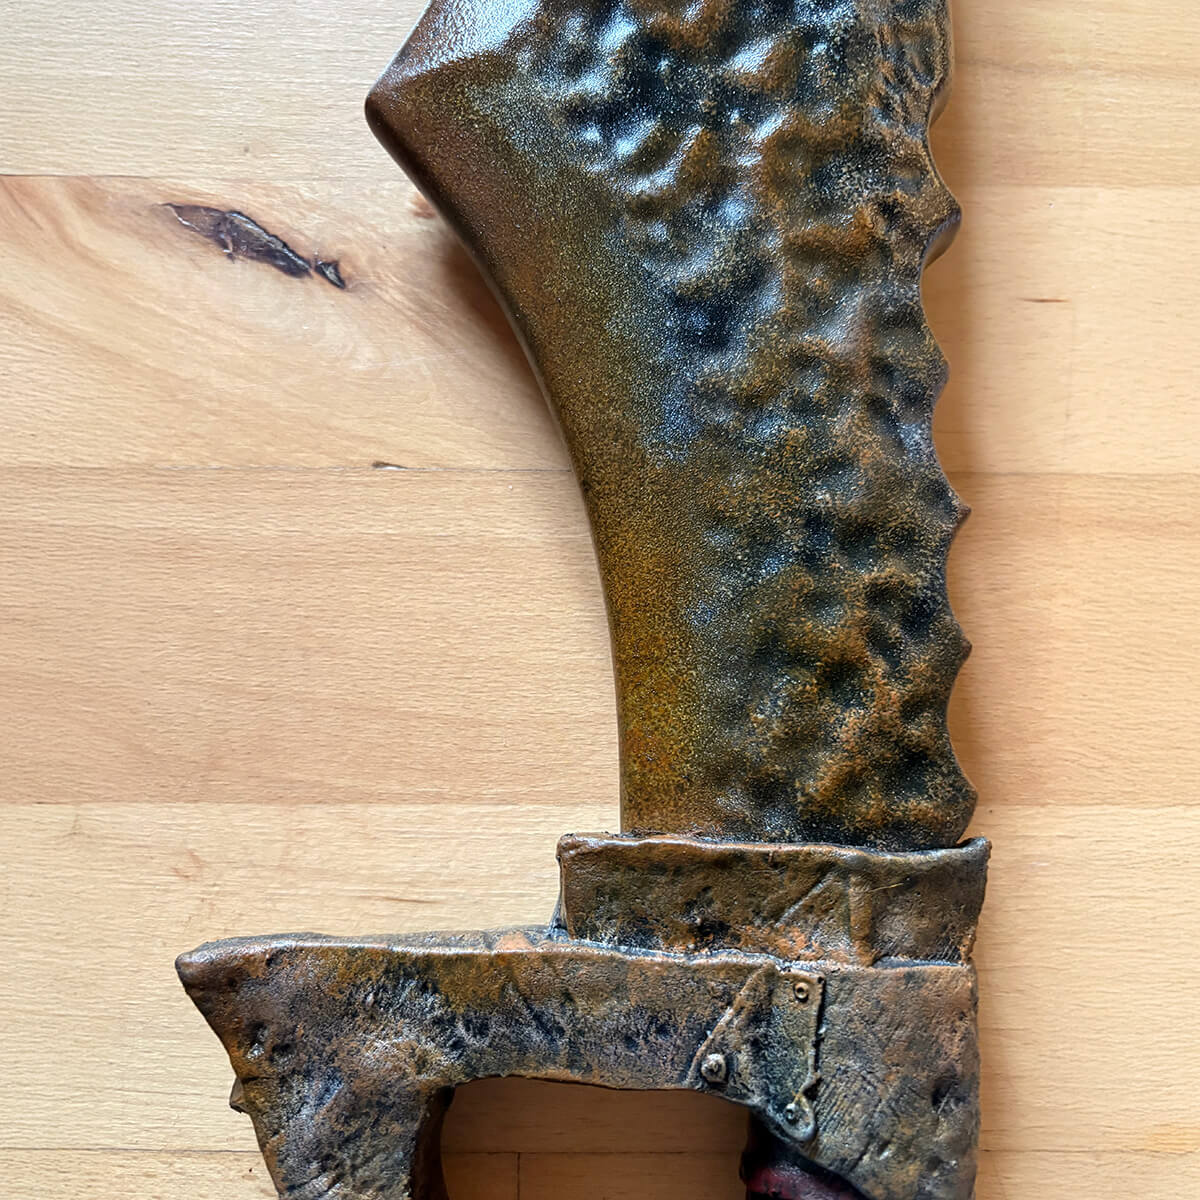
The base layer
- Prepare three separate portions of Sunburst Ochre. Add water to each portion to achieve different consistencies. I recommend making three versions: thin, medium,
and thick. This will help you create different shades and textures of rust. - Remove the excess paint. If there is too much paint on your brush, dab it onto your cloth or kitchen paper to remove the excess. This makes the paint much easier to control. When applying the paint to the sword, use a dabbing motion rather than creating clean, straight lines.
- Next, use a dry brush to gently dab over the areas you have painted. This helps prevent the paint from pooling or collecting in one spot.
- Once you are happy with the result, let the sword dry completely before moving on. Alternatively, you can continue to the next step while the paint is still drying.
Adding the details
Once you are happy with the first layers of paint, it is time to add the finer details.
How you approach this step is entirely up to you. I recommend using a drybrush and chipping brushes, as they make the process much easier. It is important to thin your paint with water, regardless of which colour you are using.
While working on this sword, I focused on two things:
- Where rust would naturally build up over time.
- Where rust and grime would accumulate if the sword were used regularly and not
cleaned after battle.
This is how I used Rust and Grim Rust colors:
- Rust: I applied this over the Sunburst Ochre to darken the rust and give it more depth.
- Grim Rust: I used this in the many nicks and dents along the blade, as these are natural places for dirt and grime to accumulate.
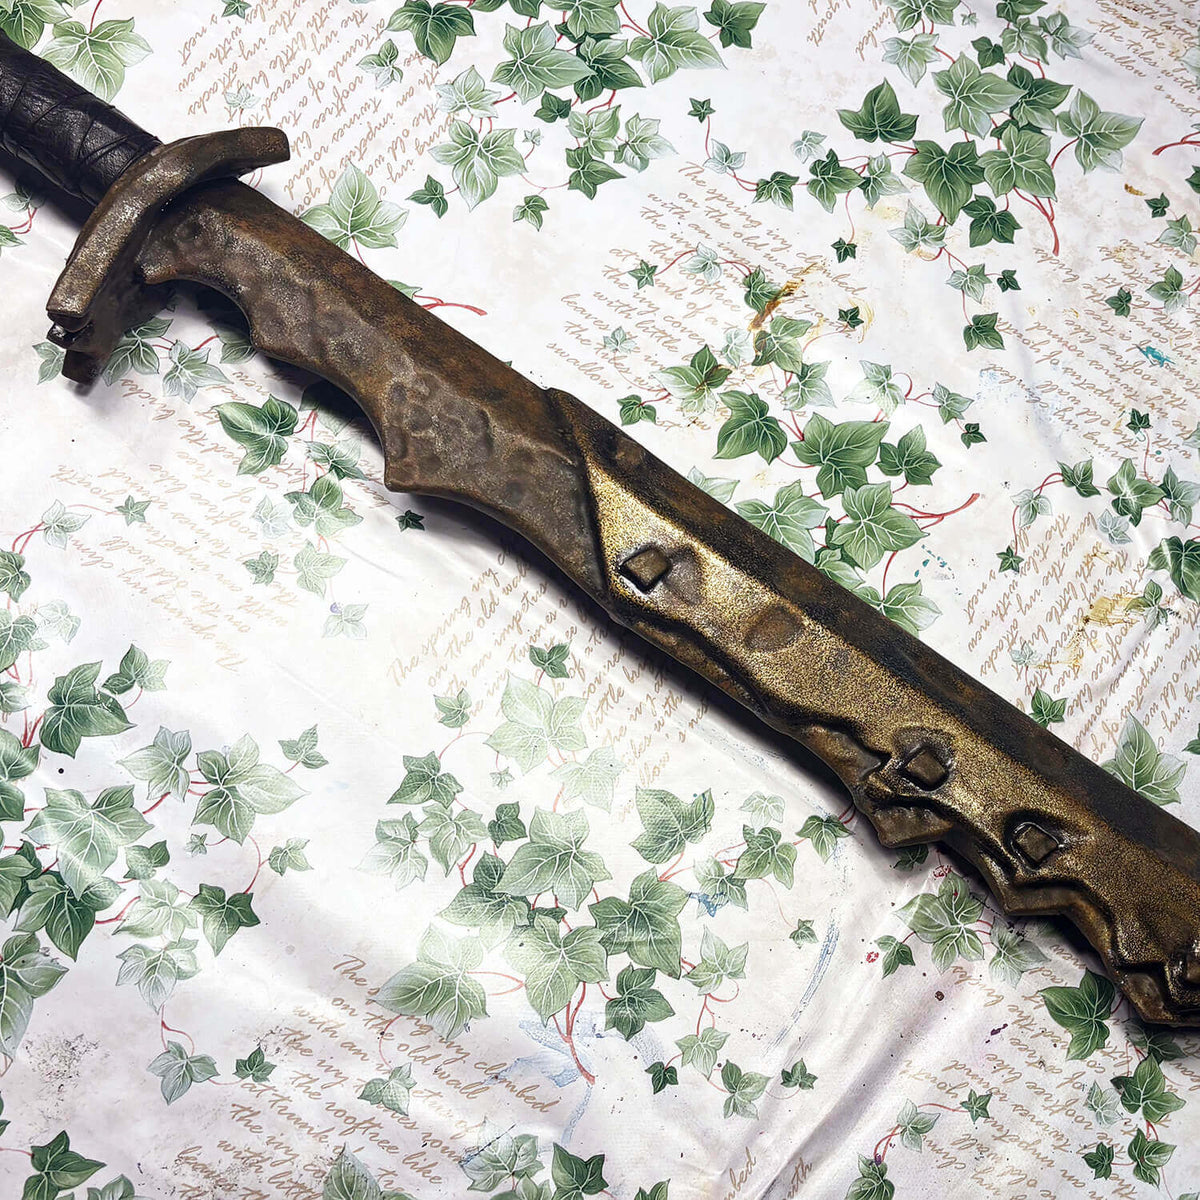
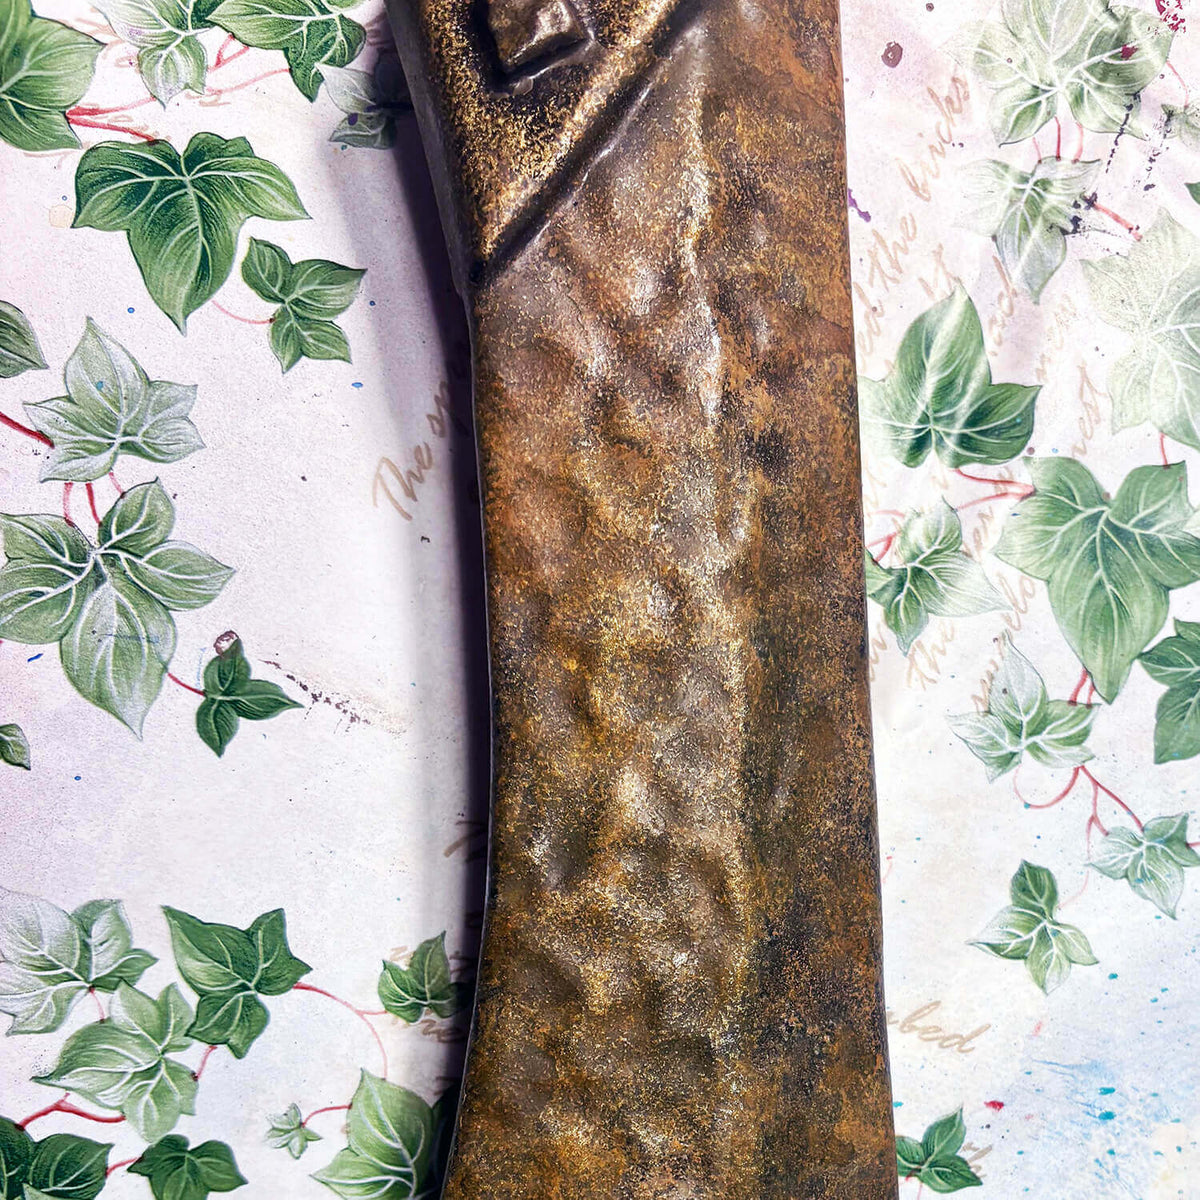
Weathering the Choppa
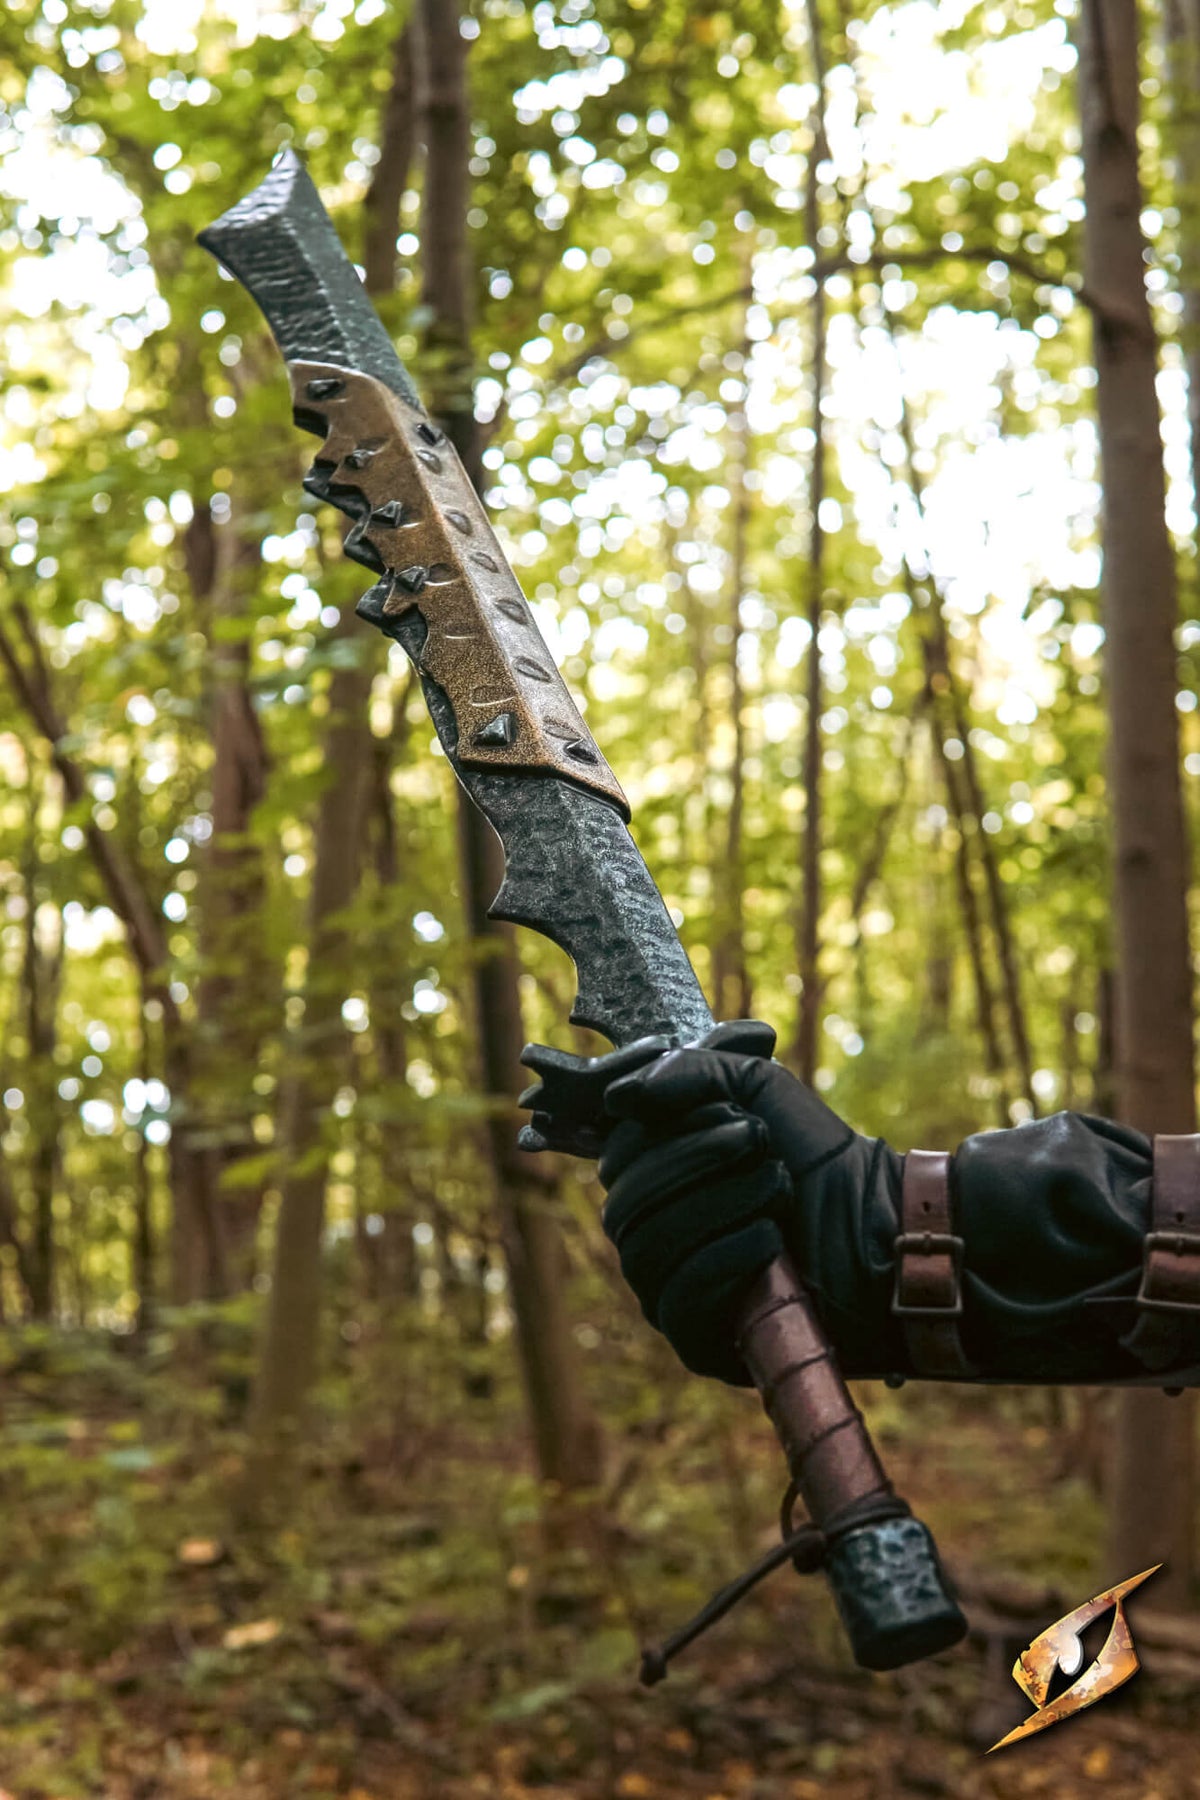
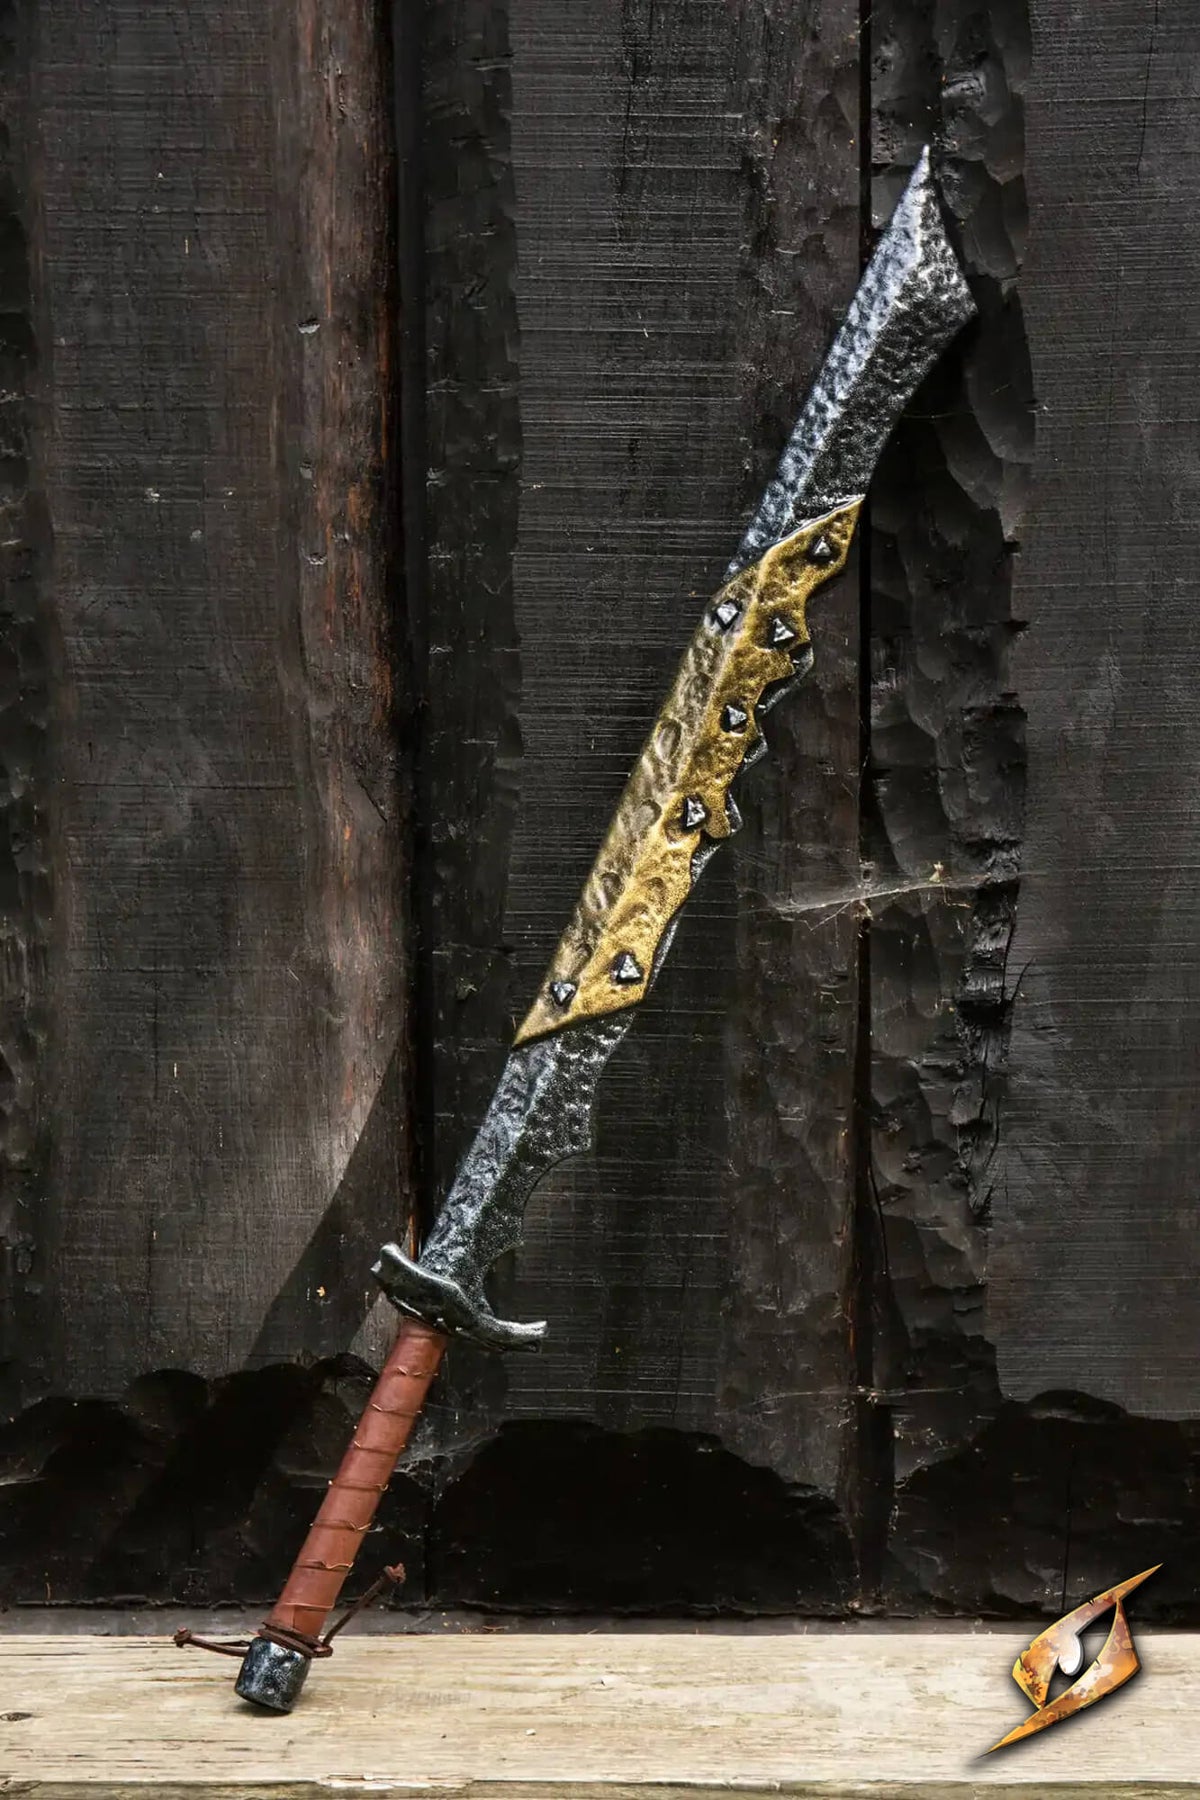
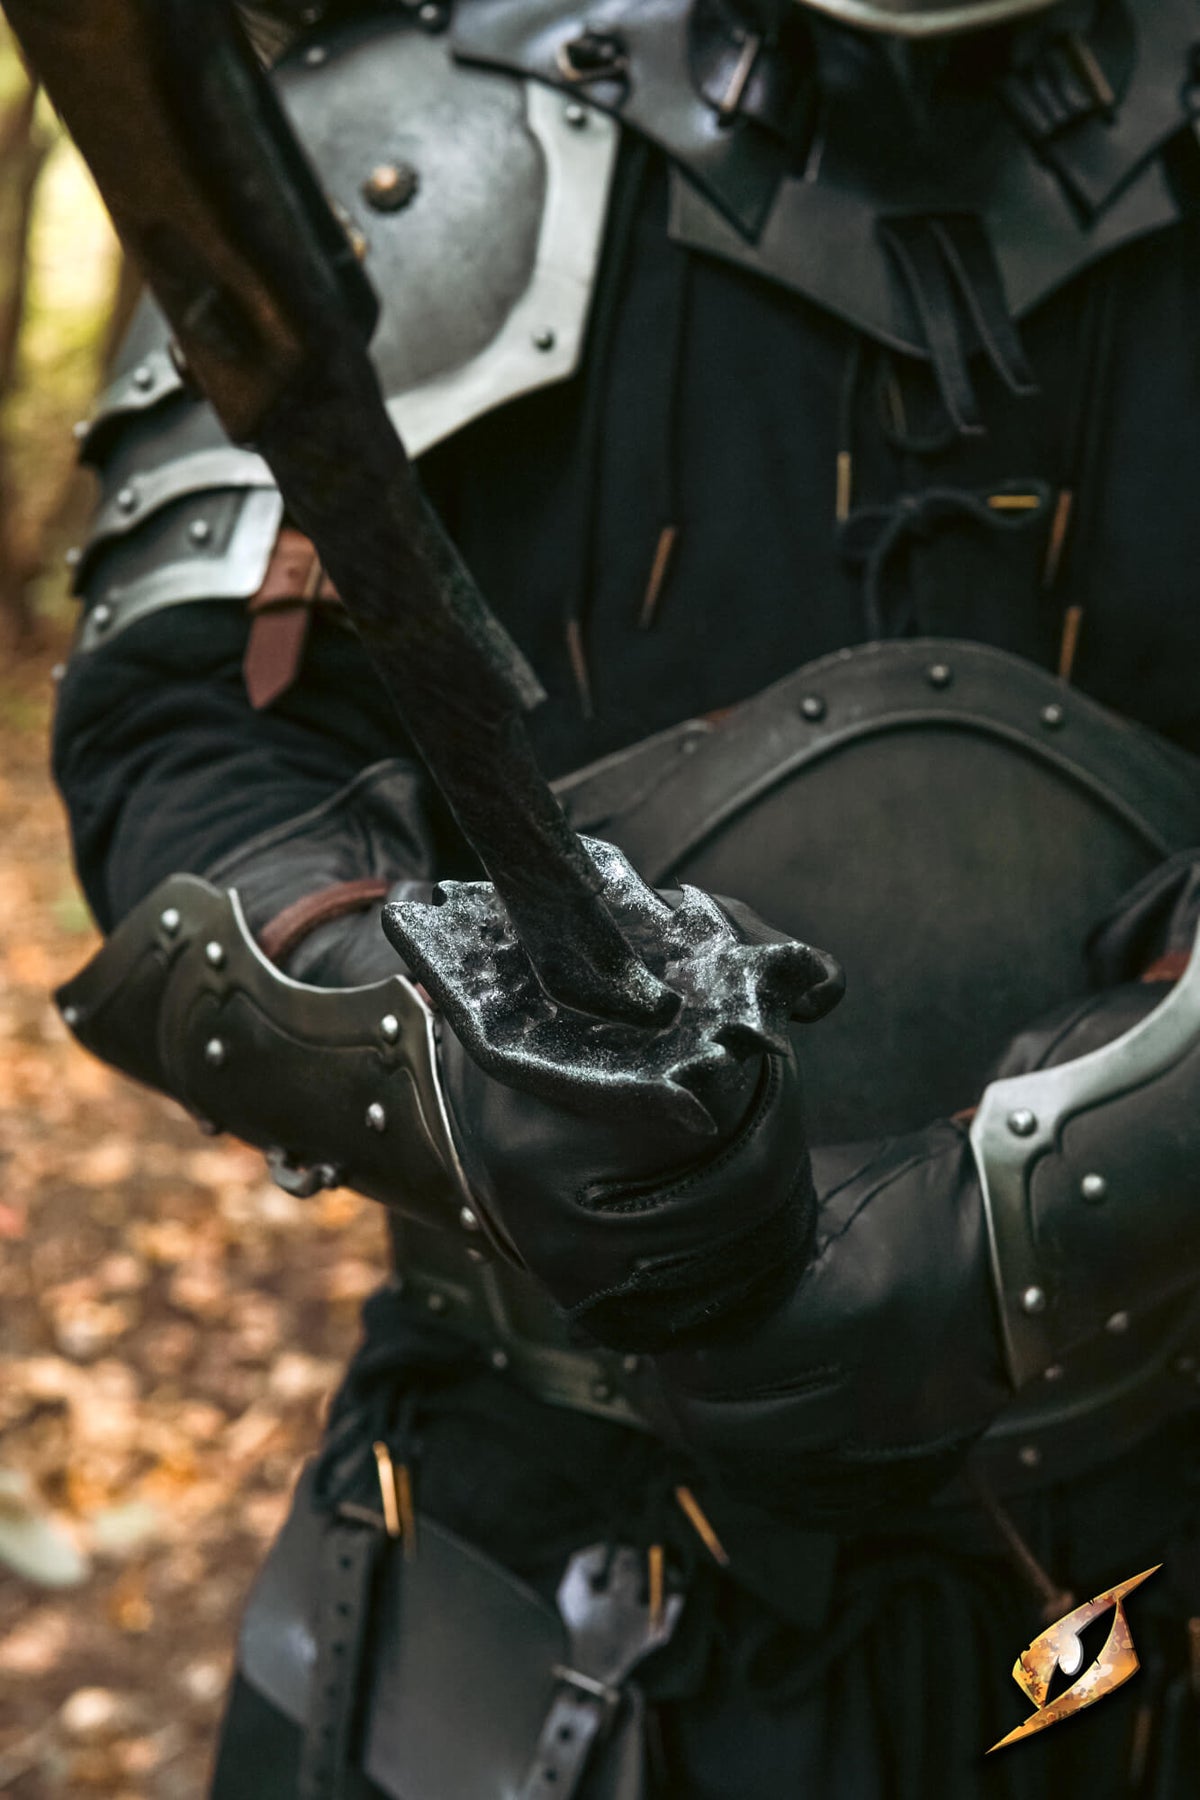
As an additional project, I also decided to give Epic Armoury's Choppa - 110 cm sword a bit of orc love. Here, my goal was to add rust to a large area of the sword's blade and cross guard.
Sword used in this tutorial
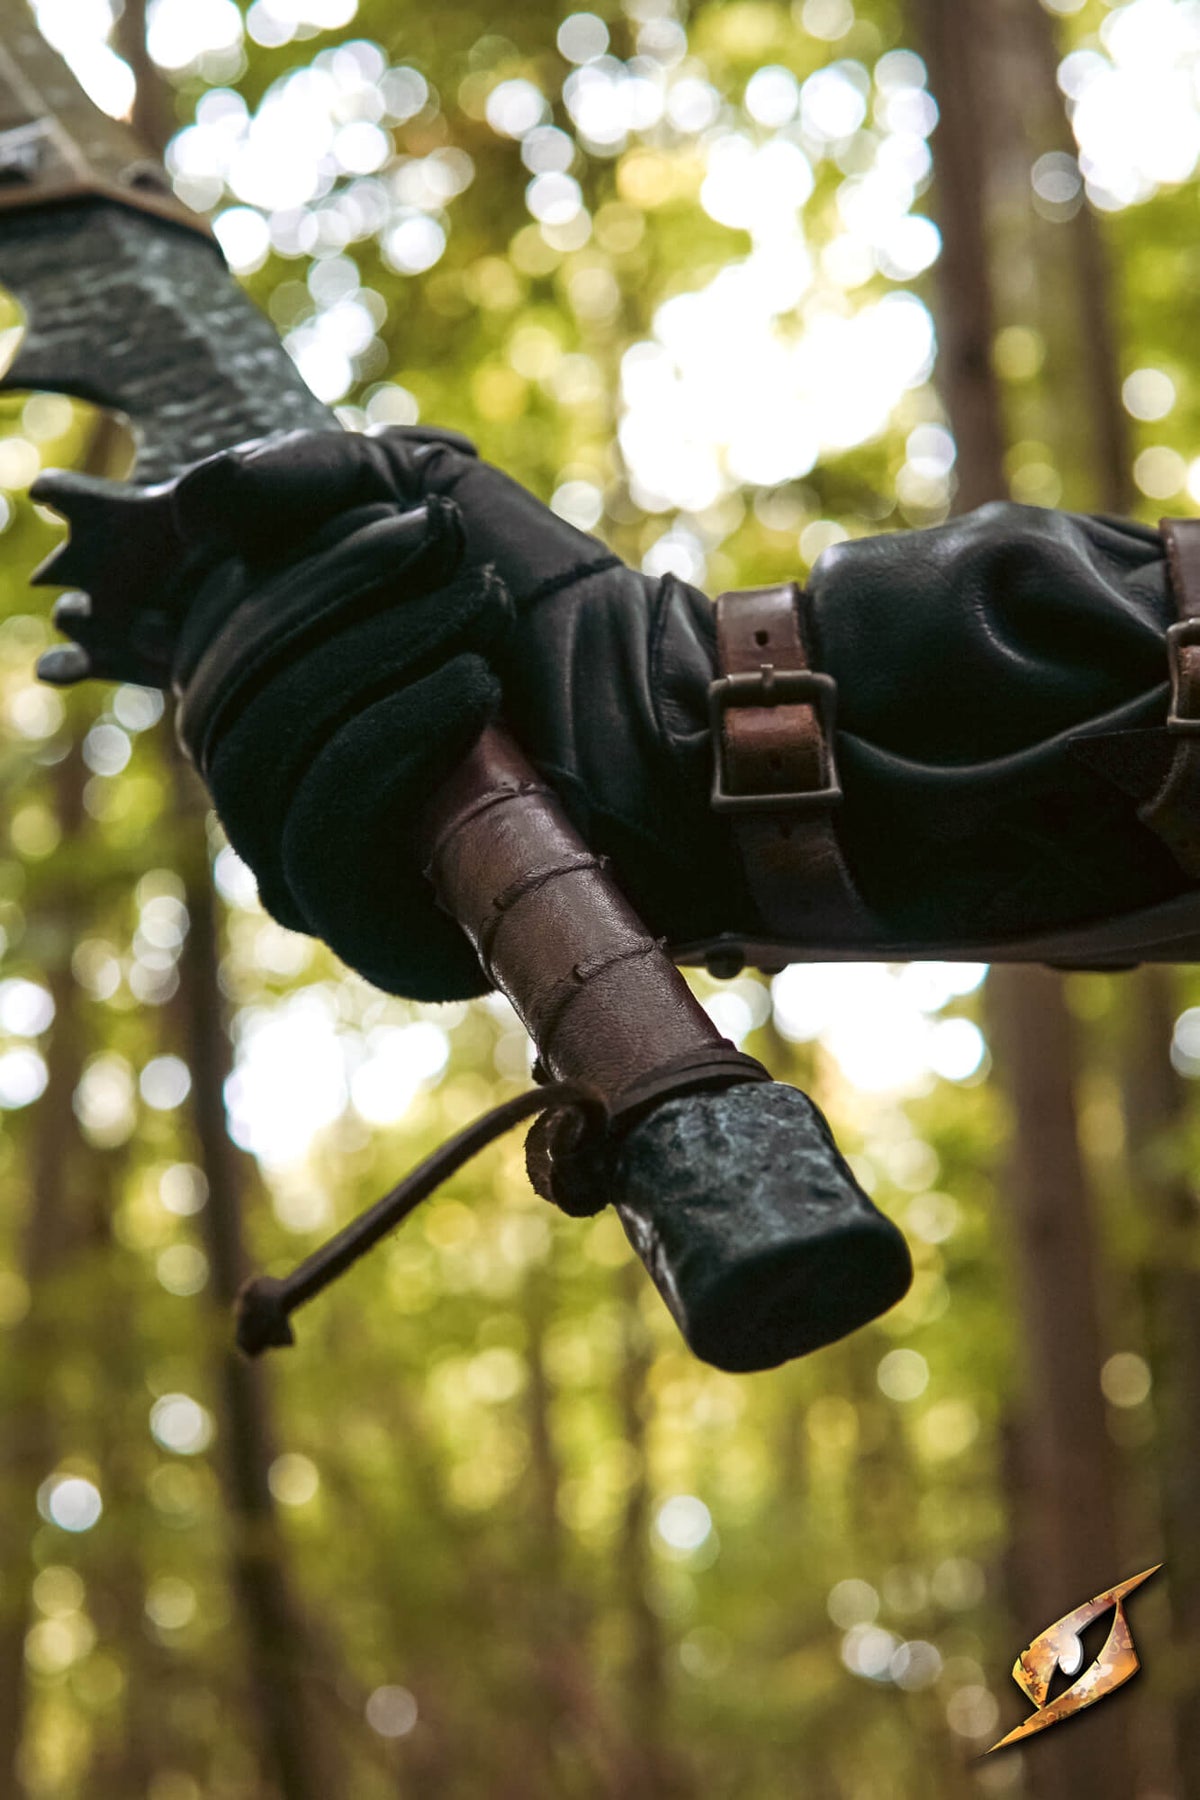
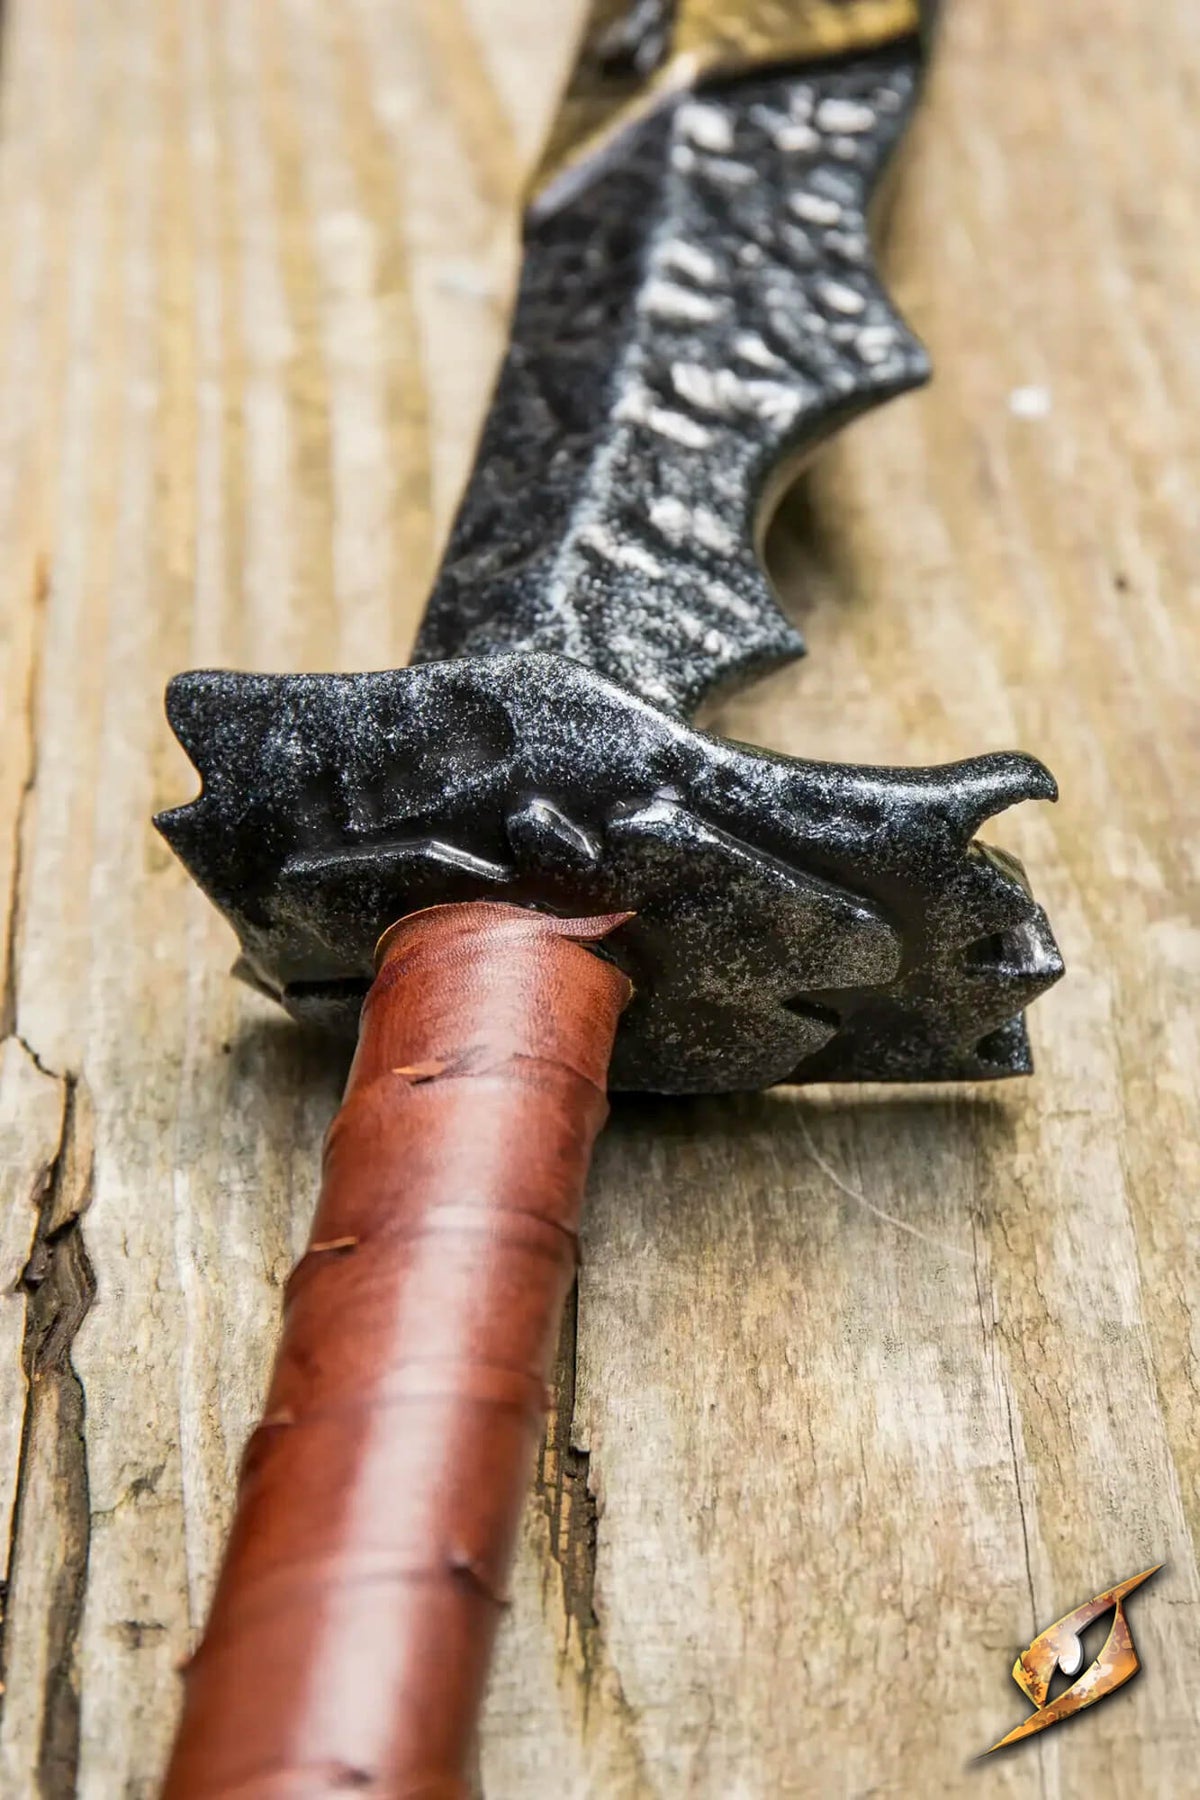
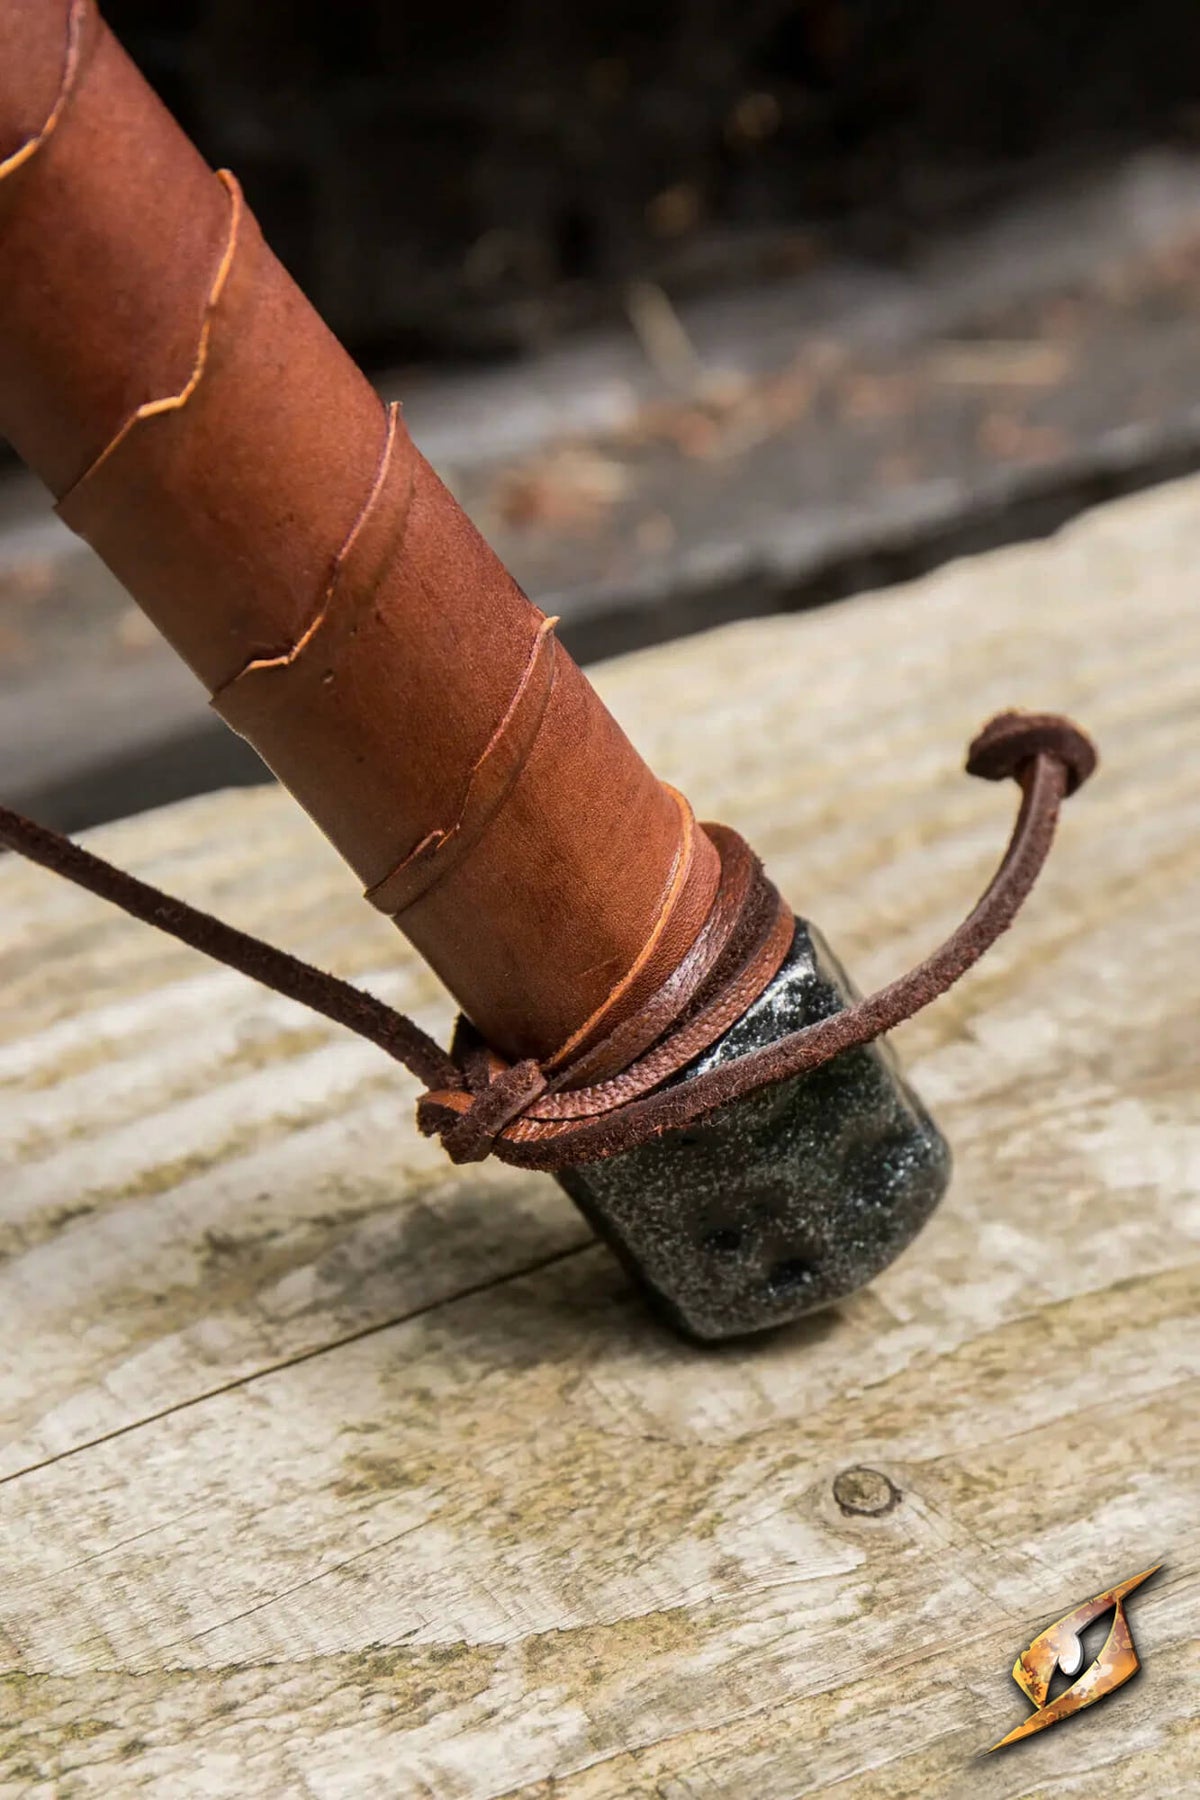
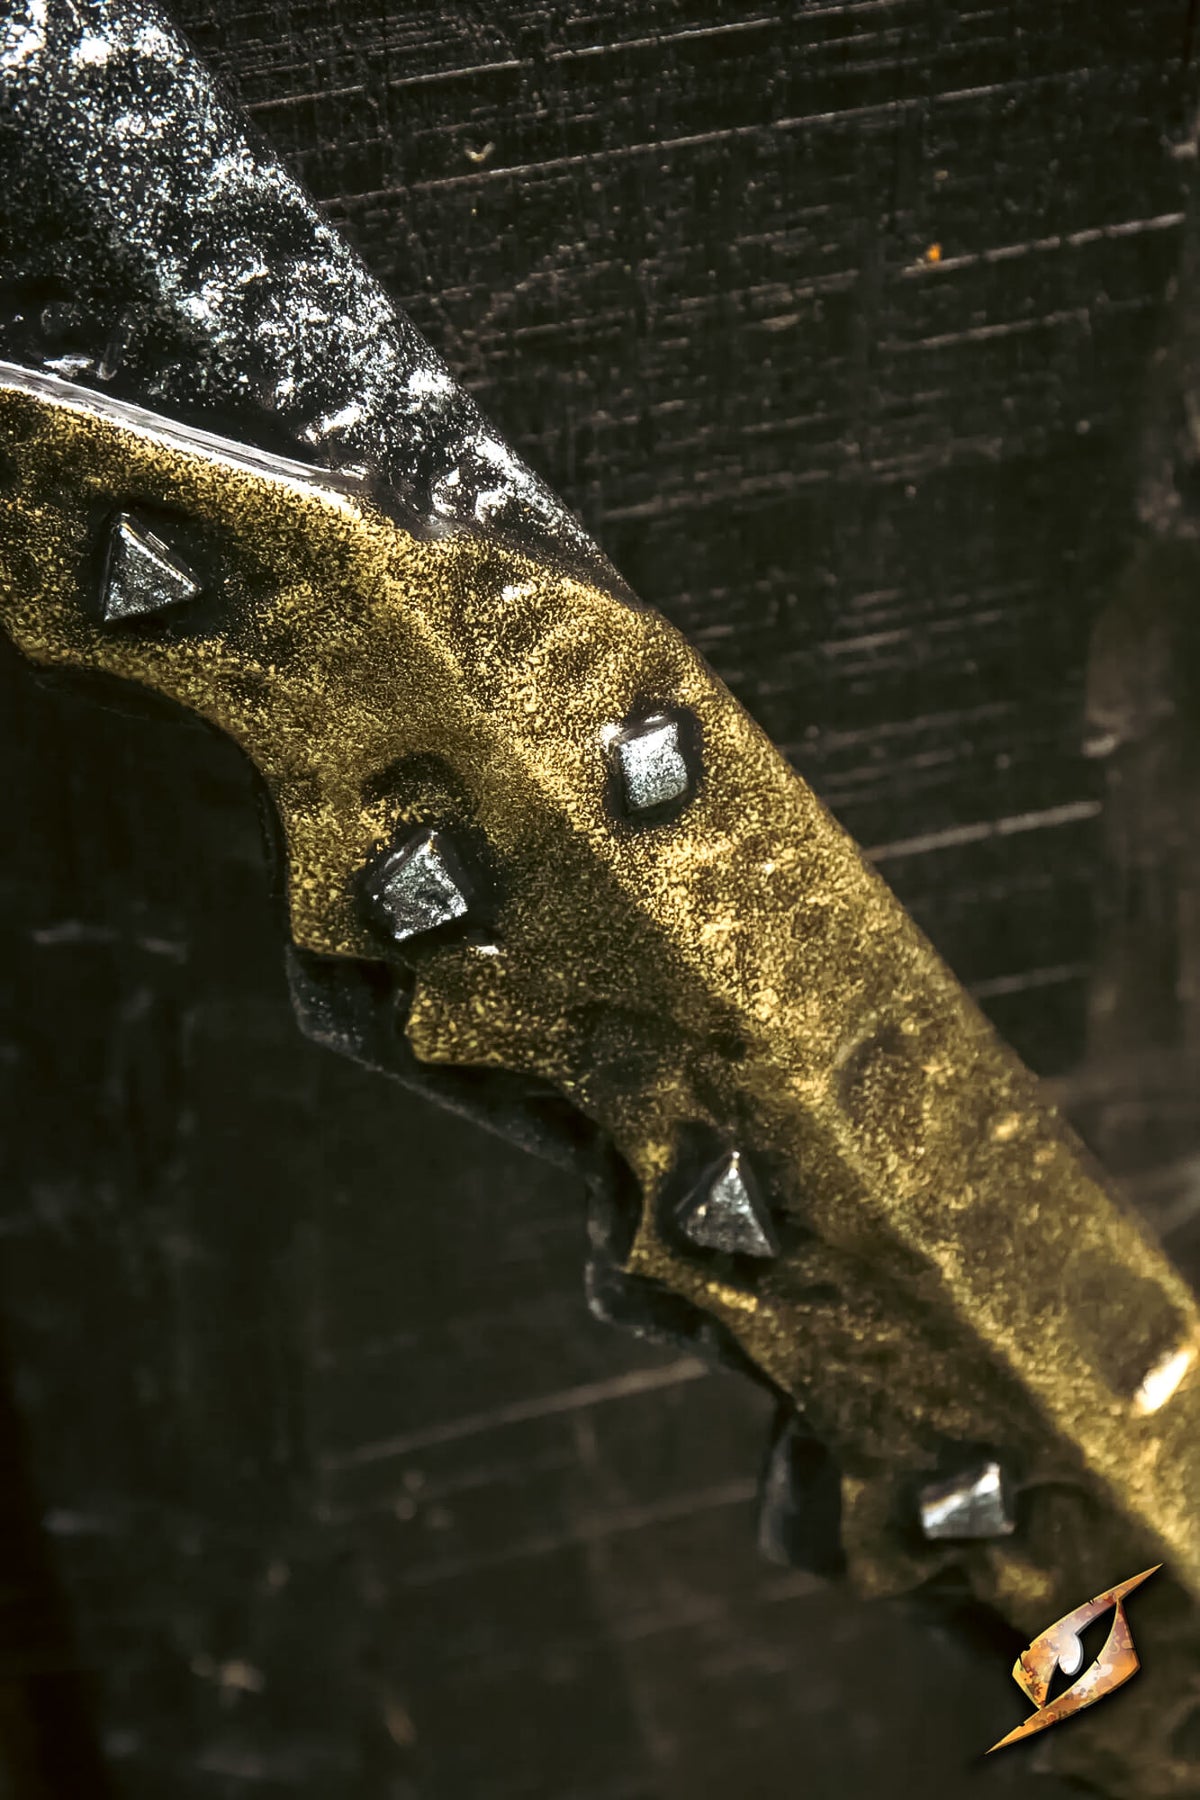

Final steps
Let the sword dry completely. Once the paint is dry, give it a good coating of silicone protection gel.
Now, it is time to face your ennemies in battle! As the paint gradually wears off with use, you can simply touch up the affected areas with another layer of paint.
Read more

Will a Canvas Tent Keep You Dry in Heavy Rain?
Canvas is water-resistant rather than waterproof, and it seals itself by swelling shut. This blog will explore what that means for weathering a new tent, pitching in rain, guy lines and reproofing.
Read more